Teacher Portal:
Our Solar System
Investigation 3 – PreLab
 PRINT IT
Use your browser to download a printable PDF as help during the slide presentation and to make additional notes. In your browser, go to File > Print and then choose to save as PDF.
MINDSET
This Investigation is designed to:
- promote student understanding of the four seasons.
- demonstrate that the four seasons are caused by the tilt of the Earth and the directness of light from the Sun.
- help students conclude that when the Northern Hemisphere experiences Winter, the Southern Hemisphere experiences Summer, and when the Northern Hemisphere experiences Summer, the Southern Hemisphere experiences Winter.
- demonstrate that the tilt of the Earth and its position relative to the Sun determines how much heat energy from the Sun it receives.
- aid students in concluding that the first day of Summer in the Northern Hemisphere is the first day of Winter in the Southern Hemisphere.
- encourage students to understand that the first day of Winter in the Northern Hemisphere is the first day of Summer in the Southern Hemisphere.
SCIENTIST’S GLOSSARY
1. Axis: an imaginary line through the center of the Earth from the North Pole to the South Pole. The Earth rotates around this line.
2. Equator: an imaginary circle around the widest point of the Earth, that divides the Earth into Southern and Northern Hemispheres.
3. Rotate: To spin on an axis, as the planets do.
4. Revolve: To move around another object. The planets revolve around the Sun and the Moon revolves around the Earth.
5. Hemisphere: The top (Northern) or bottom (Southern) half of the Earth.
BE PREPARED
Watch the Investigation 3 Teacher Video and Student Video below to prepare for the PreLab.
SET FOR SUCCESS
- Tell students that they are continuing the Our Solar System CELL.
- Ask students to share the kinds of things they might learn in these Investigations.
Begin the PreLab Concept Slides to start students on their learning journey. Then watch the Pre-Lab Student Video afterward as a class.
NAVIGATE IT
Once the slide presentation is launched
- use your left and right arrows to advance or go back in the slide presentation, and
- hover your mouse over the left edge of the presentation to get a view of the thumbnails for all the slides so that you can quickly move anywhere in the presentation.
- Click HERE to launch the slide presentation for the CELL.
SHARE IT
SLIDE VSOLAR3pre-1
This is the third Investigation of the LabLearner CELL Our Solar System. In it, students will explore the Earth, Sun, and seasons.
______________________________________________
SLIDE VSOLAR3pre-2
A. Begin the lesson by reviewing what students have learned in Investigations One and Two. To do this, invite students to create a graphic organizer of what they have learned. The following steps may guide students in this process.
1. Remind students that at the beginning of Investigation Two, they worked together to create a word web focusing on the term Sun. Students used the word web to help them think about and record what they knew about the Sun.
2. Tell students that in the same way, it may be helpful to think about what they have learned about the whole Solar System through Investigations One and Two. Explain to students that after thinking about what they have learned, as a class they will create a large diagram to show what they have learned. This diagram is called a concept map. Ask students:
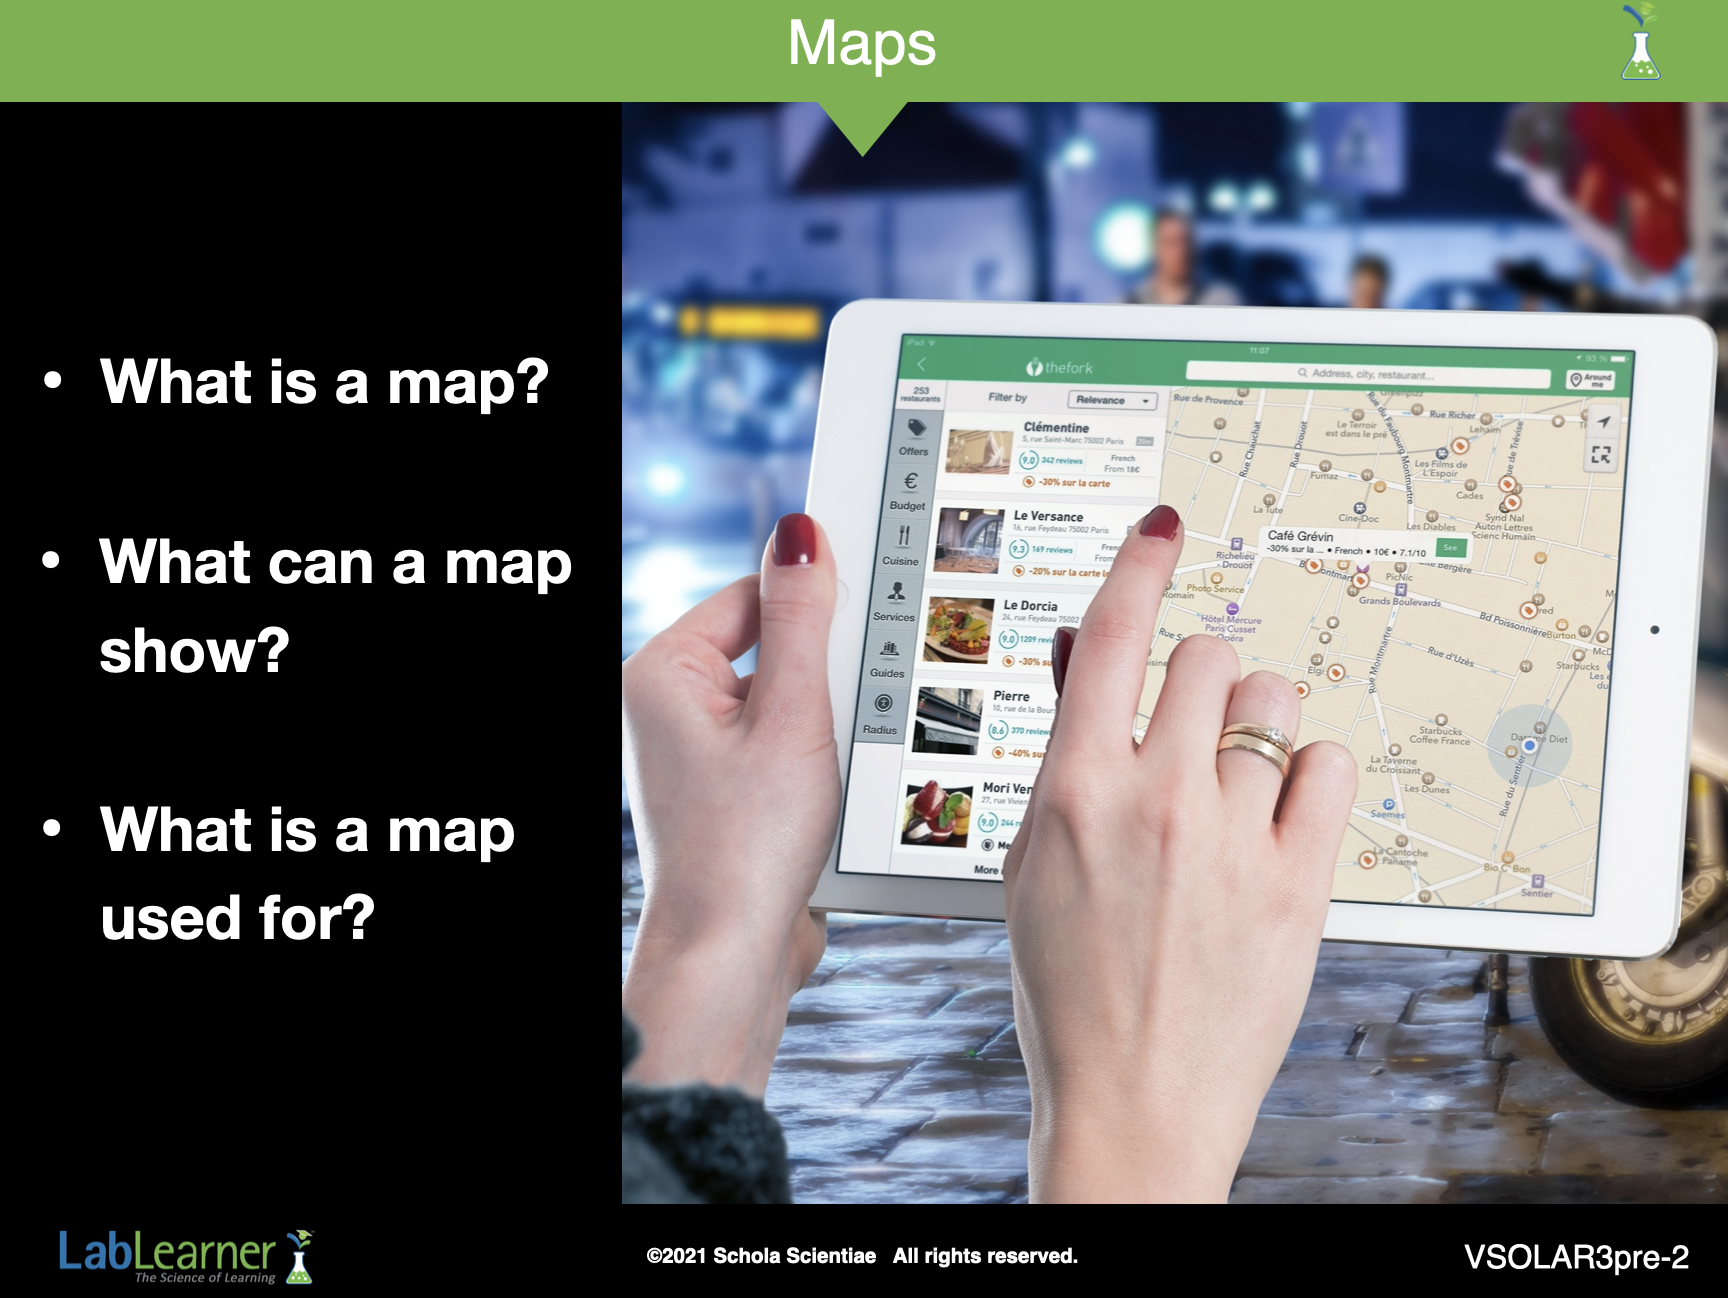
a. Ask students: What is a map? A map is a diagram showing the structure or position of places or objects.
b. Ask students: What can a map show? A map can show how places connect to each other, or how far apart they are. A map can help you figure out where you are.
c. Ask students: What is a map used for? A map is used to help you find out more about a place, it gives you information and can help where you are going.
______________________________________________
SLIDE VSOLAR3pre-3
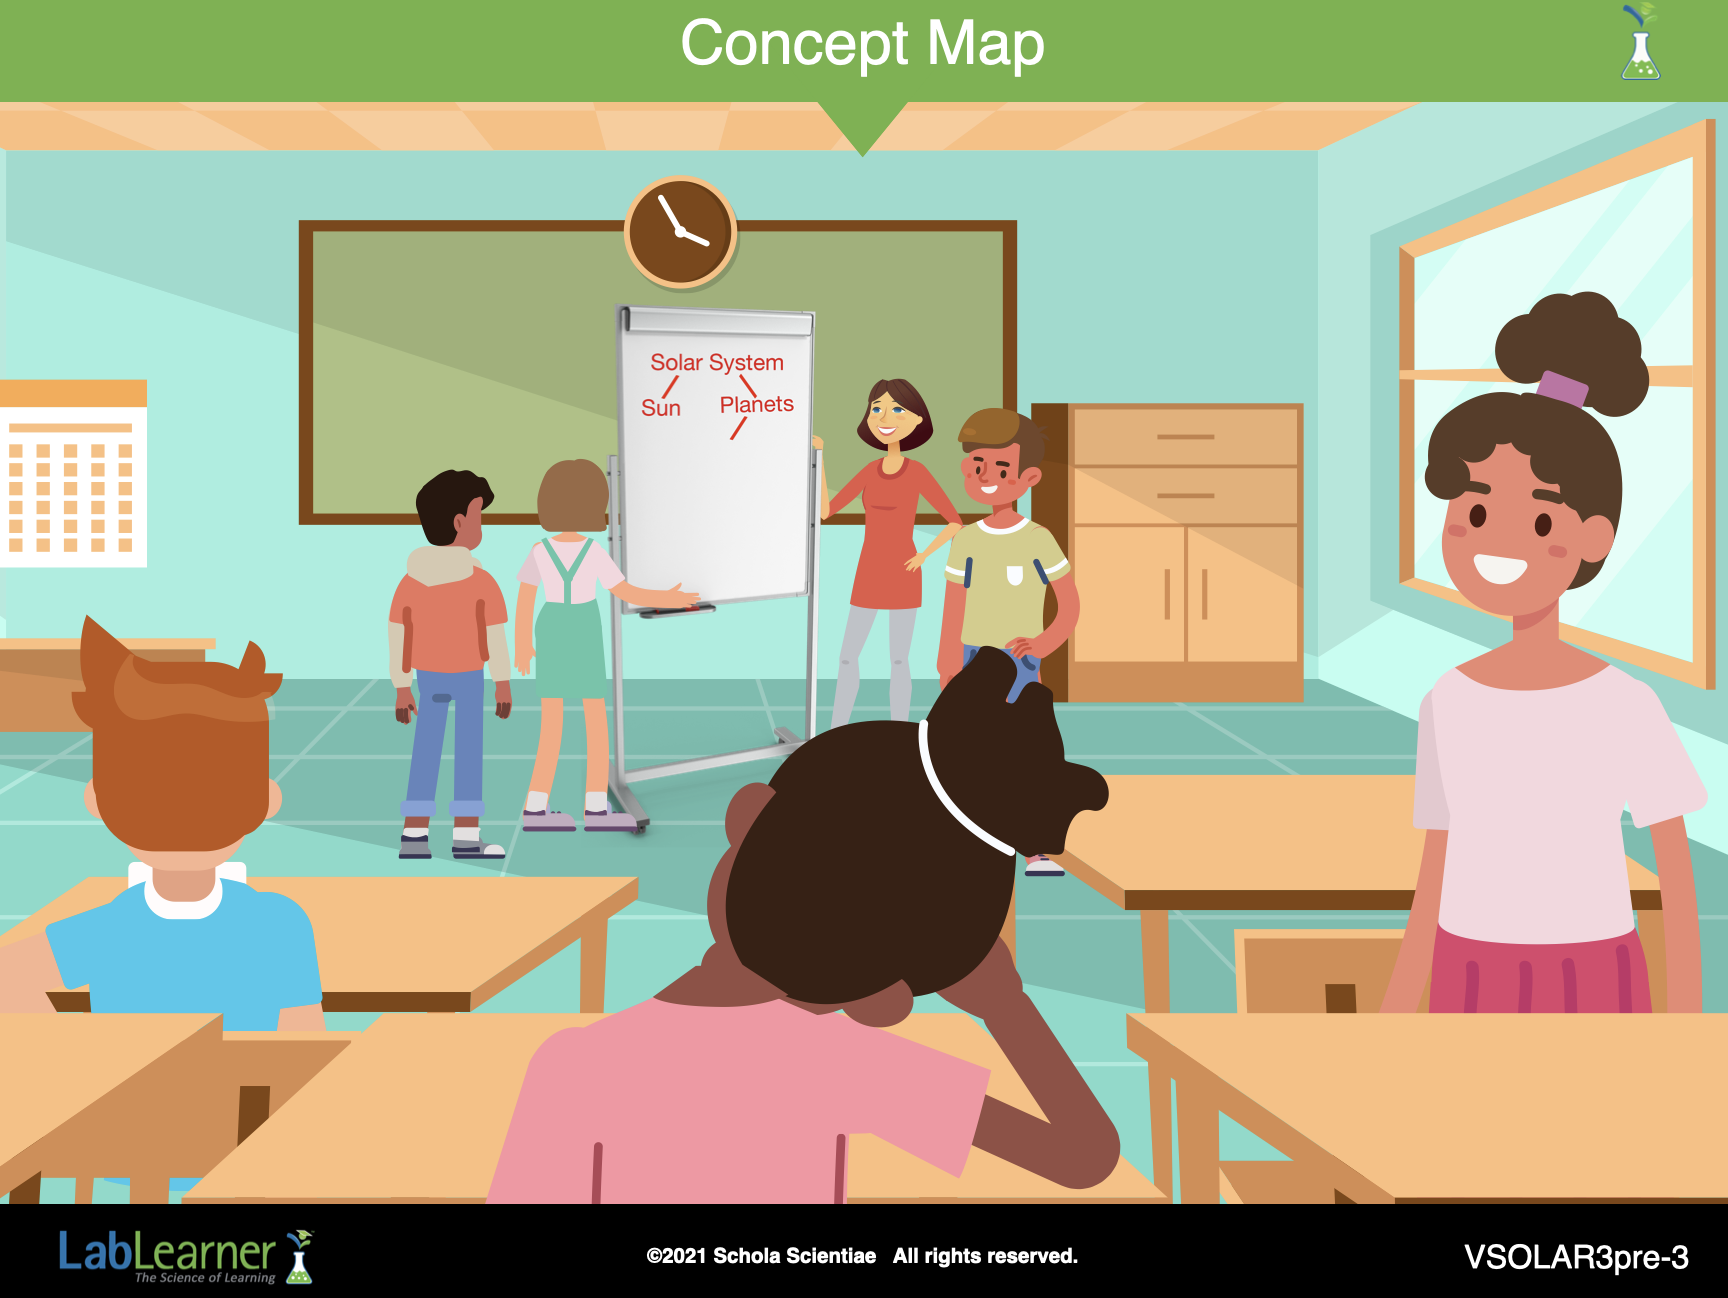
3. Begin by modeling the process to the students.
Note: This activity is scripted to form the concept map pictured below. However, concept maps may vary based on student responses. Use these ideas and this discussion as a guide if you desire to create a differing concept map:
a. Explain that everything students have learned has centered on the Solar System. Write Solar System at the top of a flip chart (you will use this concept map in a later Investigation).
b. Ask students: What are some of the main ideas you have investigated about the Solar System in the experiments you have done? Student answers may vary. If students have many responses, record their answers in an unused area of the board to the side where the concept map will be drawn. Encourage students to think broadly of the major themes rather than the details.
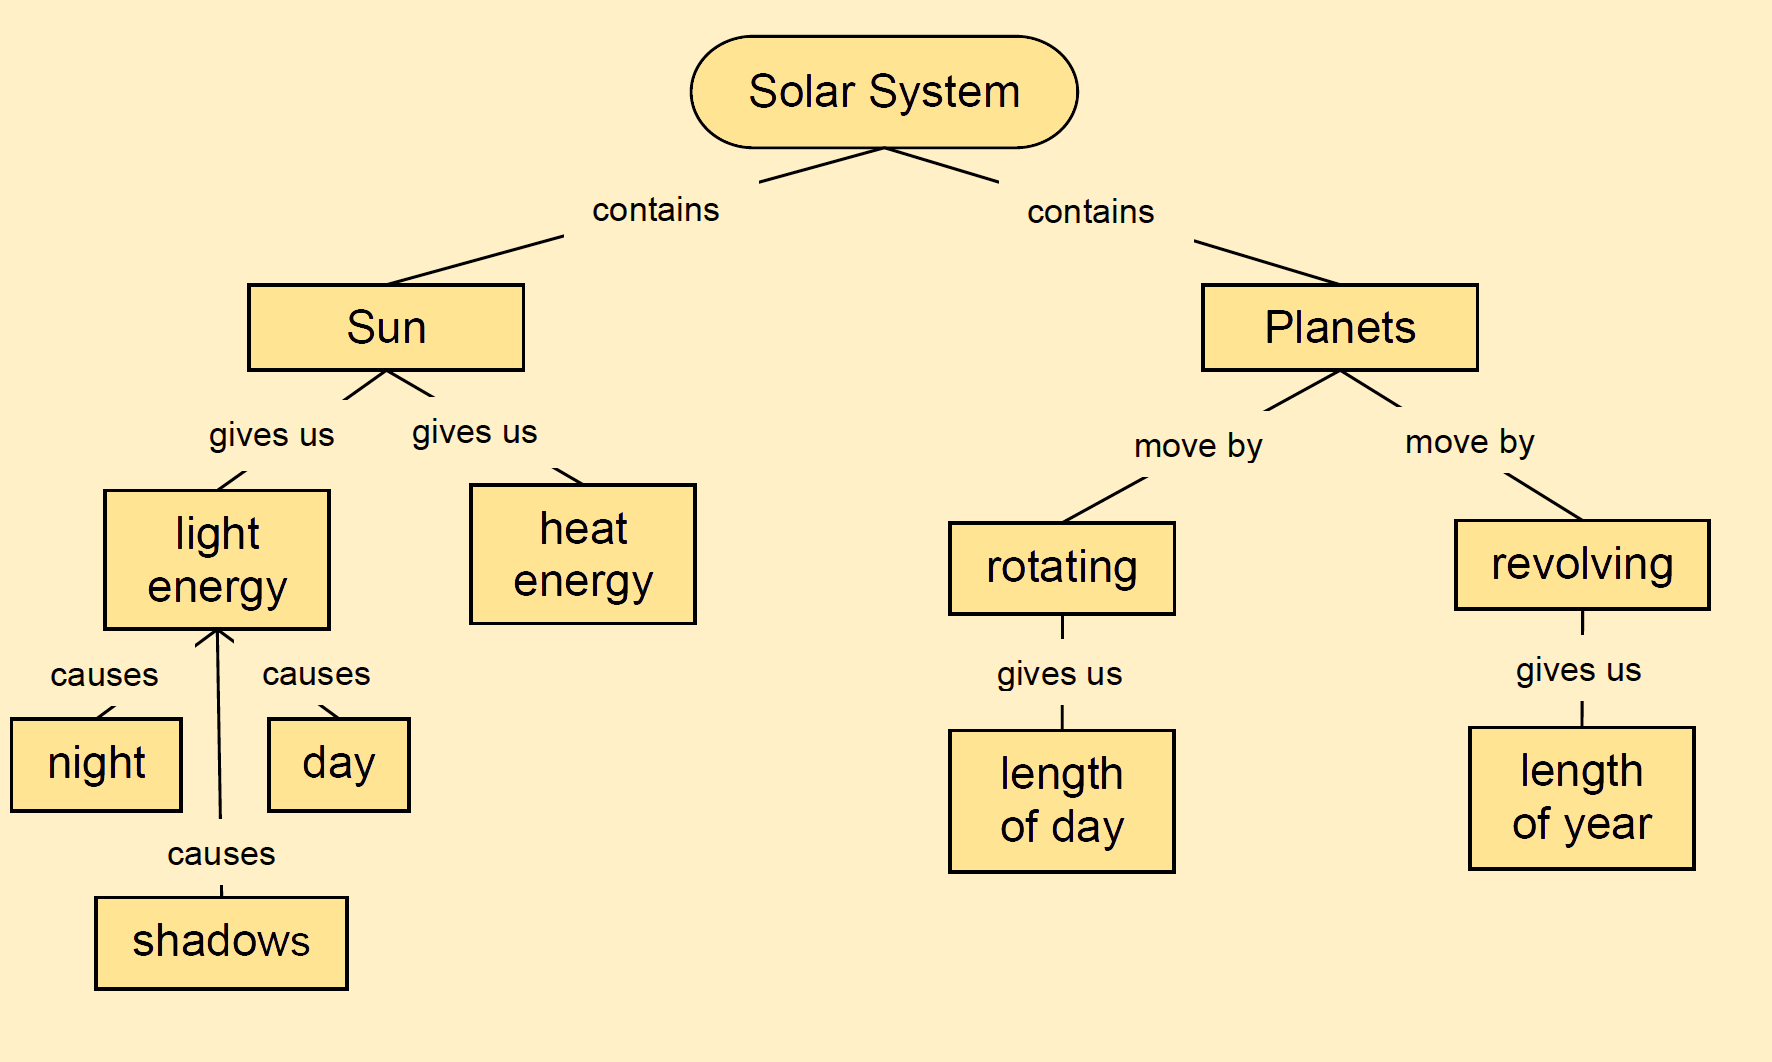
c. After a list has been compiled, look at the list and choose two parallel main ideas. For example, you may choose the Sun and the planets as the main ideas. Write these words under the title Solar System (see figure above).
d. Draw lines from Solar System to Sun and planets. Tell students that these lines show that the Solar System is connected to the Sun and the planets.
e. Ask students: How is the term Solar System related to the term Sun and the term planets? Student answers may vary. For example, the Solar System contains the Sun and the planets.
f. Explain that it is important to show how ideas are connected when creating a concept map. Beside each line drawn from Solar System to Sun and planets, write how they are connected. For example, the word contains or holds could be written on the lines drawn from Solar System to Sun and planets.
g. Draw students’ attention to the term Sun and explain that they will now think about the Sun as they thought about the Solar System.
Ask students: What are some very important ideas about the Sun? Student answers may vary. Collect student ideas and then choose two or three parallel ideas. For example, you may choose light energy and heat energy.
h. Write the terms light energy and heat energy below Sun. Draw lines to connect the terms.
Ask students: How are these ideas connected? Student answers may vary. The Sun gives us light and heat energy. Write the words “gives us” on each of the lines connecting light and heat to the Sun.
i. Direct students’ attention to the term “light”.
Ask students: What have you learned about light and the Solar System? Student answers may vary. Light energy from the Sun causes night, and day, and gives us shadows.
Write the words “night”, “day”, and “shadows” under “light”.
j. Tell students that so far in this CELL, they have not learned much more about heat energy. Therefore, they will not add details under that heading. In the same way, night, day, and shadow are details about light energy and so do not need to be added to at this point.
______________________________________________
SLIDE VSOLAR3pre-4
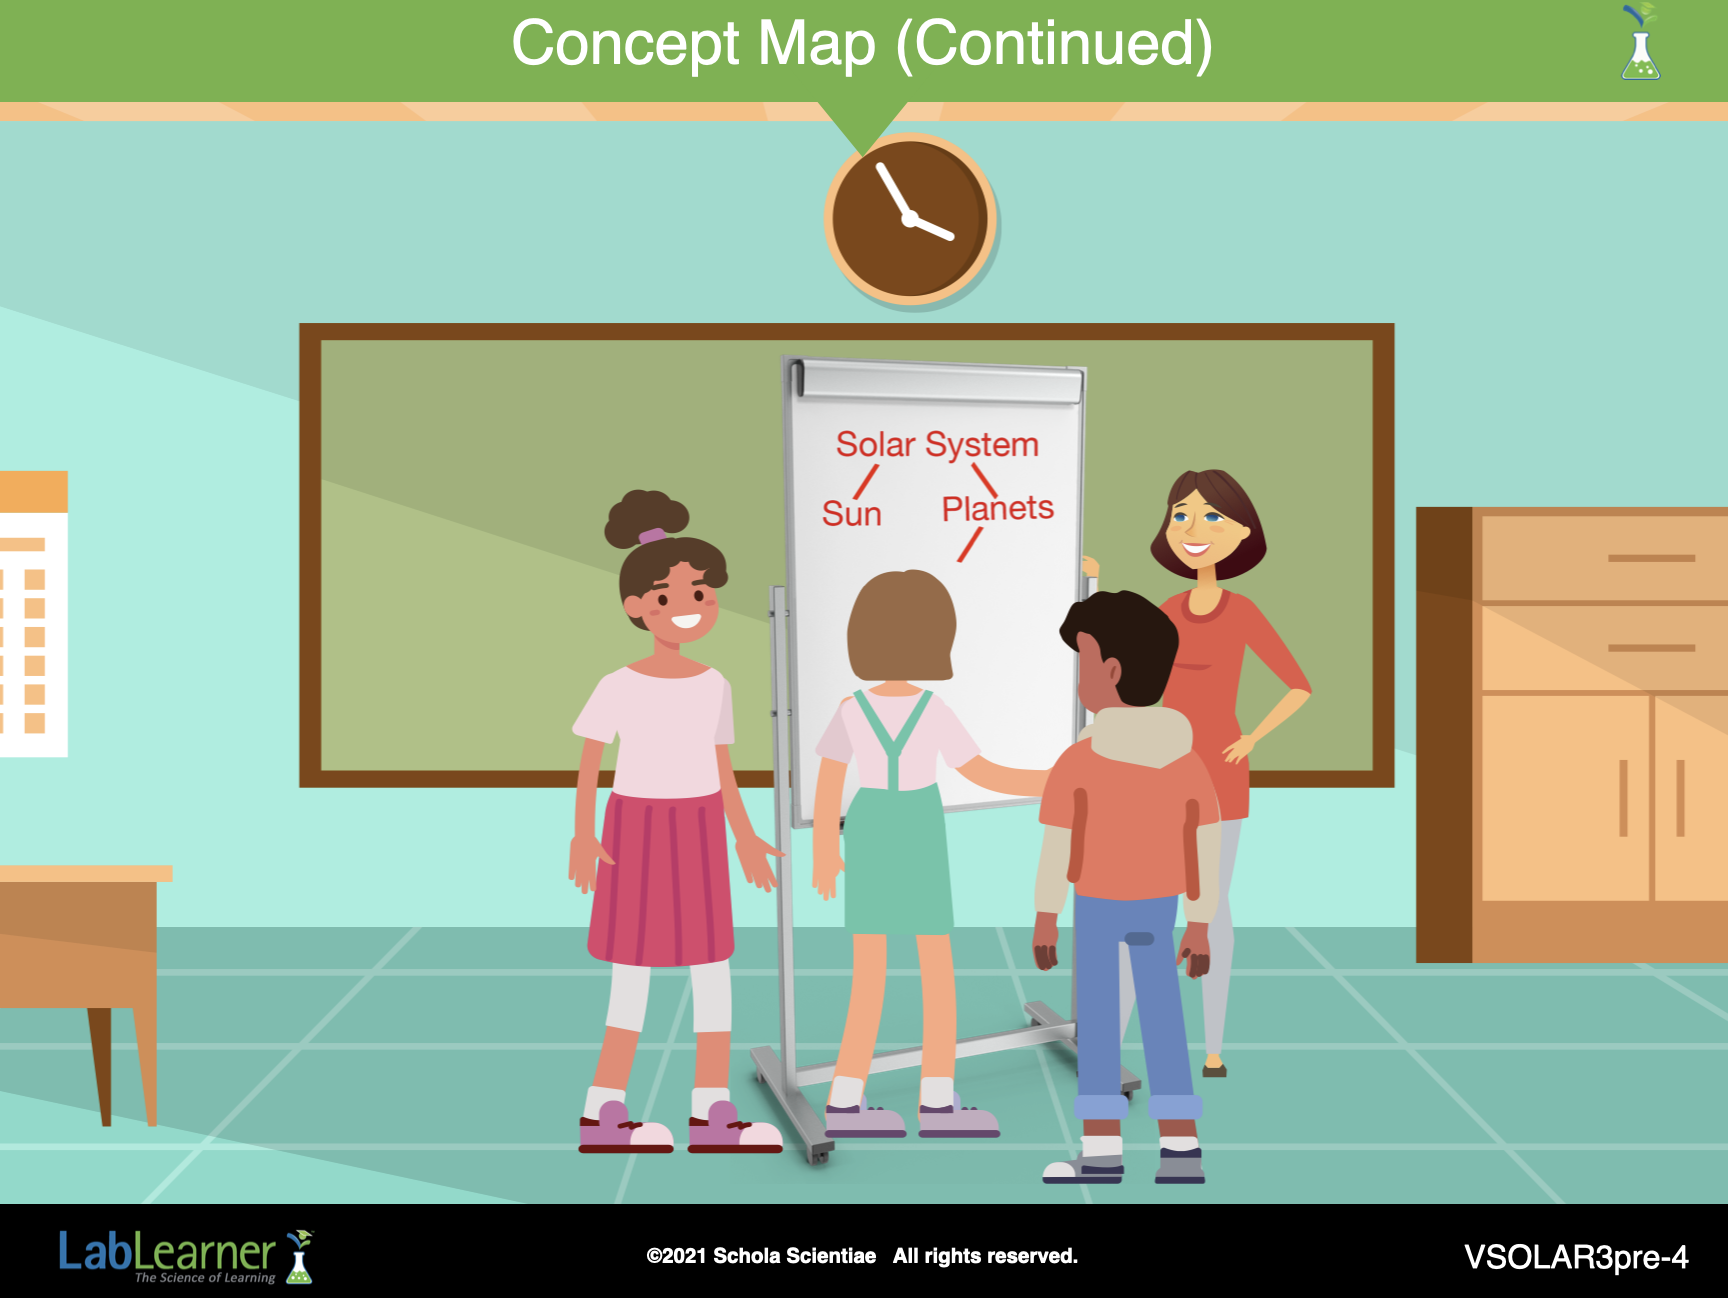
4. Tell students that they have completed half of the concept map about the Solar System. As you continue adding to the map, encourage students to guide the process as much as possible.
a. Point to the second concept under the Solar System, for example, and ask students: which main idea should you now think about? Students should think about the planets.
b. Ask students: Which ideas about the planets do you think we should focus on? Students may wish to focus on the ideas of rotating and revolving.
c. Ask students: How can we connect these ideas to the planets? Planets move by rotating and revolving. Write the words move by on the lines connecting planets to rotating and revolving.
d. Ask students: What do we know about the rotating of planets? The rotation of a planet gives us its length of day. Write the words “gives us” beside the line connecting “rotating” to “length of day”.
e. Ask students: What do we know about the revolving of planets? The revolution of a planet gives us its length of the year.
Write the words “gives us” beside the line connecting “revolving” to “length of year”.
5. Ask students to study the concept map. Tell students that although not all of what they have learned is written on the map, it does give students a good idea of the main ideas they have learned through the experiments they have performed thus far. Explain that a concept map doesn’t always show all the details of an idea. Rather, it can be used to make big ideas more simple and allow them to be displayed.
a. Ask students: Does our map show us the important ideas? Yes.
b. Ask students: Does the map help us see how things are connected? Yes.
c. Ask students: Is this a good map? Yes.
______________________________________________

SLIDE VSOLAR3pre-5
B. Point students to the two main ideas under the planets: rotating and revolving.
Explain to students that they will be investigating the Earth’s movement in the Lab.
1. Tell students that the Earth always follows the same path, or orbit, around the Sun. The path is a slight ellipse, or oval, which makes it almost a perfect circle. This means that the Earth is always close to the same distance from the Sun.
a. Tell students that sometimes it is helpful to try to imagine an event in their minds. Students can use their imaginations to draw a picture or create a movie that event in great detail.
b. Instruct students to create a model of the Earth moving around the Sun. Students should begin creating the model by performing the following steps.
c. Ask students to hold their pencil at eye level in the air by the eraser and point it down so that the tip is pointing toward their desks. Tell students that their pencils represent the Sun.
d. Instruct students to hold one index finger in the air, directly up and down. This represents the Earth.
e. Students should then model the revolution of the Earth around the Sun by moving their index finger in a circle shape around the model Sun.
______________________________________________
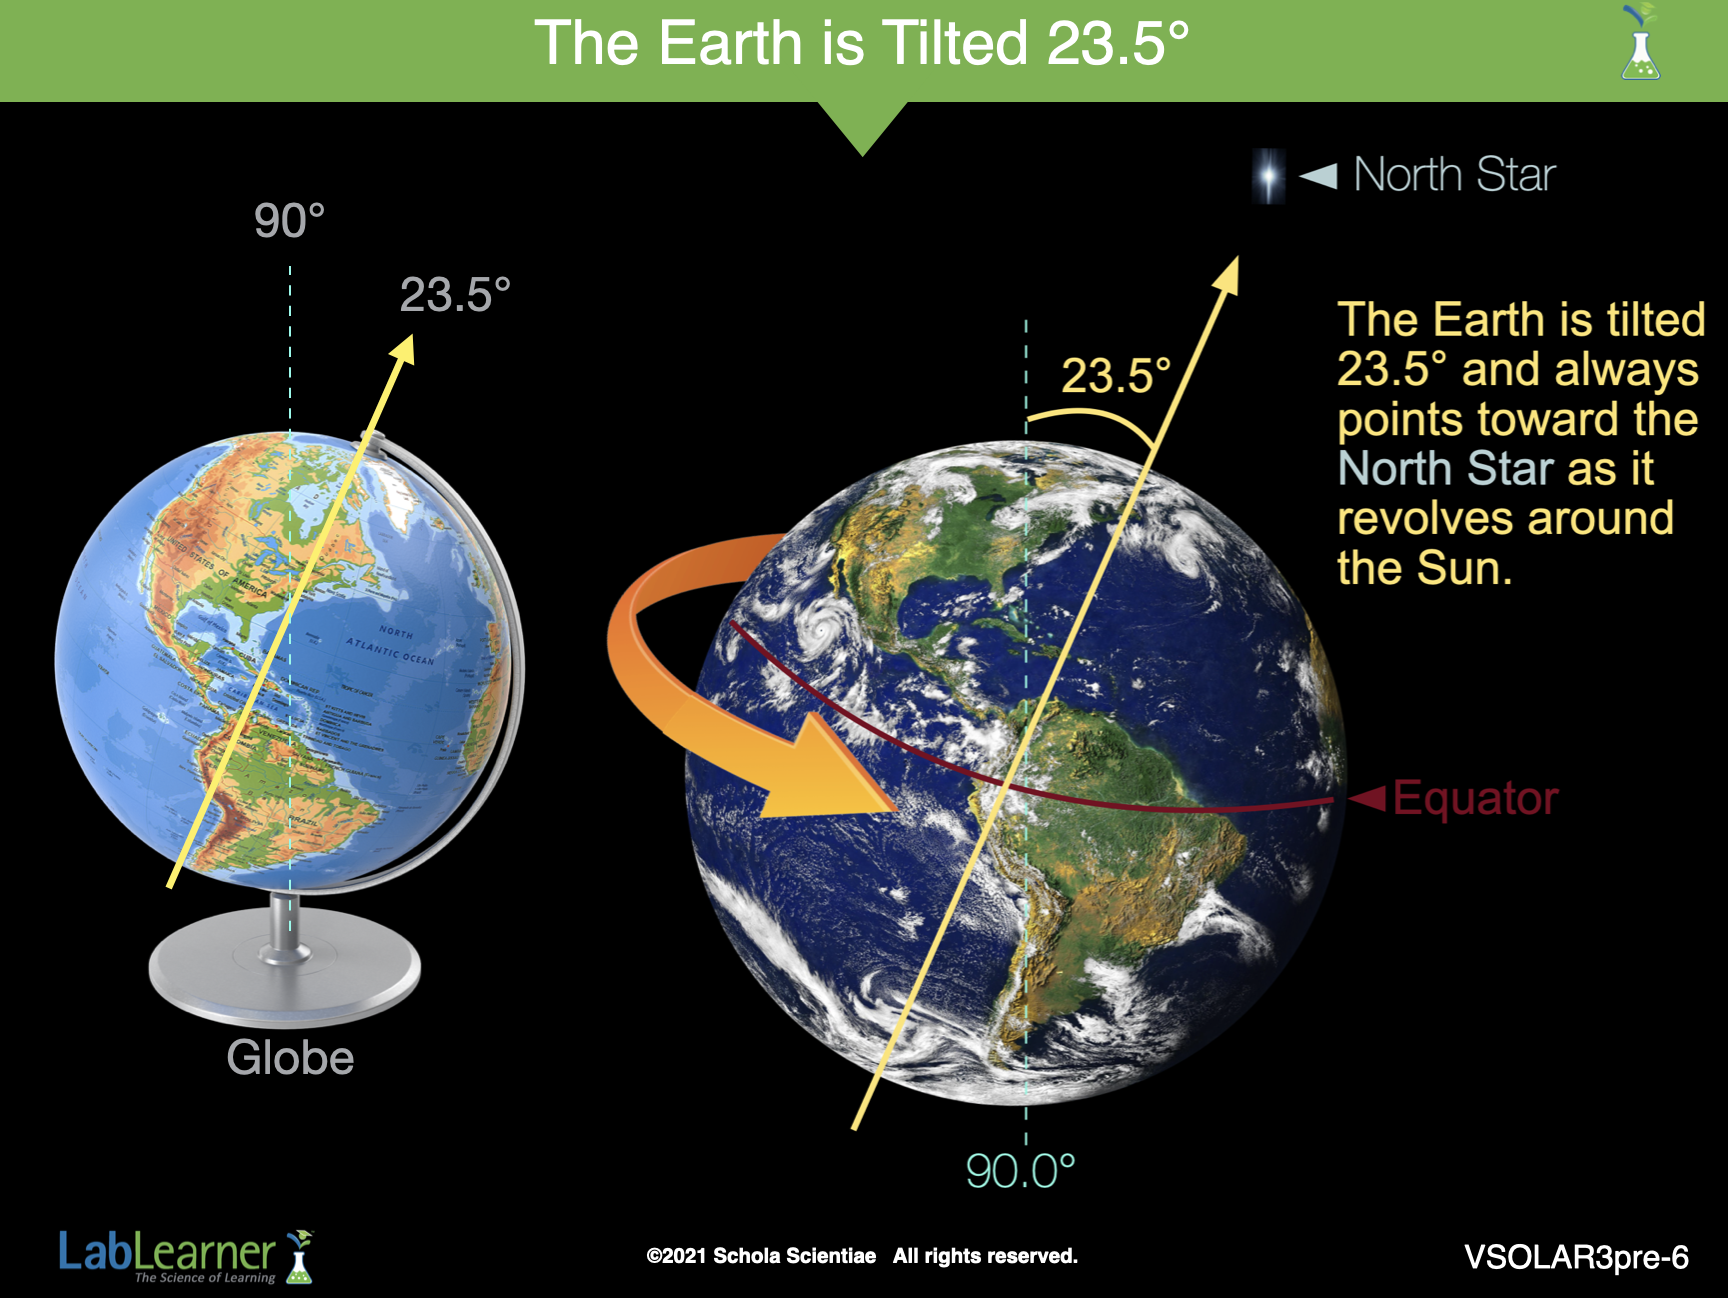
SLIDE VSOLAR3pre-6
2. Tell students if their finger truly represented the Earth’s axis. It would not be straight up and down. Rather it would be tilted 23.5°. If possible, illustrate the tilt of the Earth by showing them a globe.
a. Instruct students to repeat the model again. This time, however, students should tilt their index finger. To facilitate this, choose a location high on the wall on the left side of the classroom. Instruct students to tilt their fingers slightly so that they point toward this location.
b. Students should repeat the model, creating a circle around the Earth, keeping their index fingers tilted towards the point during the entire revolution.
3. Tell students that they modeled the revolution of the Earth around the Sun. Draw students’ attention to the movement of the Earth.
a. Instruct students to repeat the mind movie a final time. Students should again tilt their index finger and revolve in a circle around the model Sun. This time, while students are tracing a large circle in the air, they should also trace tiny circles as they follow the circular path. Doing this, students will illustrate the rotation and revolution of the Sun while illustrating the tilt of the Earth.
b. Ask students: Did we correctly model the movement of the Earth around the Sun? Does the Earth move as it revolves around the Sun? Yes, the Earth rotates as it revolves around the Sun.
______________________________________________
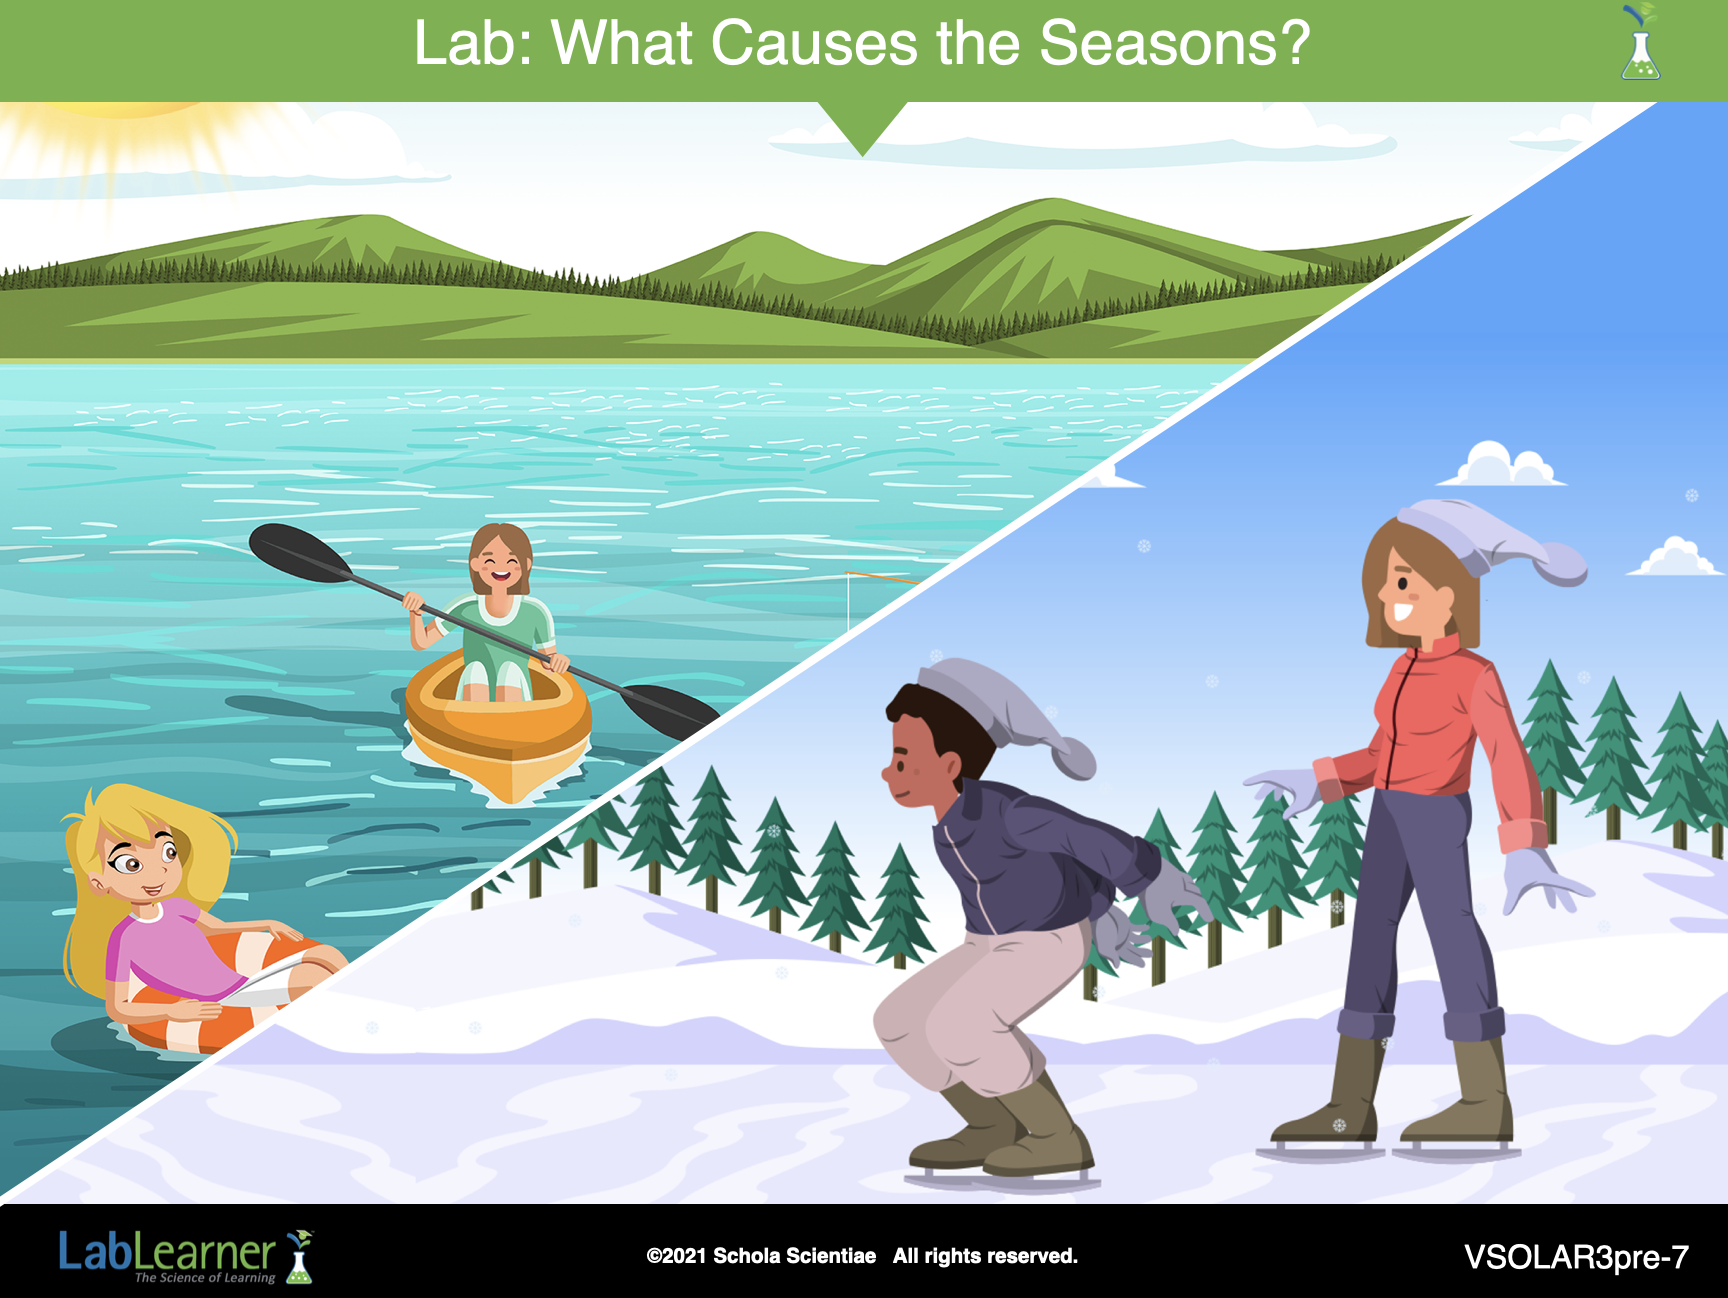
SLIDE VSOLAR3pre-7
C. Prepare students for the experiments in the lab by asking the following questions:
1. Ask students: What causes the length of a year? The Earth’s rotation or the Earth’s revolution? One complete revolution of the Earth is equal to one year.
2. Ask students: What causes the length of a day? The Earth’s rotation or the Earth’s revolution? One complete rotation of the Earth is equal to one day.
3. Ask students: Why do you think it is hotter in the summer than it is in the winter? Student answers will vary. Because the Earth is tilted 23.5° toward the Sun in the summer and tilted 23.5° away from the Sun in the winter.
4. Ask students: What do you think causes the seasons? Student answers will vary. The revolution of the Earth around the Sun.
5. Tell students that they will investigate these two questions in the lab.
Student Video
Watch the Investigation 3 Student Videos after the Share It presentation to prepare for the Lab.
KEYS