Teacher Portal:
Exploring Electricity
Investigation 3 – Lab
 BE PREPARED
Supplies and Equipment:
Class Materials:
- 1 wire cutter
- electrical wire
Pair Materials:
- 1 D cell battery
- 1 piece of wire, 20 cm in length
- 1 mini light bulb, 1.3 volt 0.3 amp
Individual Materials:
- 1 Student Data Record
 Teacher Preparation:
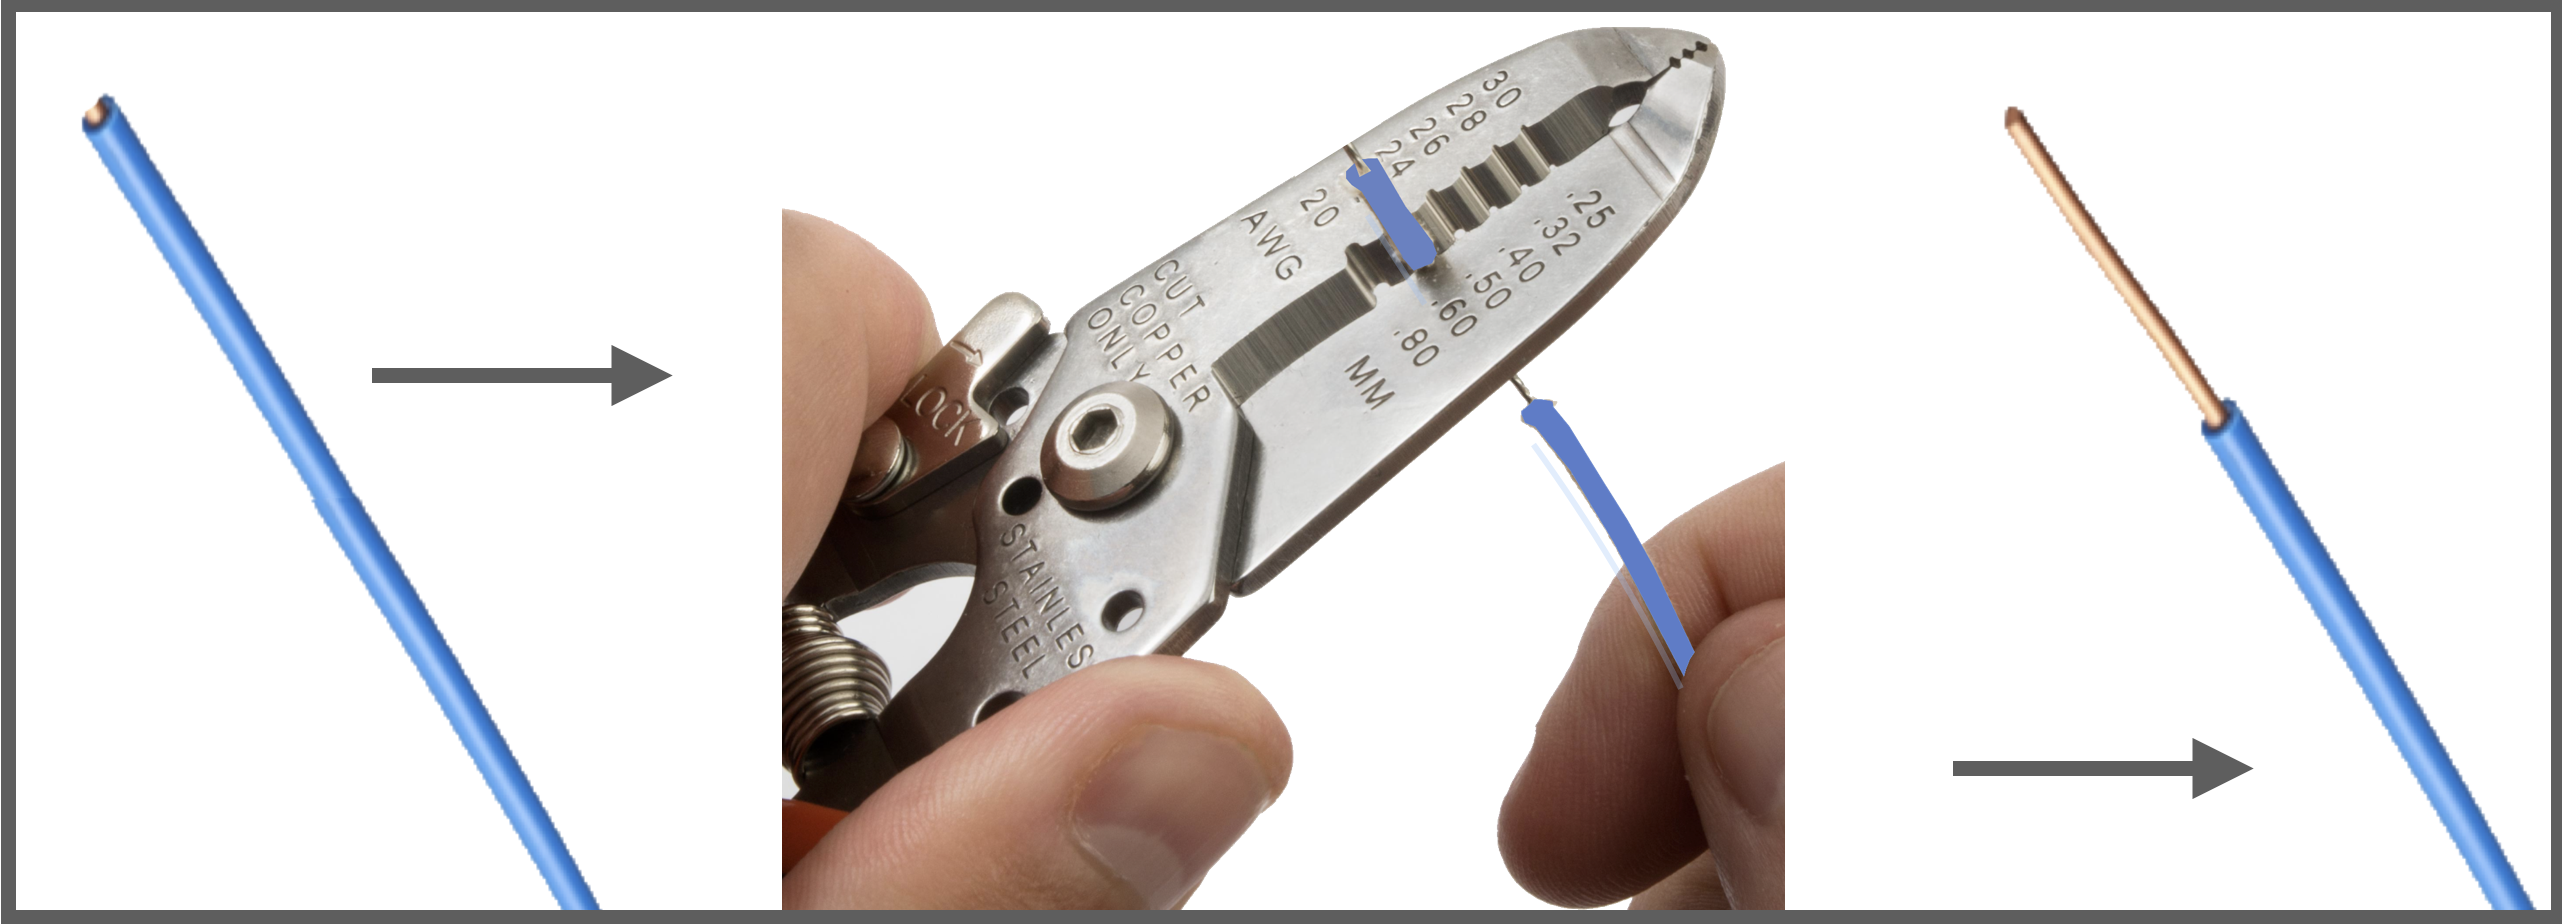
- Cut enough wire to distribute one piece to each pair. Strip approximately 2 cm of insulation from both ends of the wire.
- Place the materials each pair will need at a central distribution point.
- Separate the class into cooperative pairs.
Instruction:
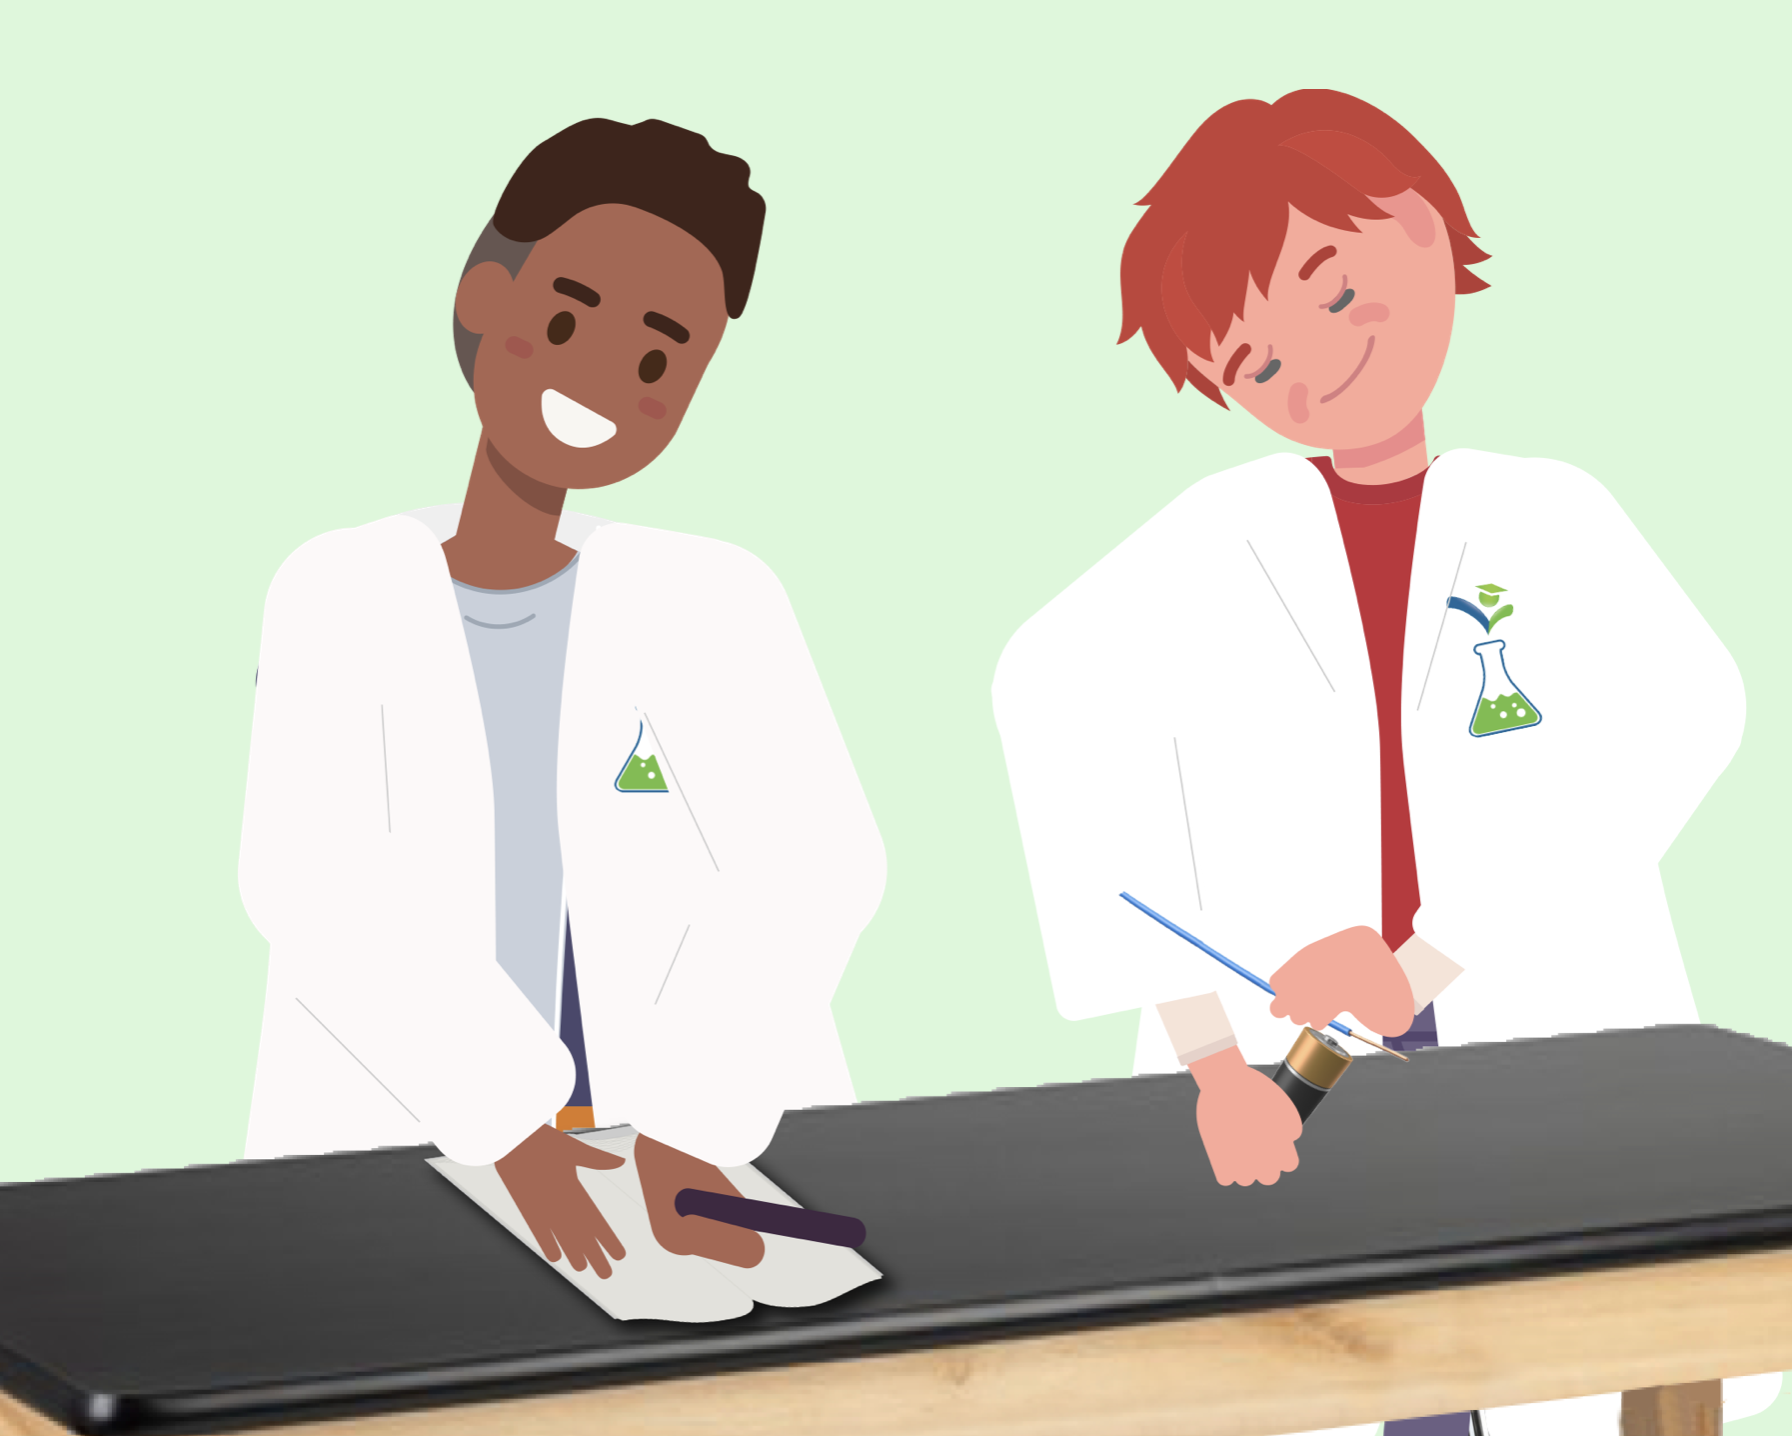
Direct each student group to obtain the following necessary materials from the distribution point: one (1) D cell battery, one (1) 20 cm piece of wire, and one (1) small light bulb.
Note: While conducting their experiments, students should be cautioned against connecting their electrical wire between the negative (-) and positive (+) ends of the battery without including the light bulb, as this can cause the electrons to flow too quickly and the battery to overheat.

GET FOCUSED
Investigation Three turns student focus to current electricity. Current electricity is that incredibly useful form of electrical energy that is carried by electrical wires and greatly influences our lives in many ways each day.
INVESTIGATE
Trial 1
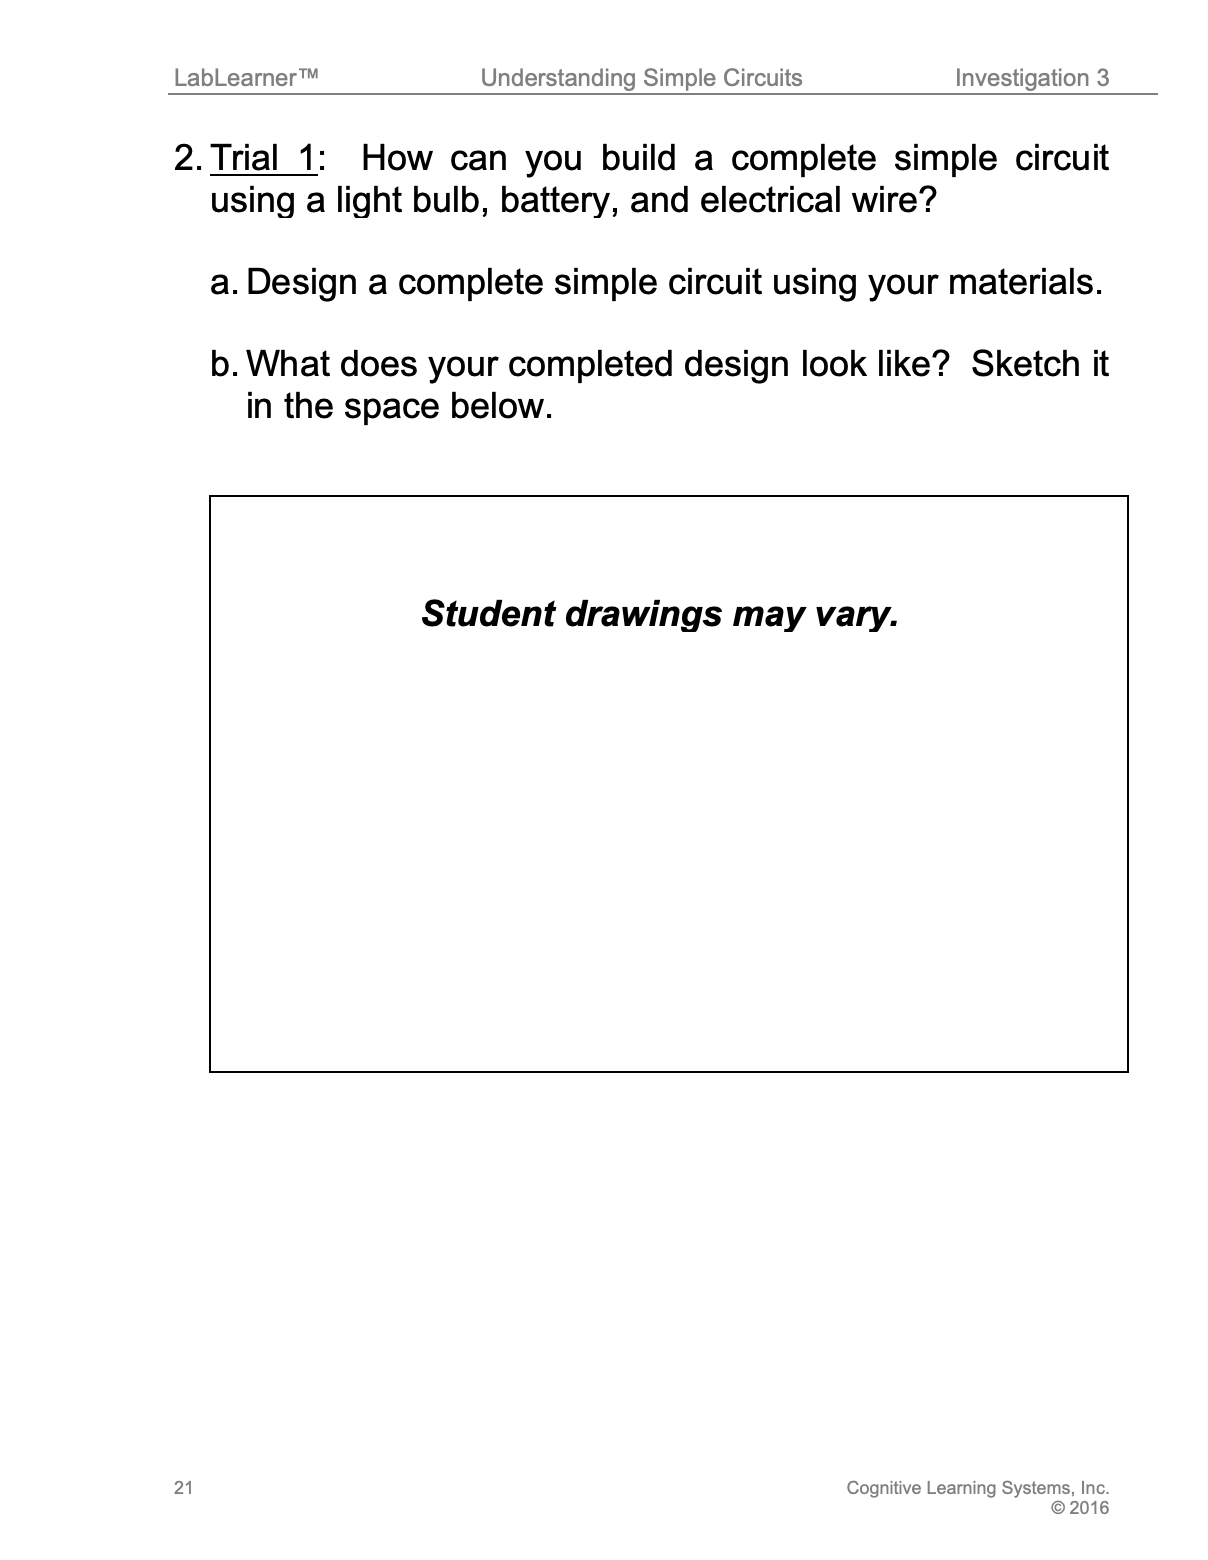
 1. In this part of the Investigation, students will explore how to assemble a complete simple circuit using a light bulb, battery, and electrical wire. This Trial has been designed to promote open-ended inquiry by students as they solve the problem of creating a complete simple circuit. It provides time for students to explore using the available materials to assemble their simple circuits and illuminate the light bulb. Students will begin the trial by attempting to answer the following question:
How can you build a complete simple circuit using a light bulb, battery, and electrical wire?
a. Direct student pairs to assemble a simple circuit using the materials they have available: the light bulb, battery, and electrical wire.
b. Explain that as students attempt to build their complete circuit, they should observe changes in the light bulb. An illuminated bulb indicates that a complete circuit has been created.
c. After students have explored using their materials for approximately ten minutes, ask them to make a sketch of their design in Problem 2b in their Student Data Record.
 Trial 2
2. Trial 2 has been designed to lead students through the creation of a simple circuit. Although some student pairs may have successfully created a simple circuit in Trial 1, it is likely that some student pairs were unsuccessful.
In this Trial, students will assemble a simple circuit using a set of directions, thus obtaining experience in constructing a complete circuit and understanding the components necessary for a complete circuit. After constructing their simple circuits, they will sketch and label their circuit and answer the following questions.
How do you know a complete circuit was created?
How does this circuit compare to what you constructed in Trial 1?
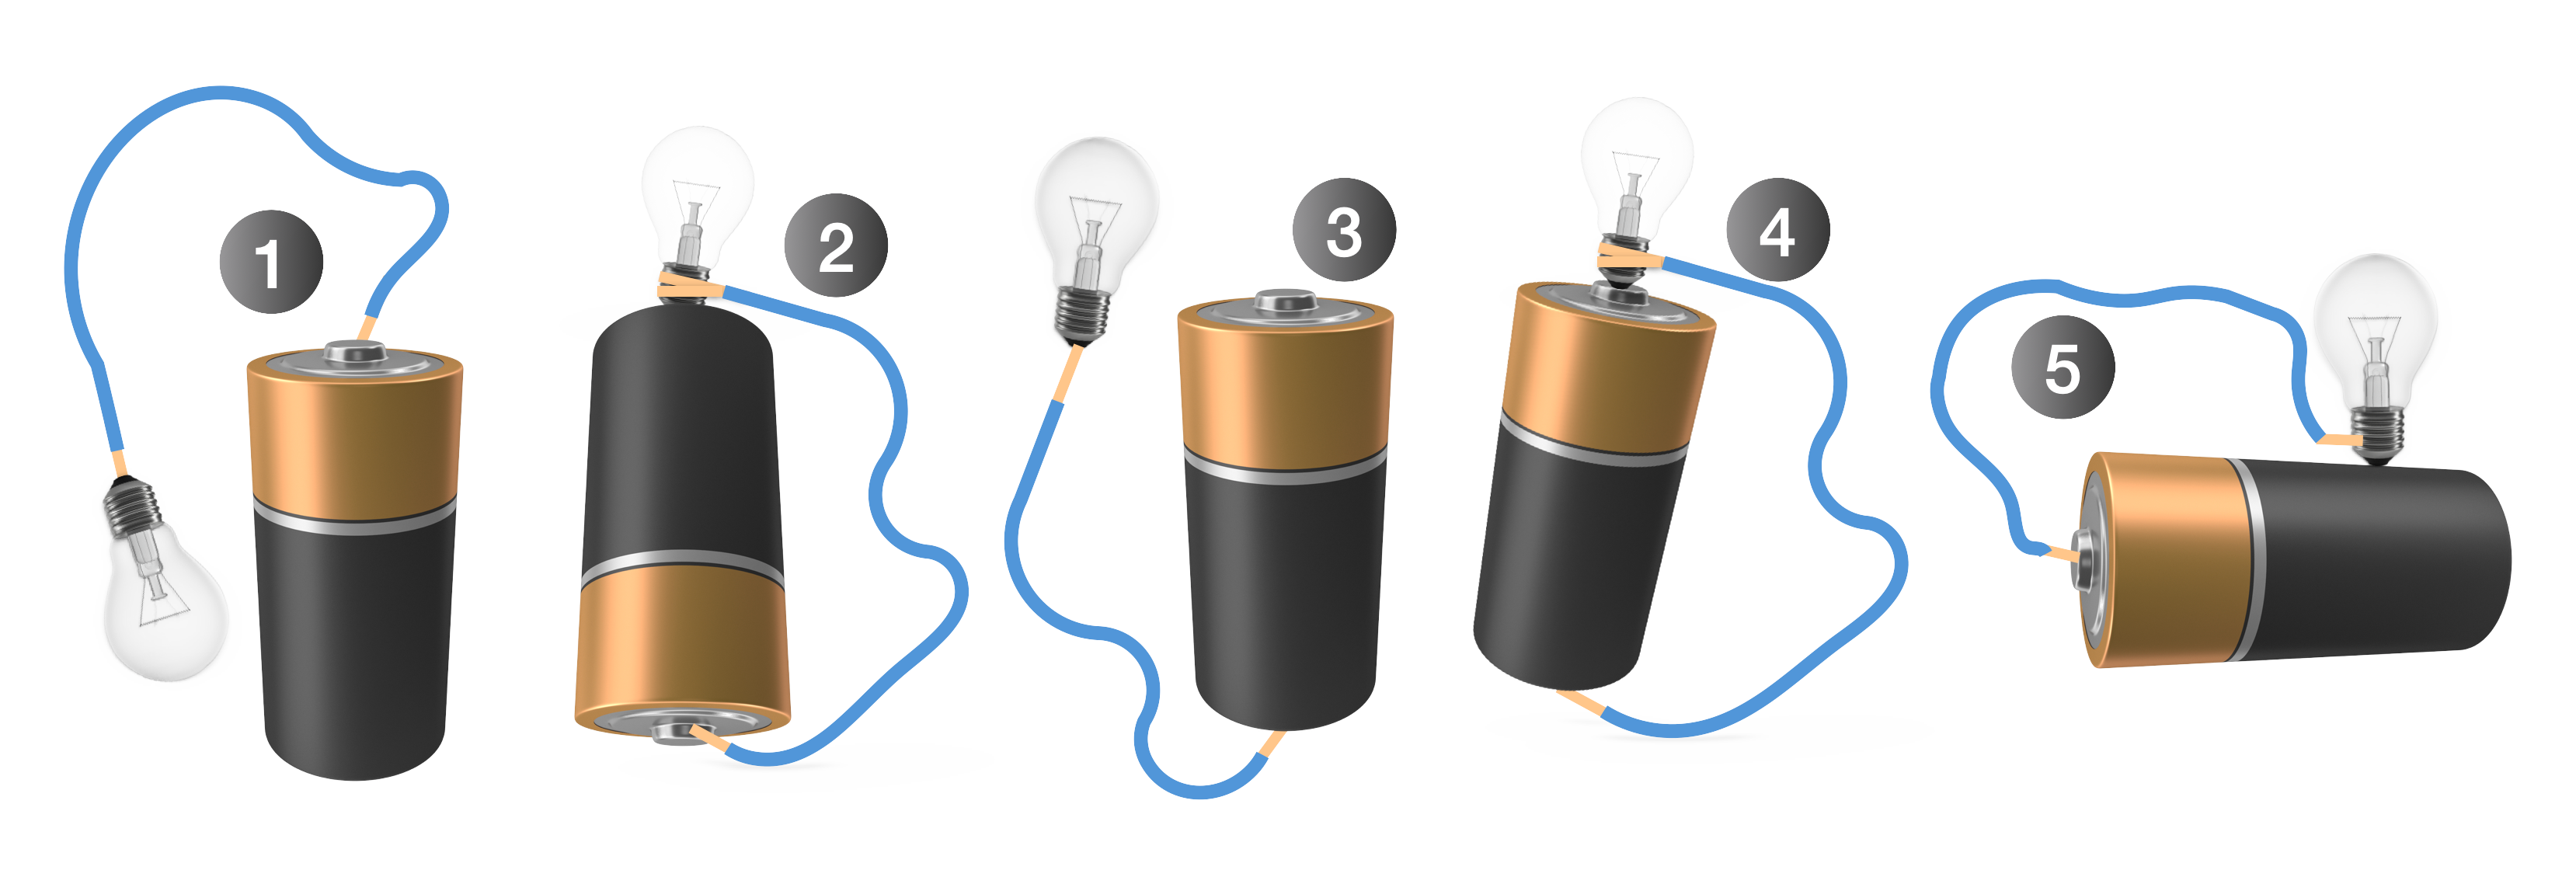
a. Use the directions that follow to guide students through the assembly of their simple circuit.
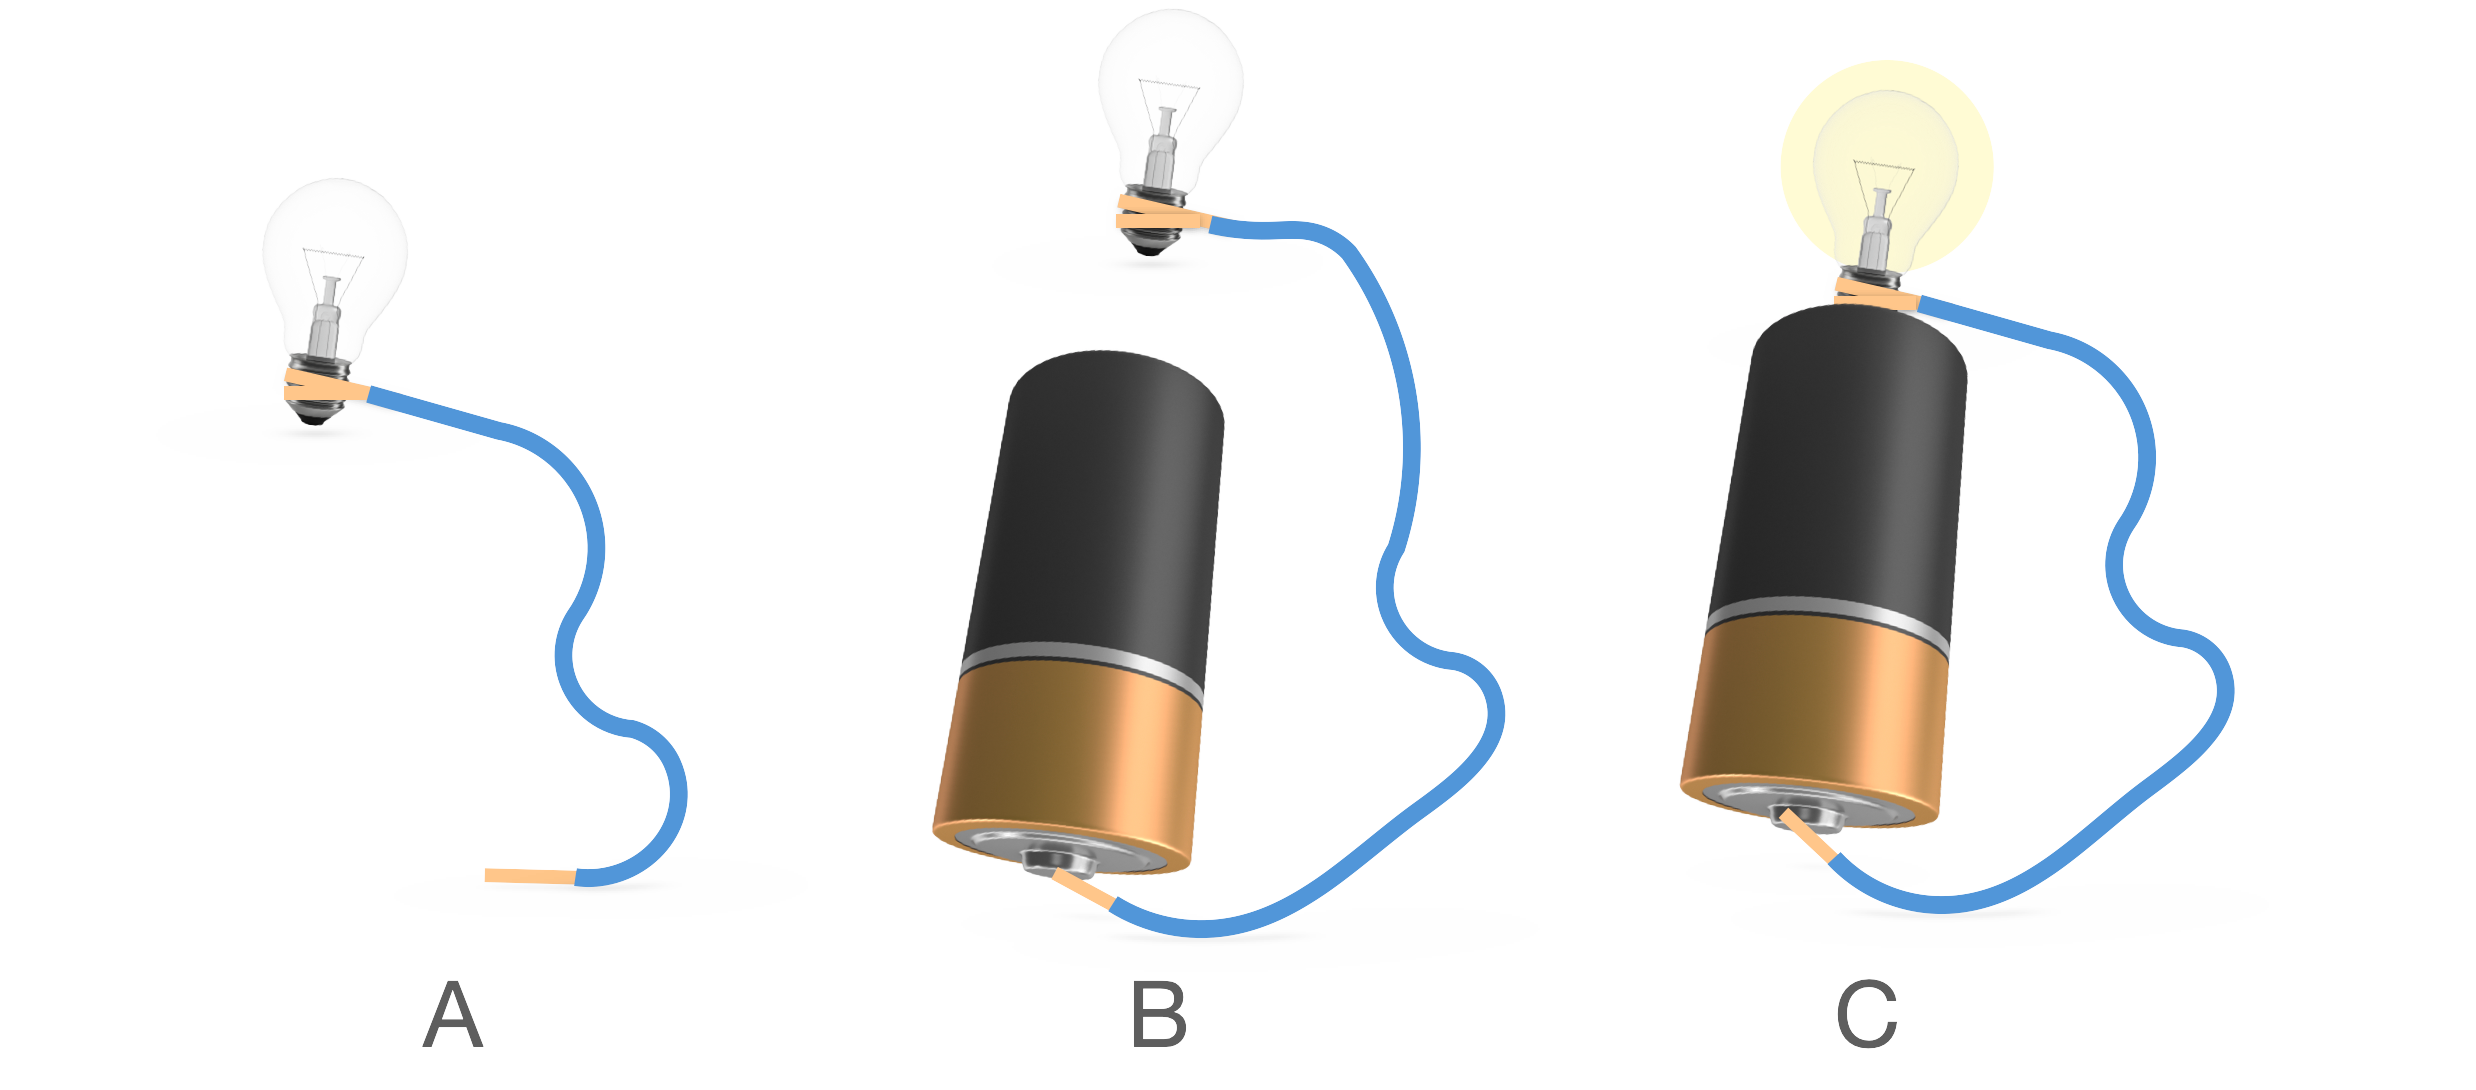
- Twist one end of the electrical wire around the base of the light bulb (Figure A, below).
- One student in each pair should hold the other end of the wire to the positive (+) end of the battery (Figure B, below).
- The other student should place the base of the light bulb against the negative (-) end of the battery (Figure C, below).
b. Ask students: How do you know that a complete circuit was created? How does this circuit compare to what you constructed in Trial 1? Student answers may vary depending on the type of circuit they created in Trial 1. However, students should indicate that the circuit was complete because the bulb was illuminated.
c. Allow students adequate time to record their answers in Problems 3b and c in their Student Data Record.
Trial 3
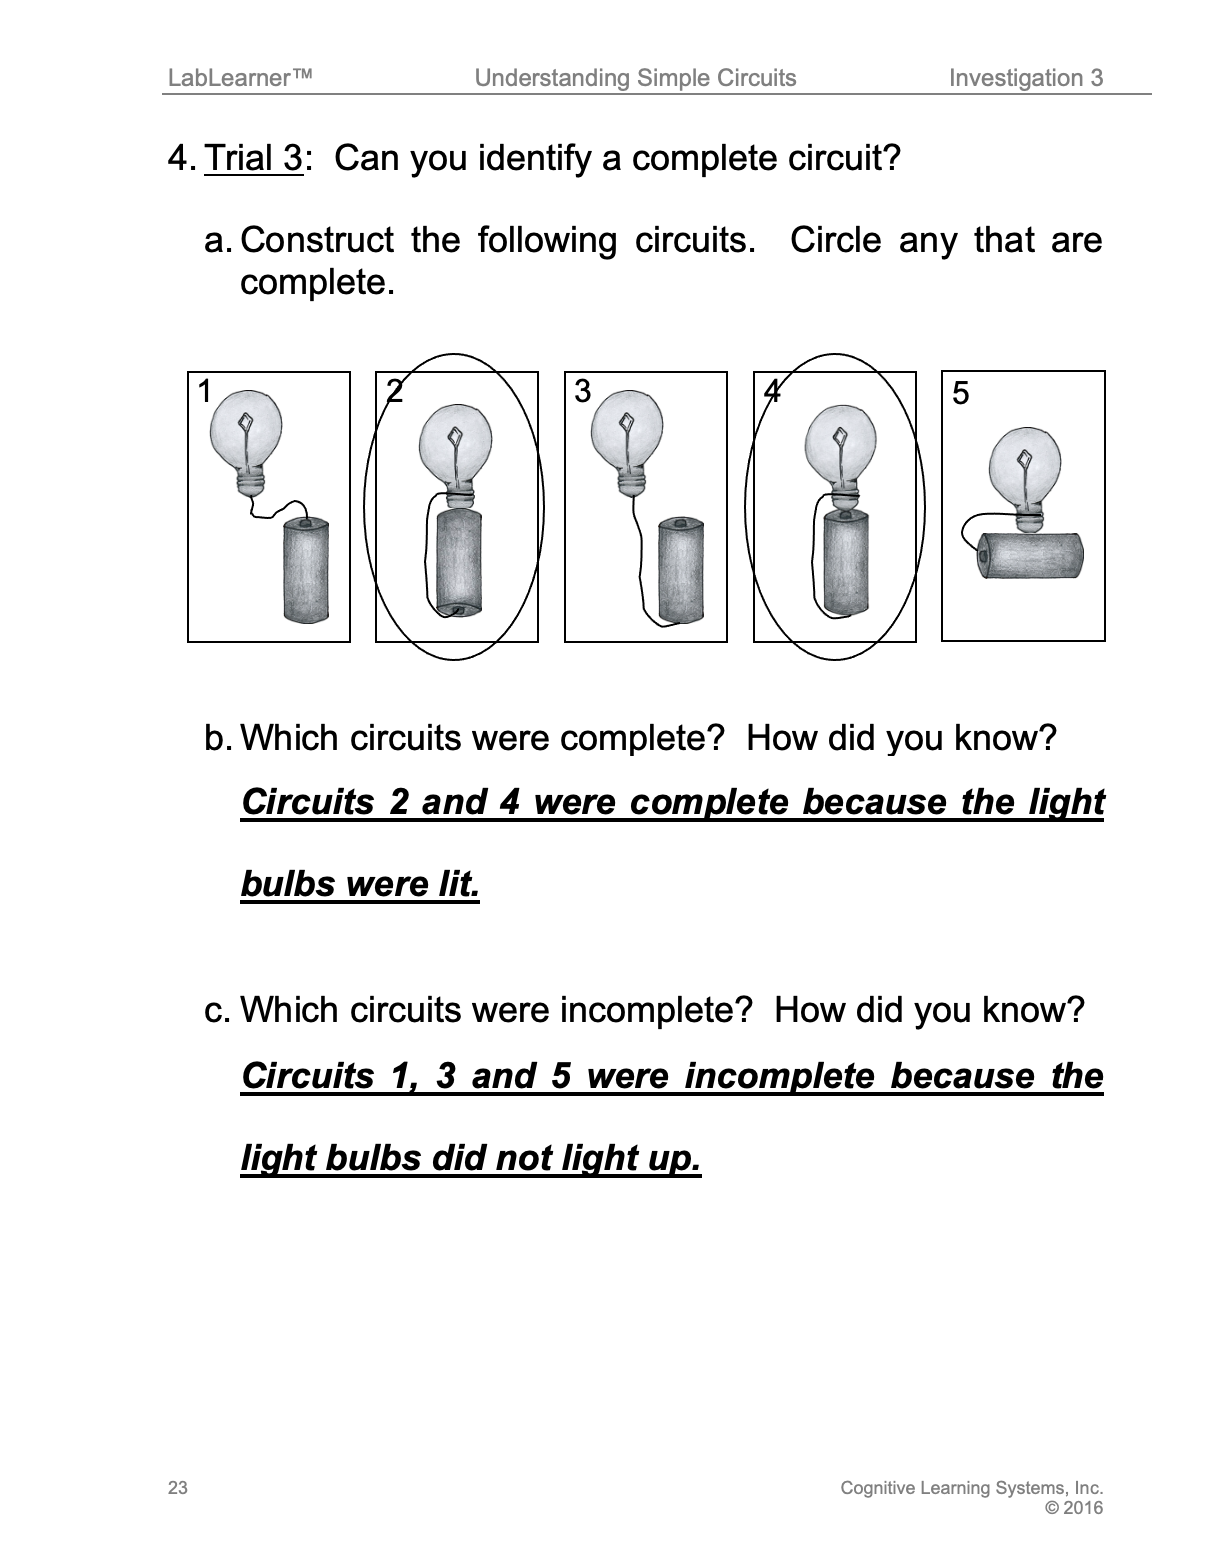
3. Students will test several examples of simple circuits to determine whether they are complete or incomplete. They will answer the following question as they complete their tests.
How can you identify a complete circuit?
a. Instruct students to test the circuit examples shown in problem 4a by reproducing each example using the light bulb, battery, and electrical wire. Students should circle the examples that make a complete circuit.
b. Ask students: Which circuits are complete? Tell them to record their answer in Problem 4b in their Student Dara Record.
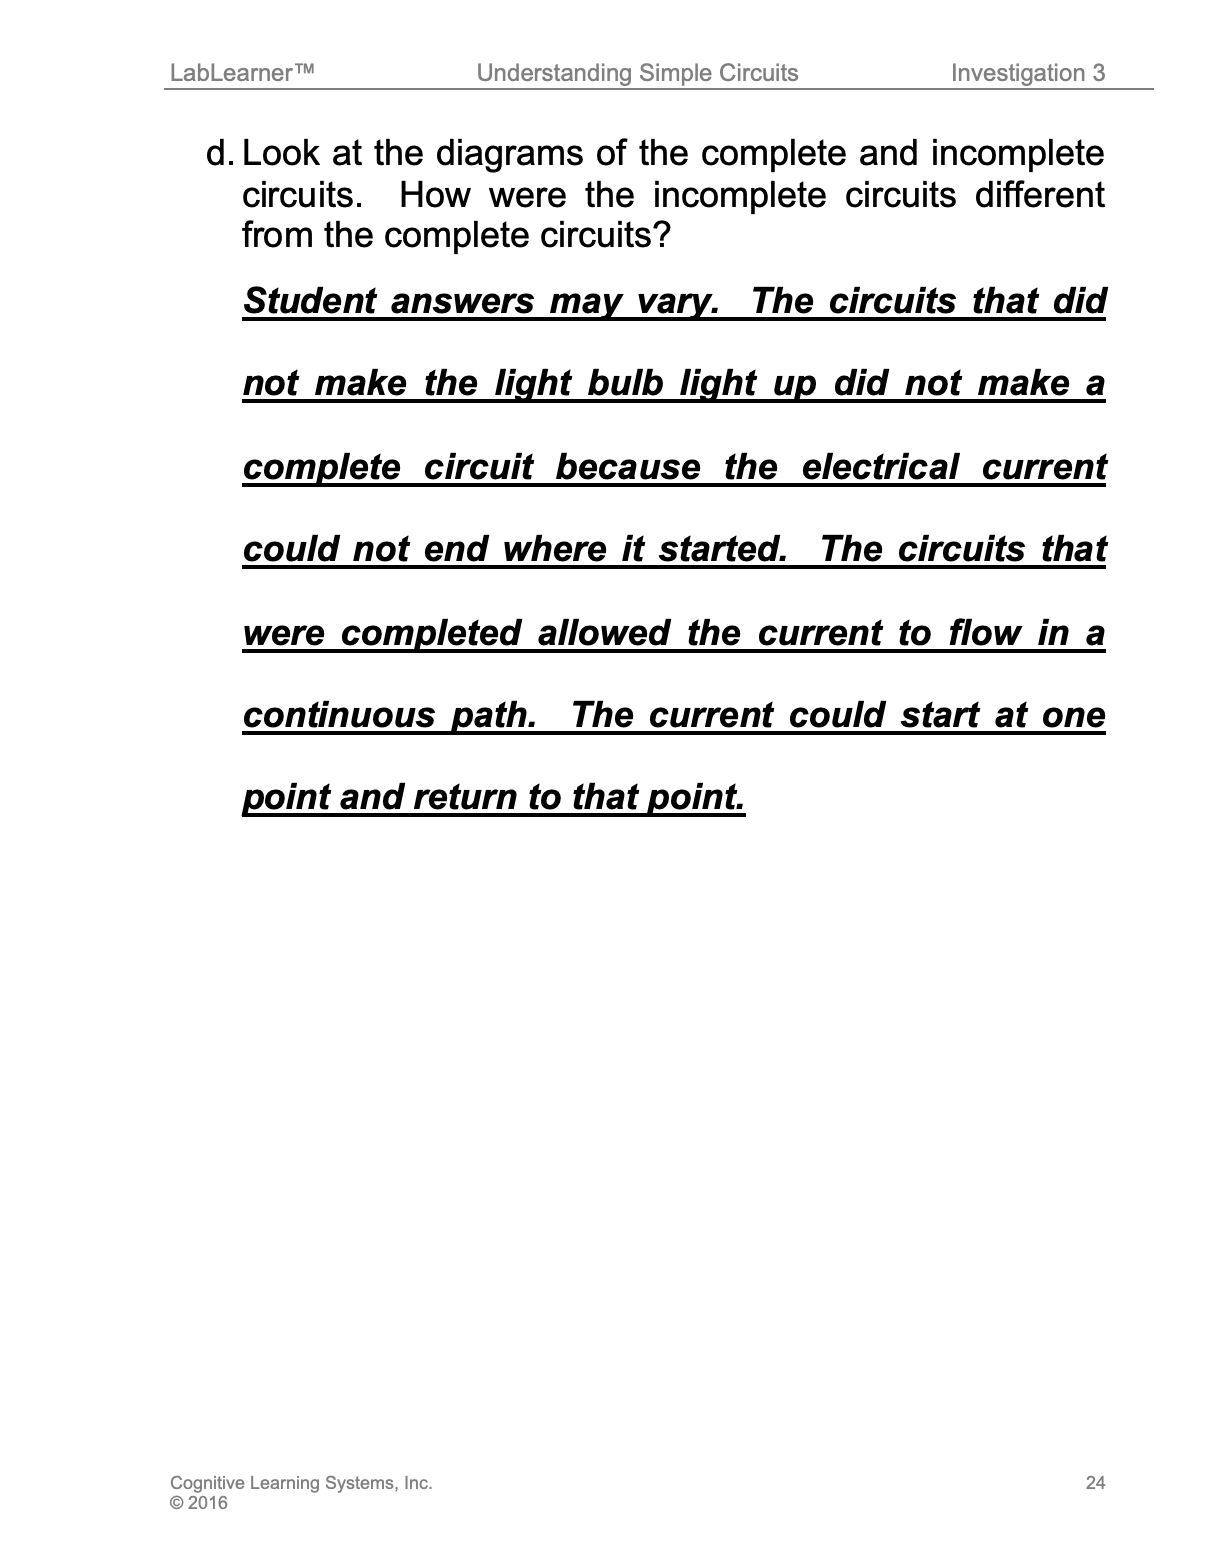
c. Ask students: Which circuits were incomplete? How did you know? Students should indicate that circuits 1, 3, and 5 were incomplete because the bulbs did not illuminate.
KEYS

CLEAN UP
Let students know your expectations for clean-up. Ask them to clean up.