Teacher Portal:
Microscopic Explorations
Investigation 5 – Lab
ASK WHY
Microscopes are one of the most important scientific instruments developed. In fact, in the medical field, microscopes are largely responsible for making modern medicine “modern”!
BRANCH OUT
In LabLearner we use compound light microscopes. These are very widely used in both research and clinical and industrial applications. However, there are many additional types of microscopes that are used for various purposes. Among the most useful in research is the electron microscope. While light microscopes have a maximum magnification of about 1,000X, electron microscopes have magnifications of around 300,000X with even better resolution than a light microscope. Whereas light microscopes may be able to see organelles within cells, like the nucleus and even mitochondria, electron microscopes can actually see individual atoms!
BE PREPARED
| Class materials: |
|
| Pair materials: |
|
| Individual materials: |
|
Teacher Preparation
1. Place one (1) Elodea slide, one (1) Pinus stem slide, one (1) Colon slide, one (1) Human blood slide, 20-gram cubes of the same color, and 12-gram cubes of a different color at each table.
2. Divide the class into pairs. Assign two to three student pairs to a table. Each student pair will receive one microscope.
GET FOCUSED
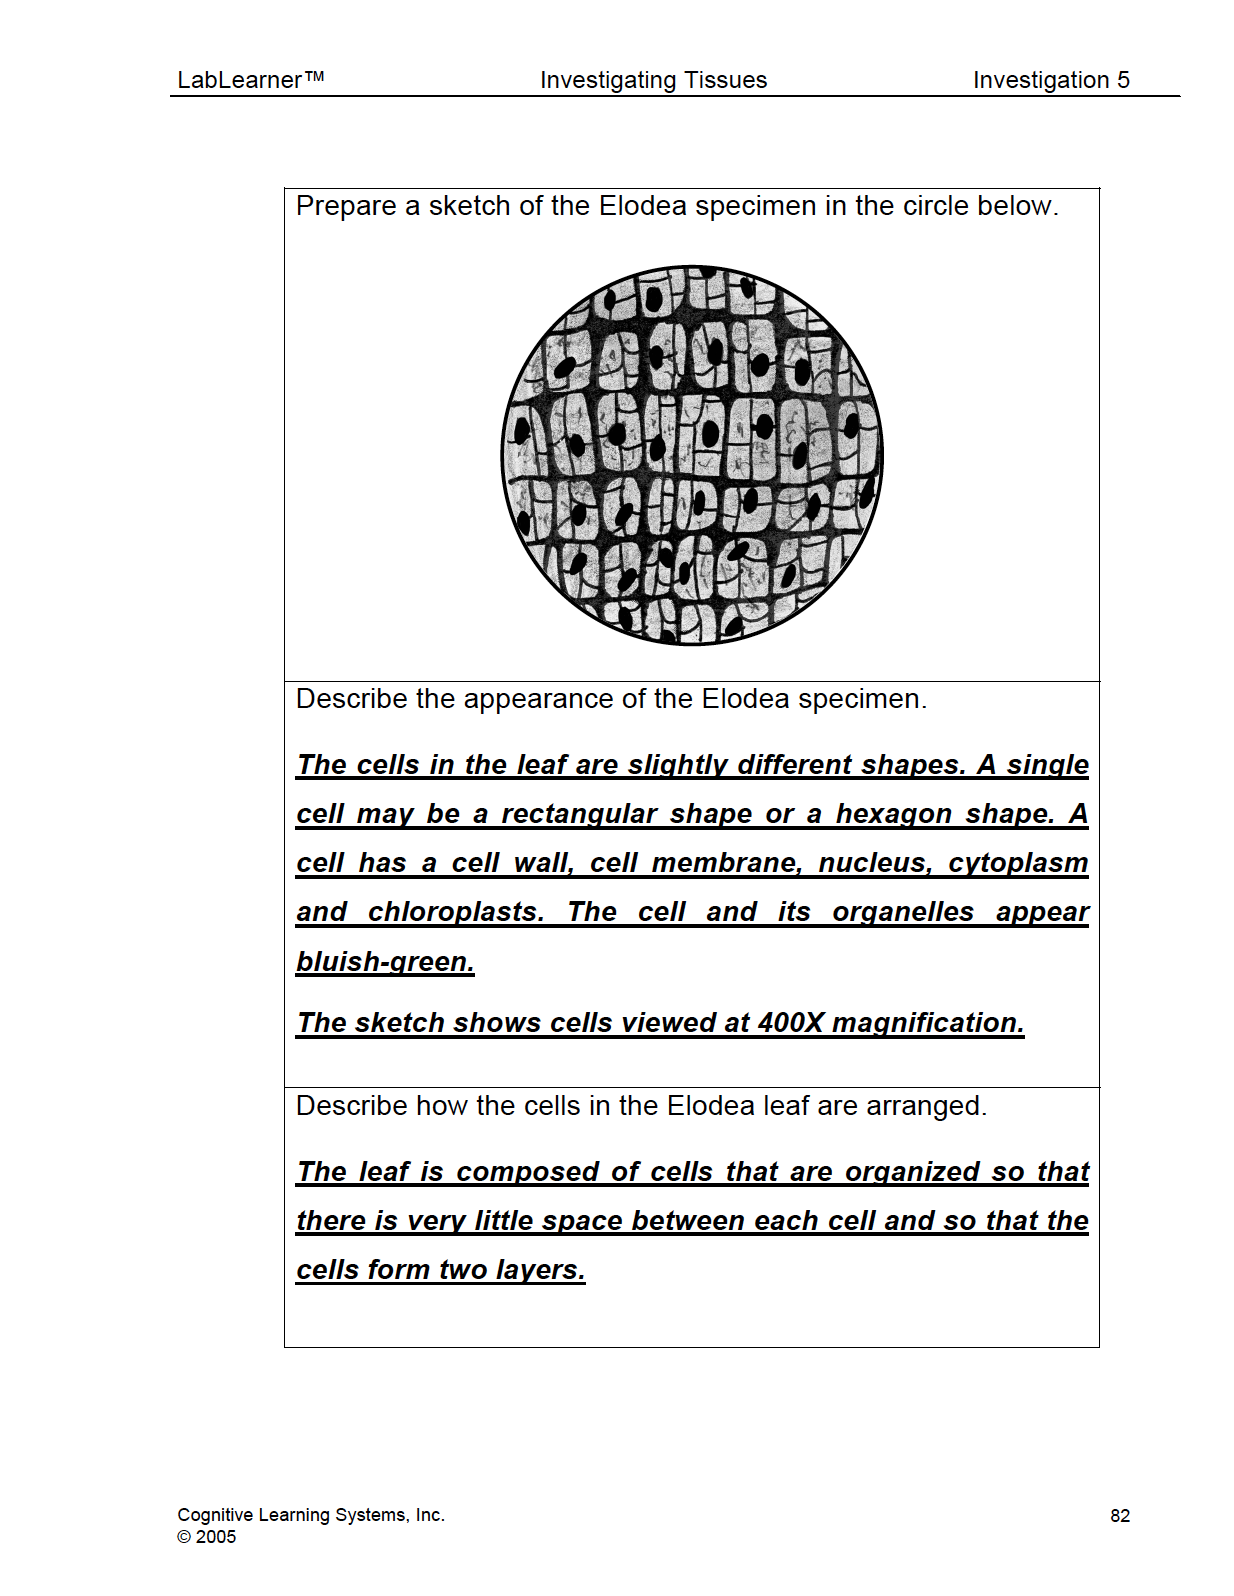
As students study an Elodea leaf and onion specimen they should be aware of the differences in the magnification, resolution, and field of view afforded with each objective lens. They will be asked to apply their observation of these differences as they sketch and describe their observations of the onion cells at each of the different levels of magnification.
As in Investigations One, Two, and Three, students’ observations should help reinforce the concept that lenses refract light and that refraction of light produces images that appear different from the object. Students should also note that regardless of the objective used to view the specimens, the proportions of the cells are maintained when viewing their images.
_____________________________________________
INVESTIGATE
Trial 1
In Trial One, students will have an opportunity to observe two plant and two animal specimens. As students study an Elodea, Pinus stem, Human Blood, and Color specimens they should be aware of the differences in the magnification, resolution, and field of view afforded with each objective. They will be asked to apply their observation of these differences as they view and describe their observations of the organization of cells within the specimens. As in the previous investigations, students’ observations should help reinforce the concept that lenses refract light and the refraction of light produces images that appear different from the object. Students should also note that regardless of the objective used to view the specimens, the proportions of the cells are maintained when viewing their images.
In Investigations Three and Four students were introduced to one of the general principles of biology: plant and animal cells contain organelles and structures within them. From their investigations students likely made the following generalization: all plant cells contain the same structures and organelles and all animal cells contain the same structures and organelles. The generalization stated above is true, for the most part. And it is for this reason that specimens such as the onion and cheek cells can be used to introduce students to cellular structures.
However, as with many areas of biology, there is also an inherent variation that exists in cells and in the arrangement of cells in larger structures such as tissues and organs. Trial One is designed to challenge students to consider several issues:
-
-
- how one part of a plant or animal can differ from another if the cells that compose those parts are similar
- how one plant or animal can differ from another if plant cell or animal cells contain the same organelles
-
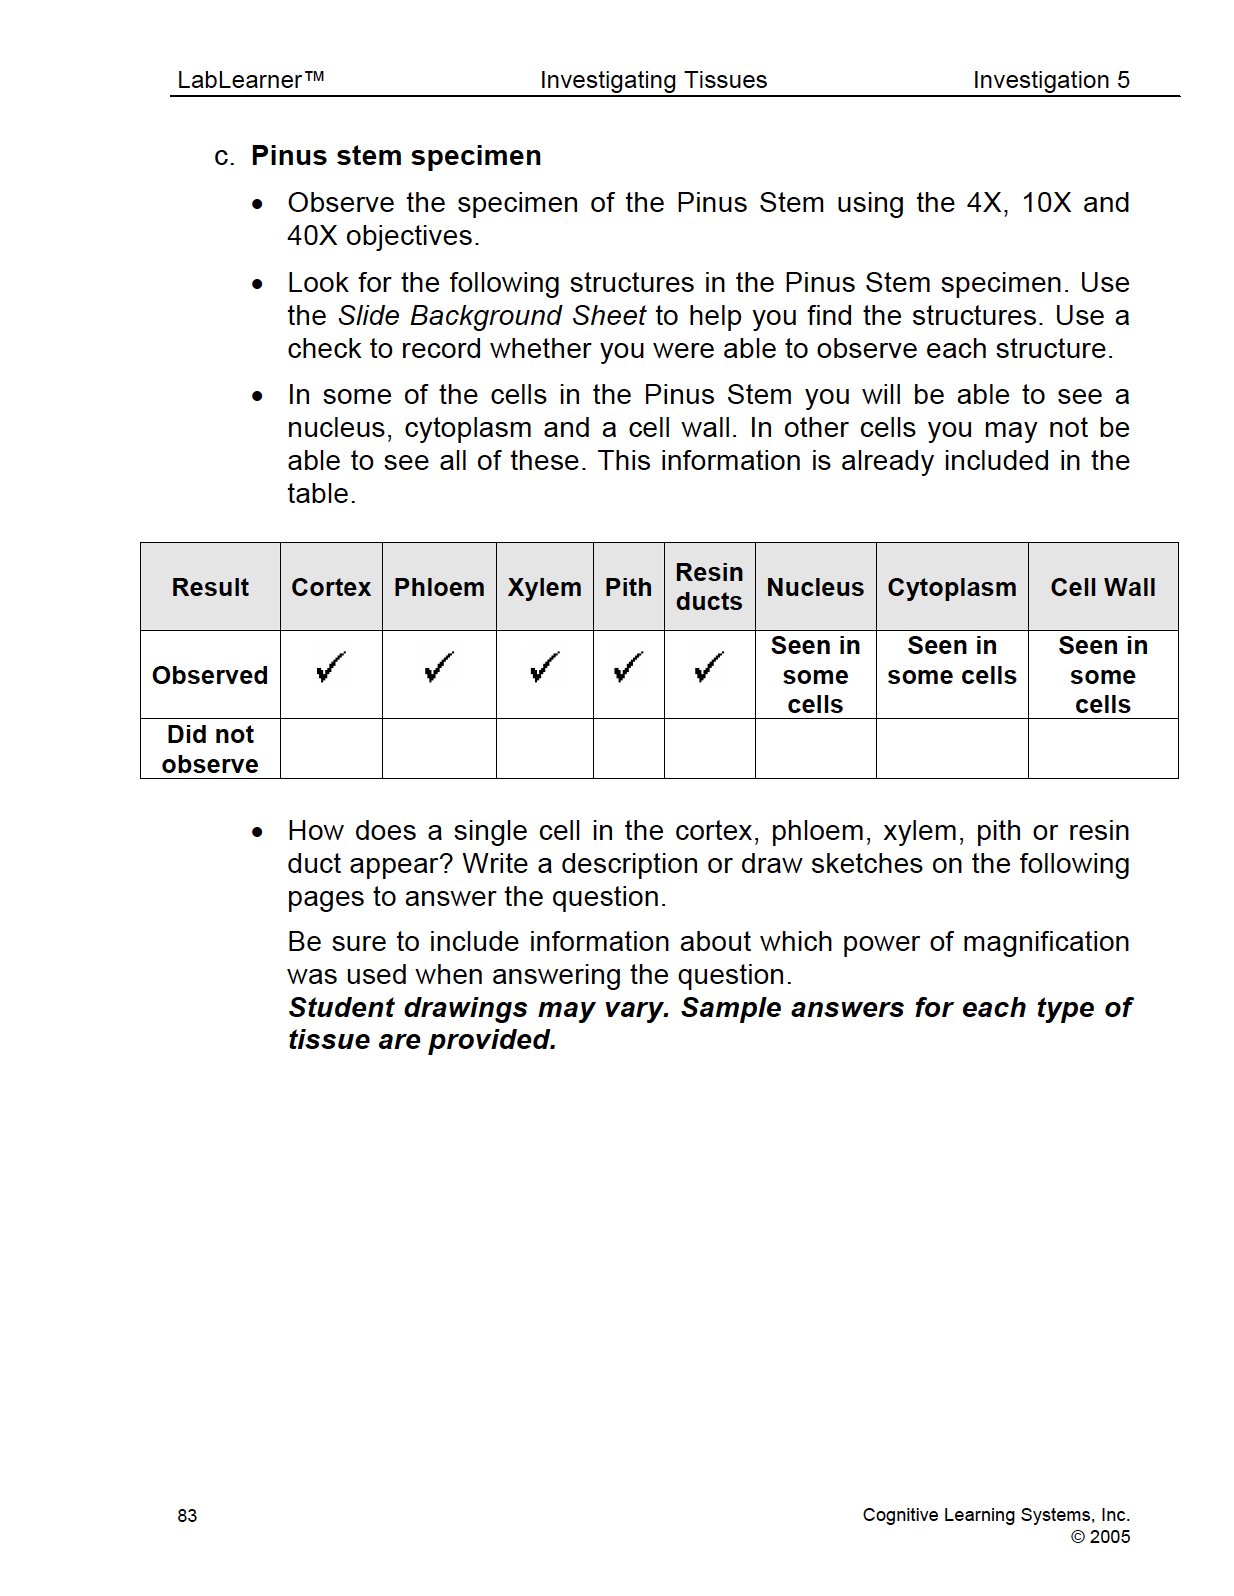
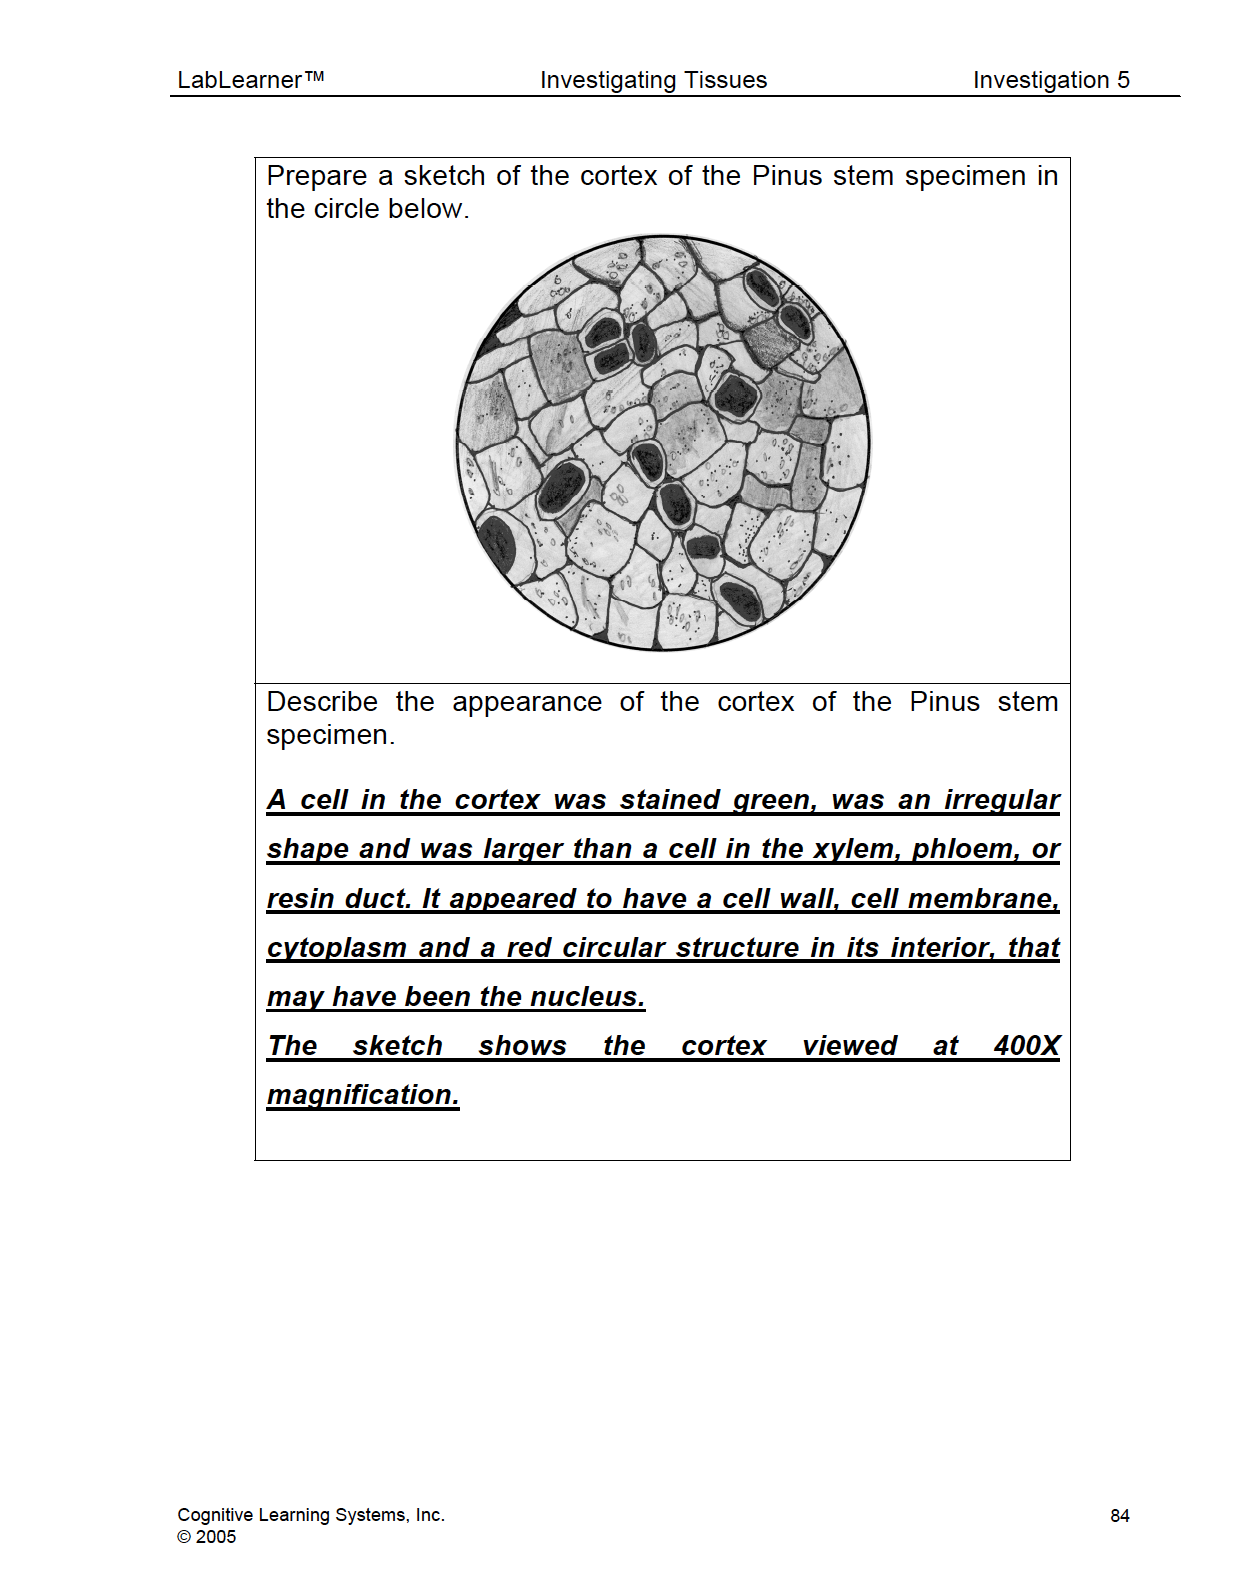
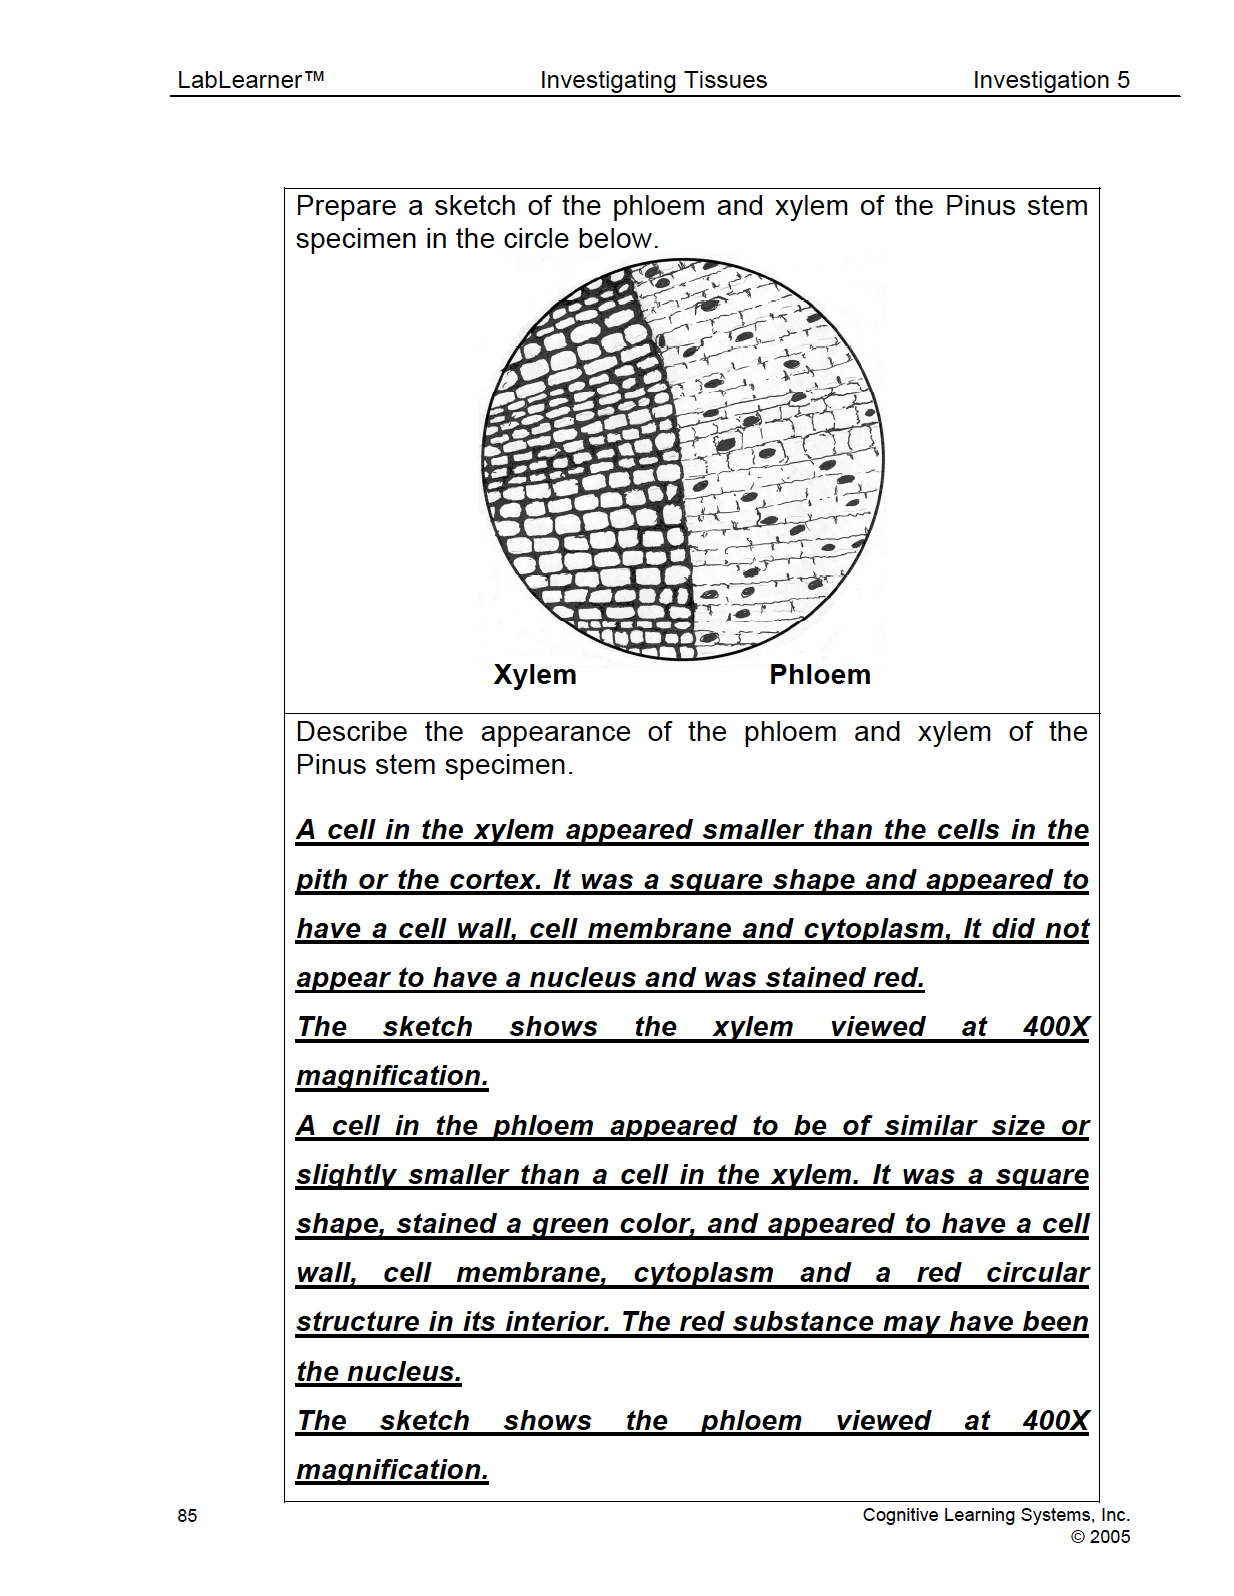
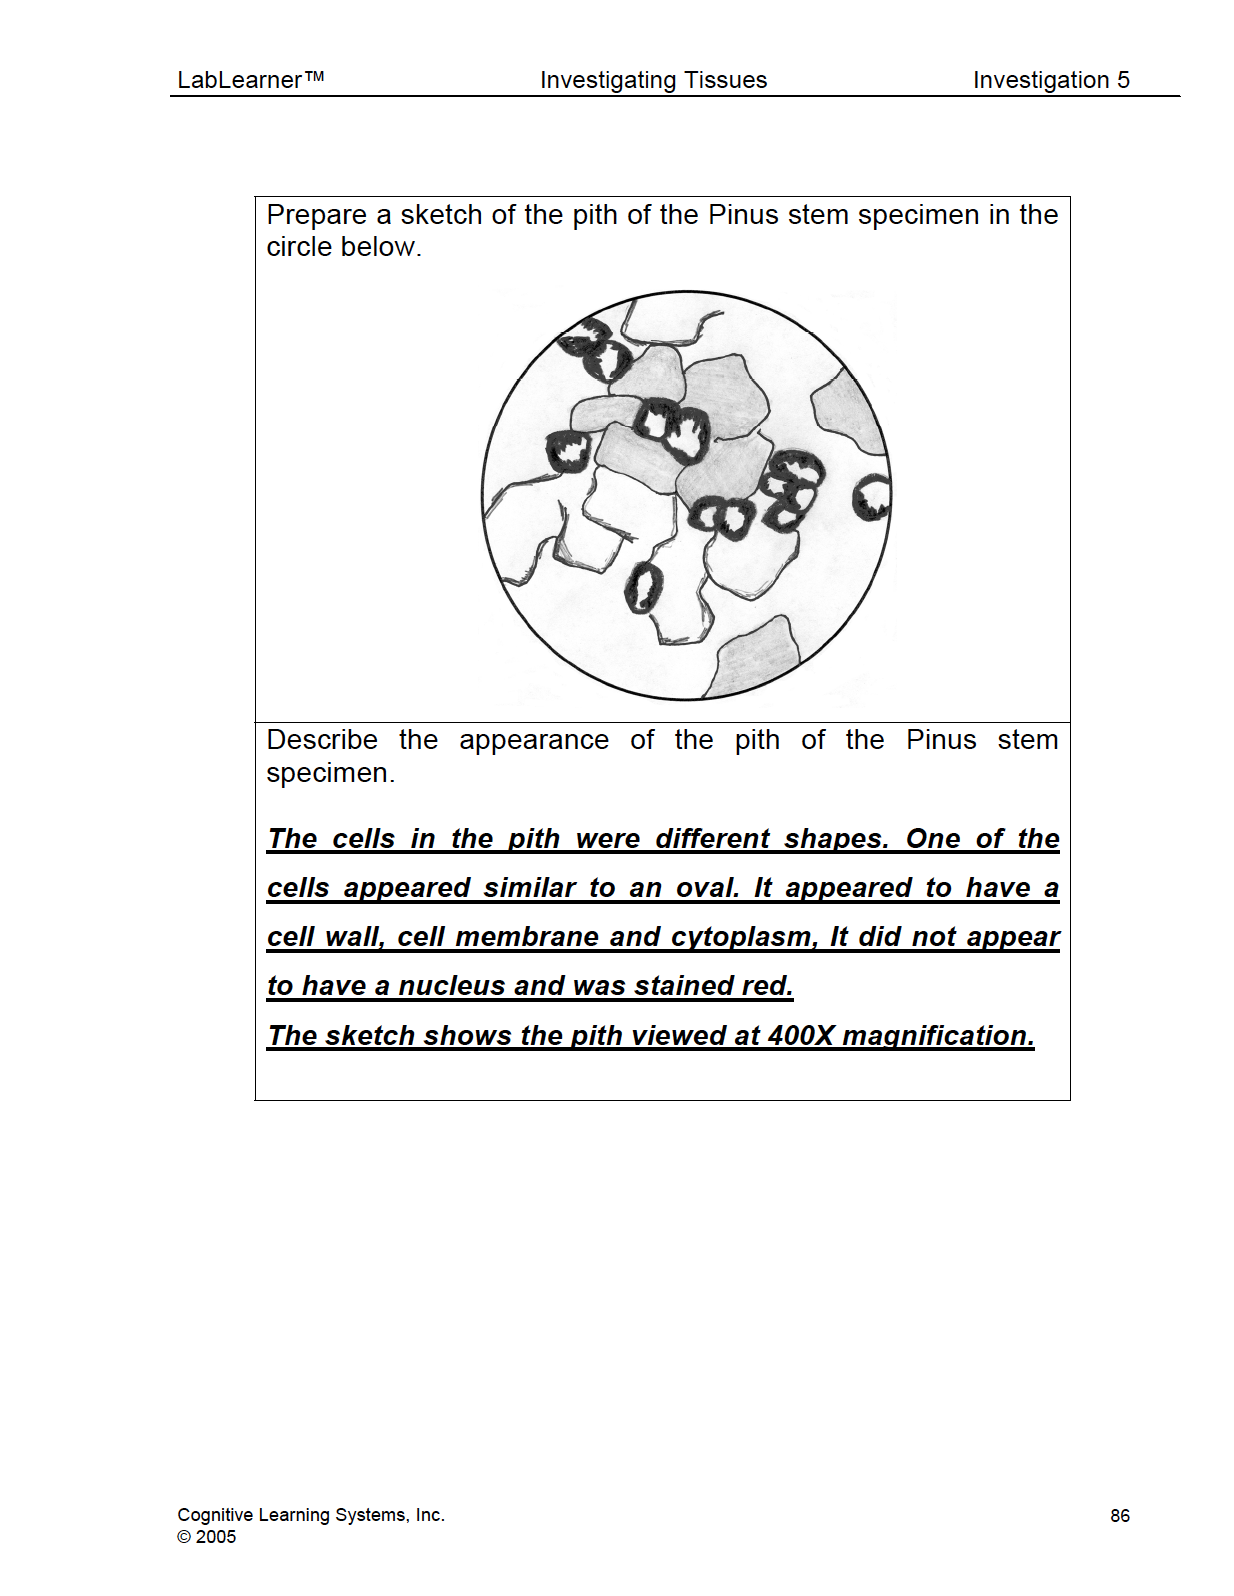
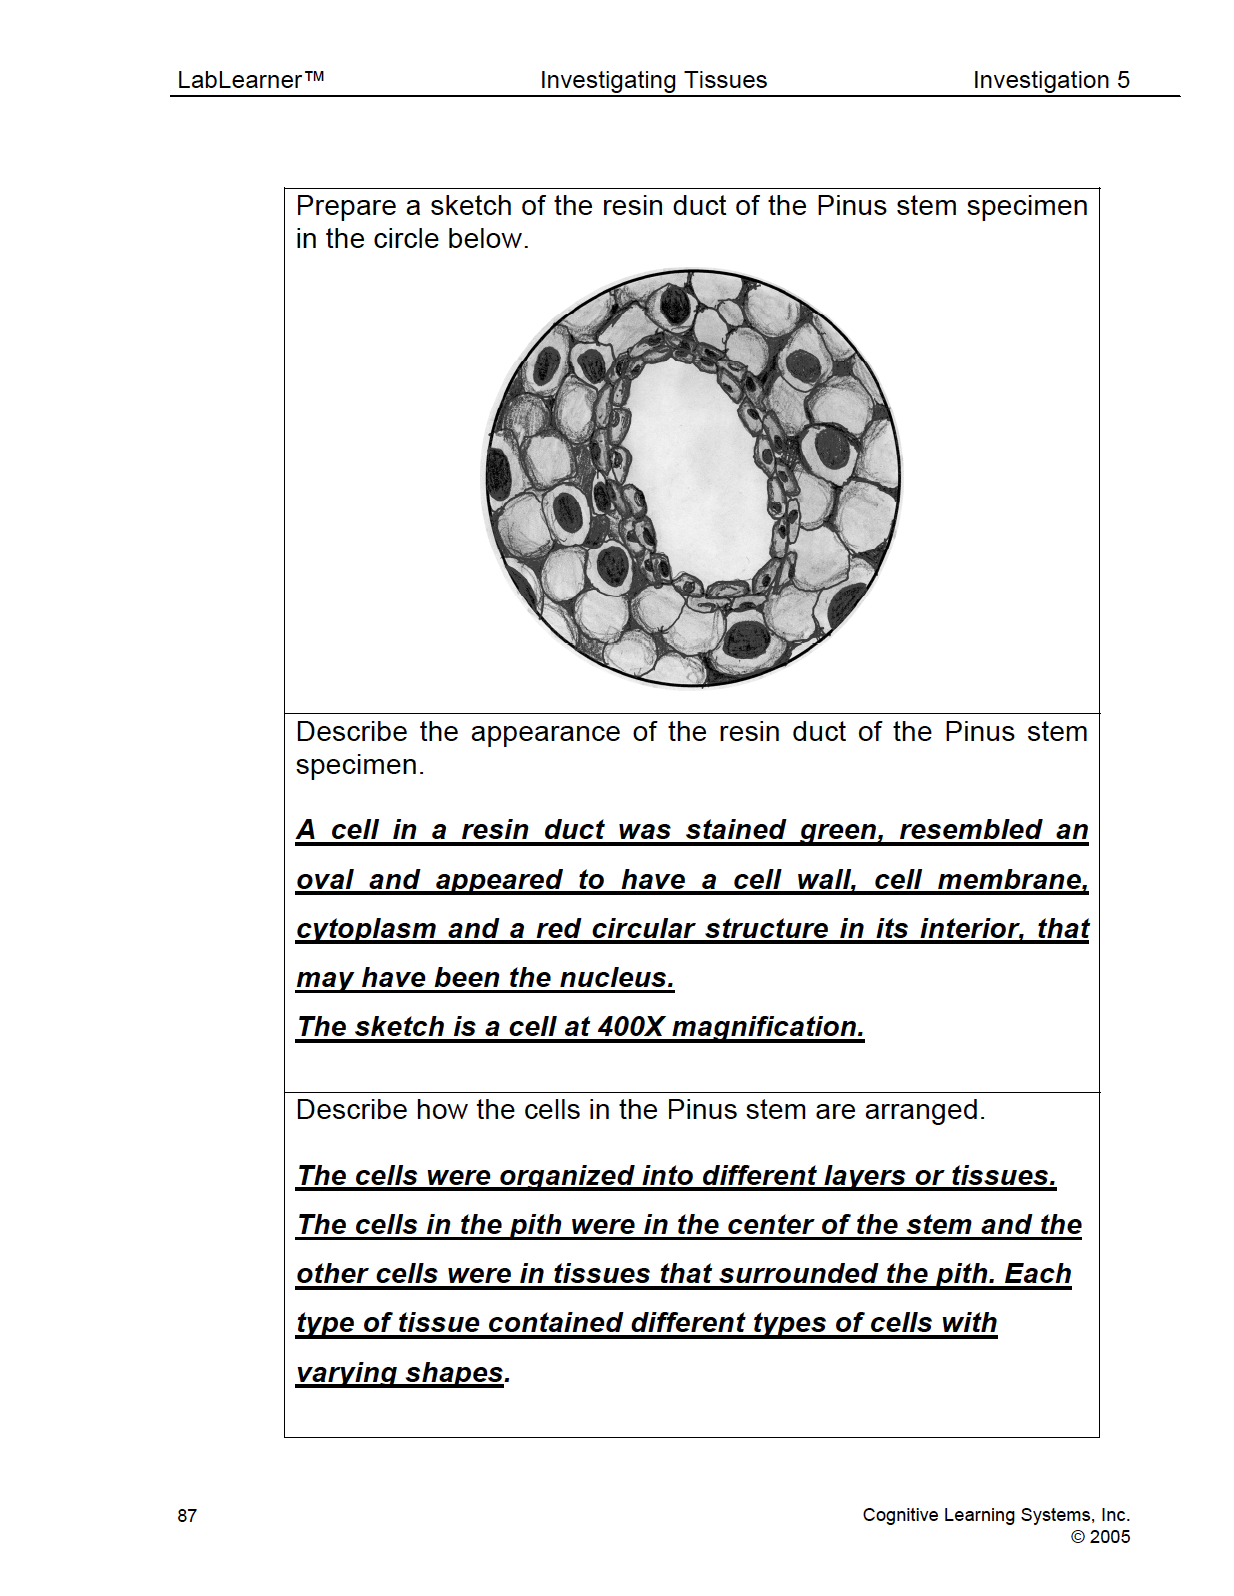
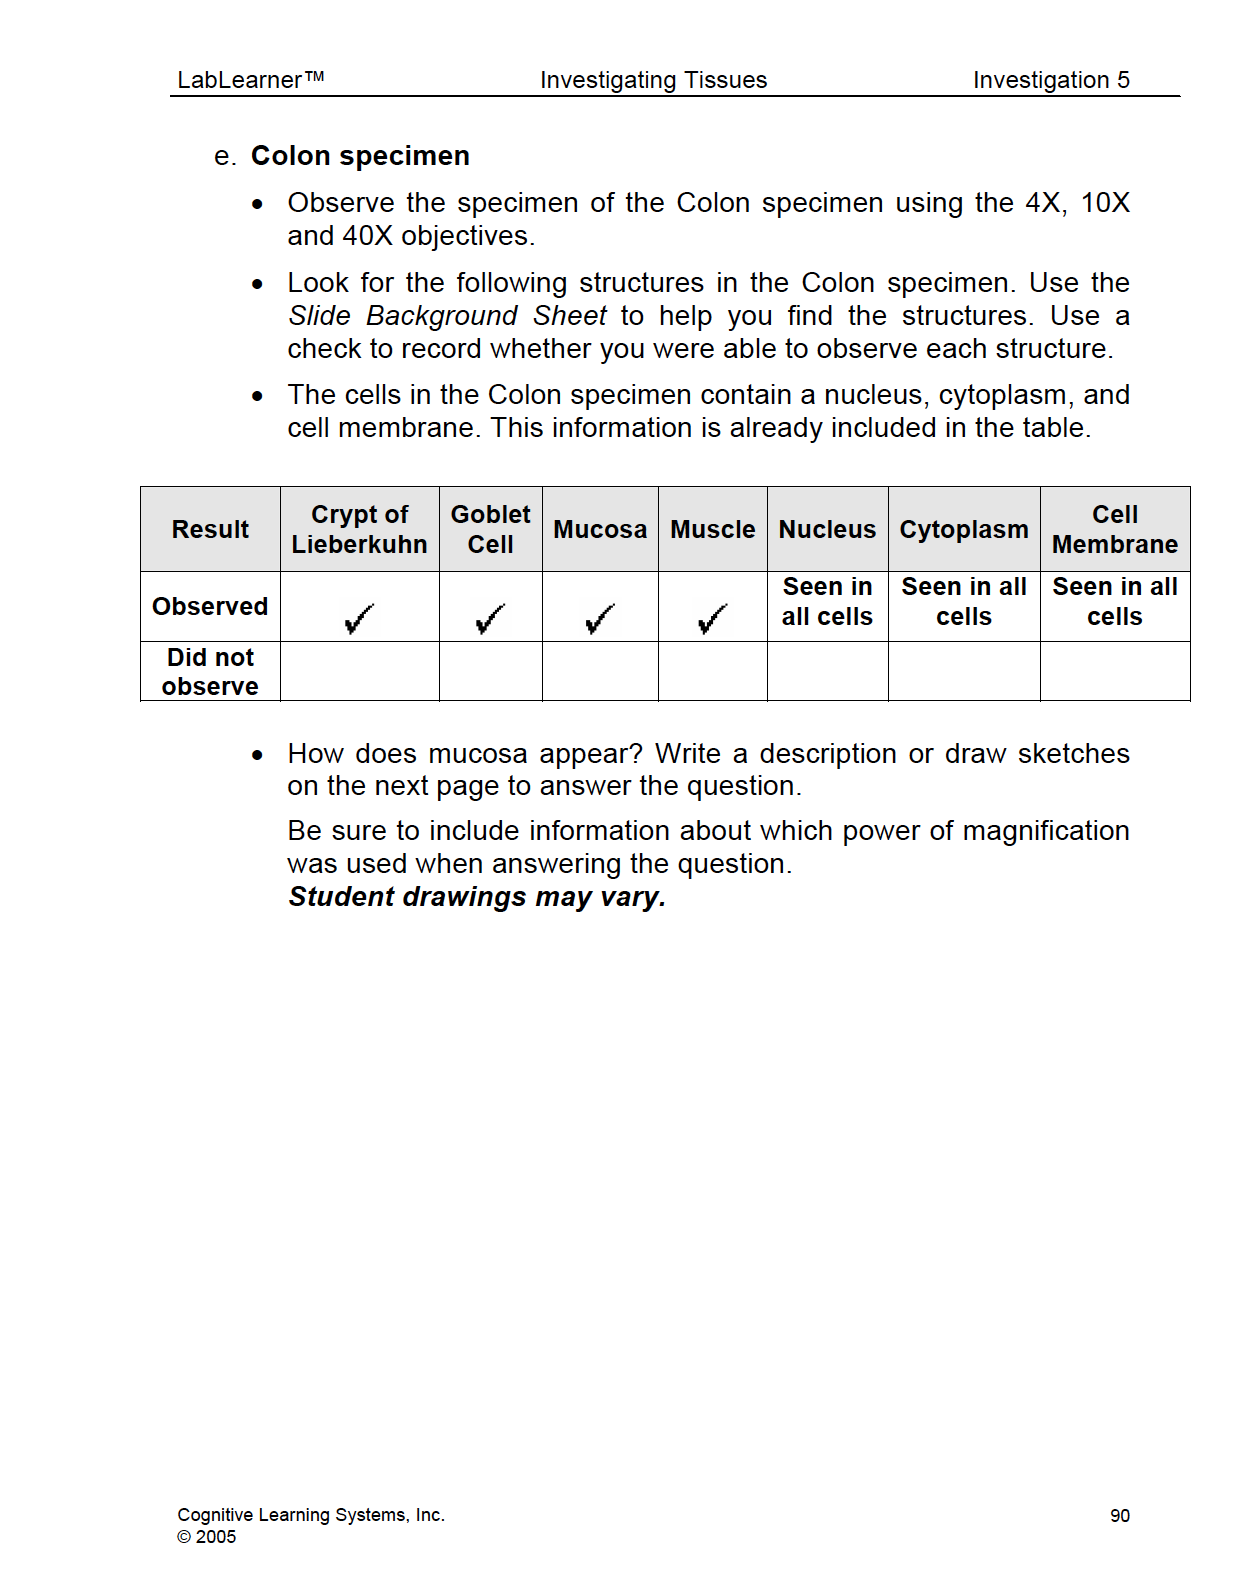
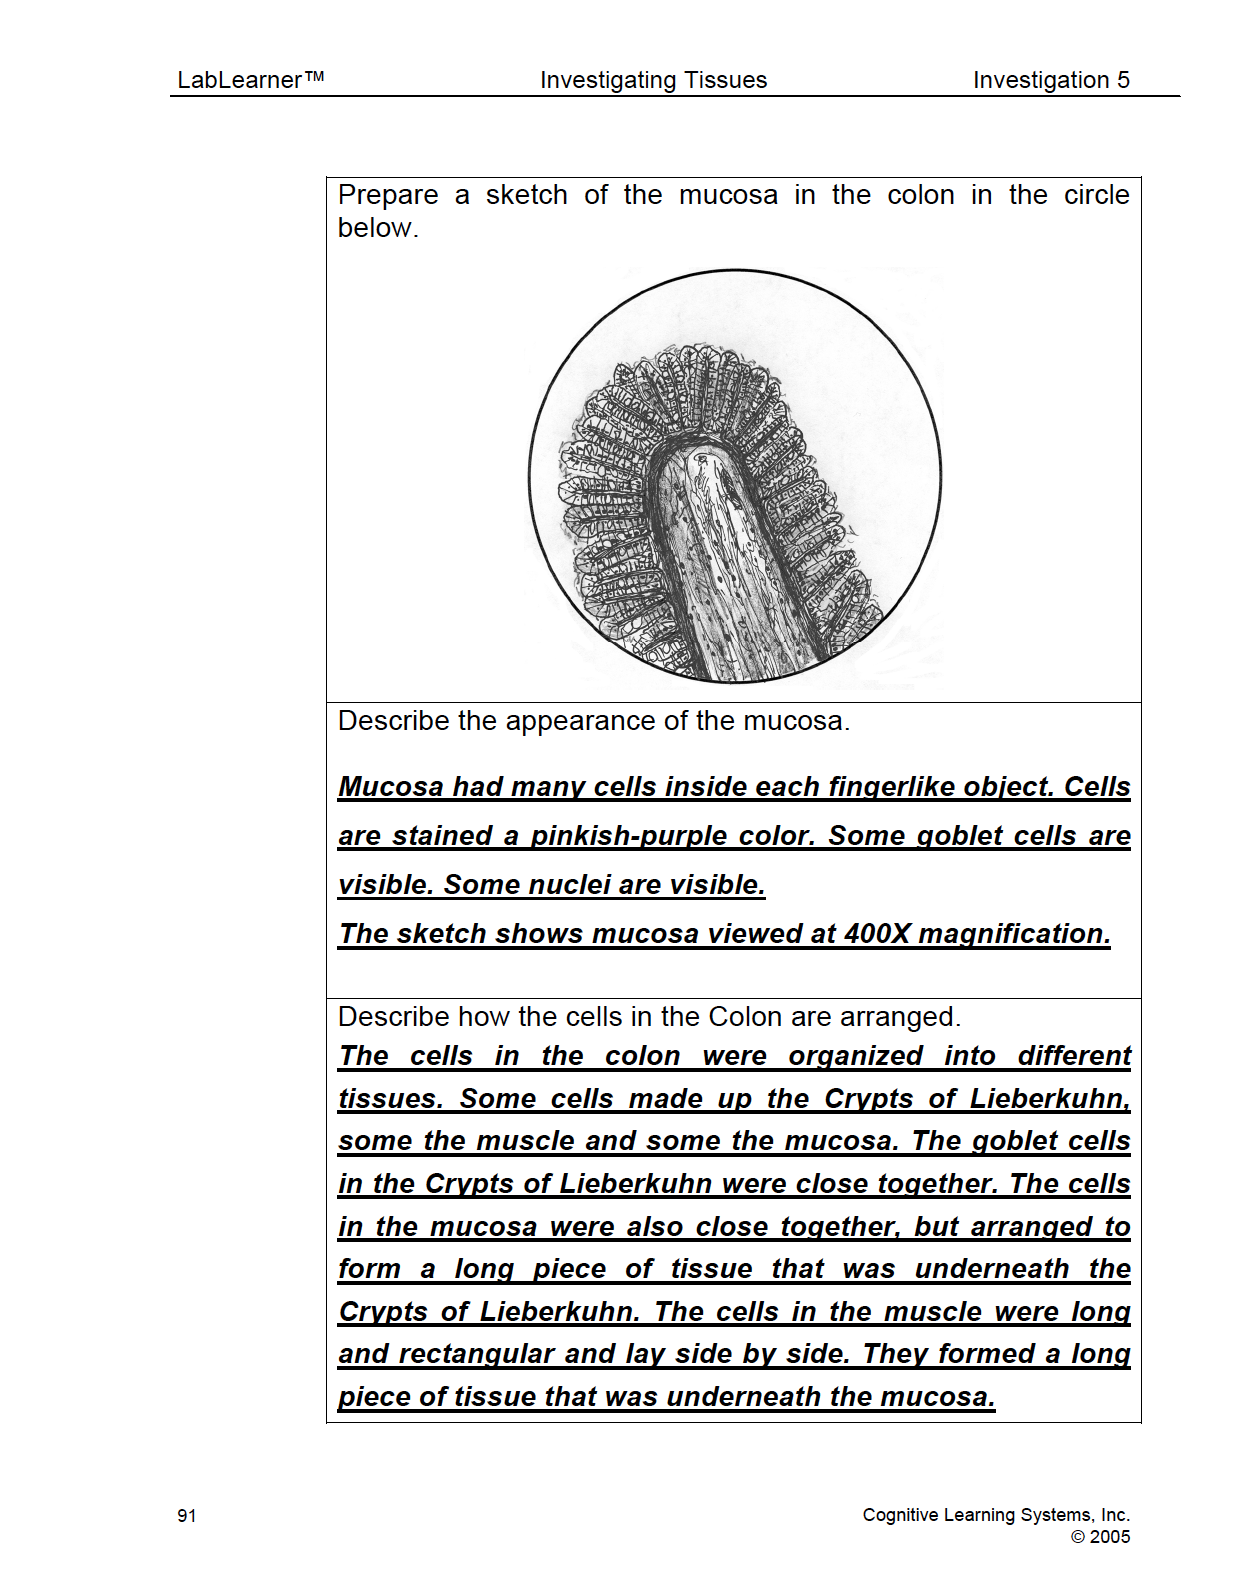
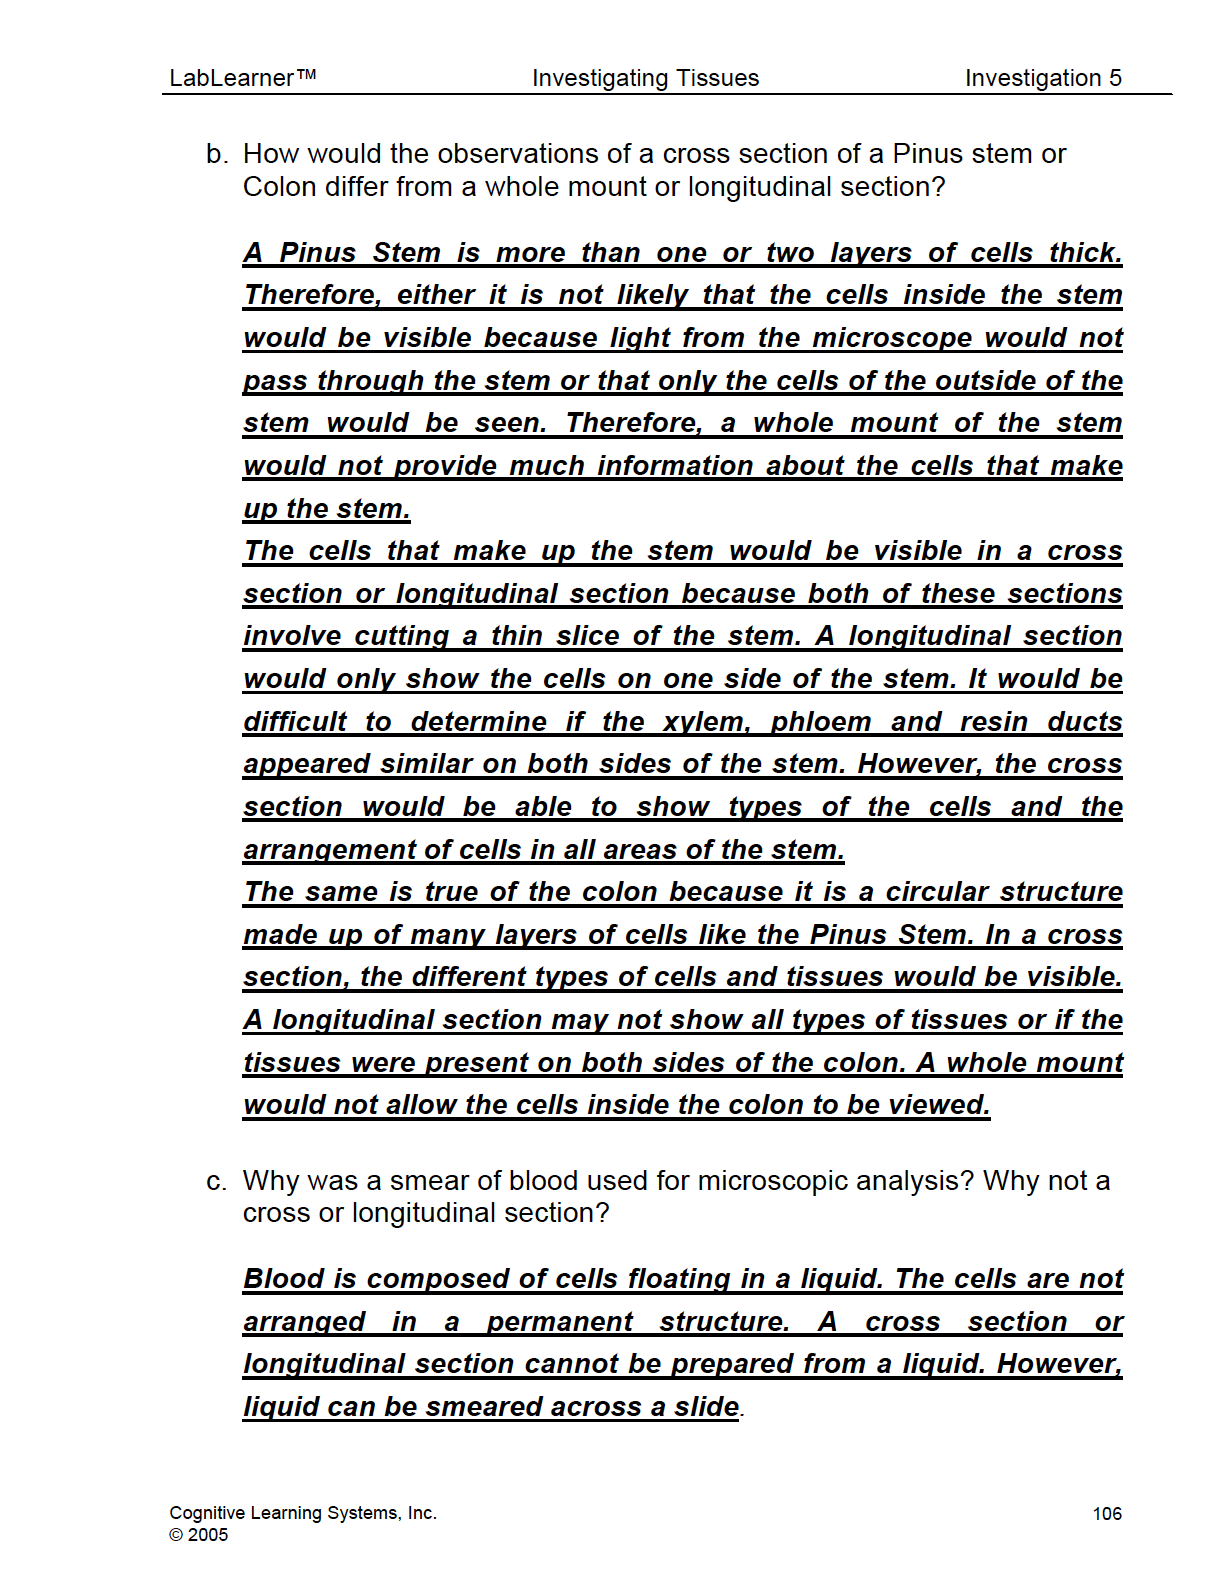
Through observation of the four specimens, students should come to realize that one of the reasons for the differences described above results from the arrangement of cells as they join to form tissues and organs. For example, students should see that the arrangement of cells within the Pinus stem differs from that of the Elodea leaf. Moreover, the arrangement of cells within one part of the Pinus stem differs from that of another. The same can be said for the Colon specimen.
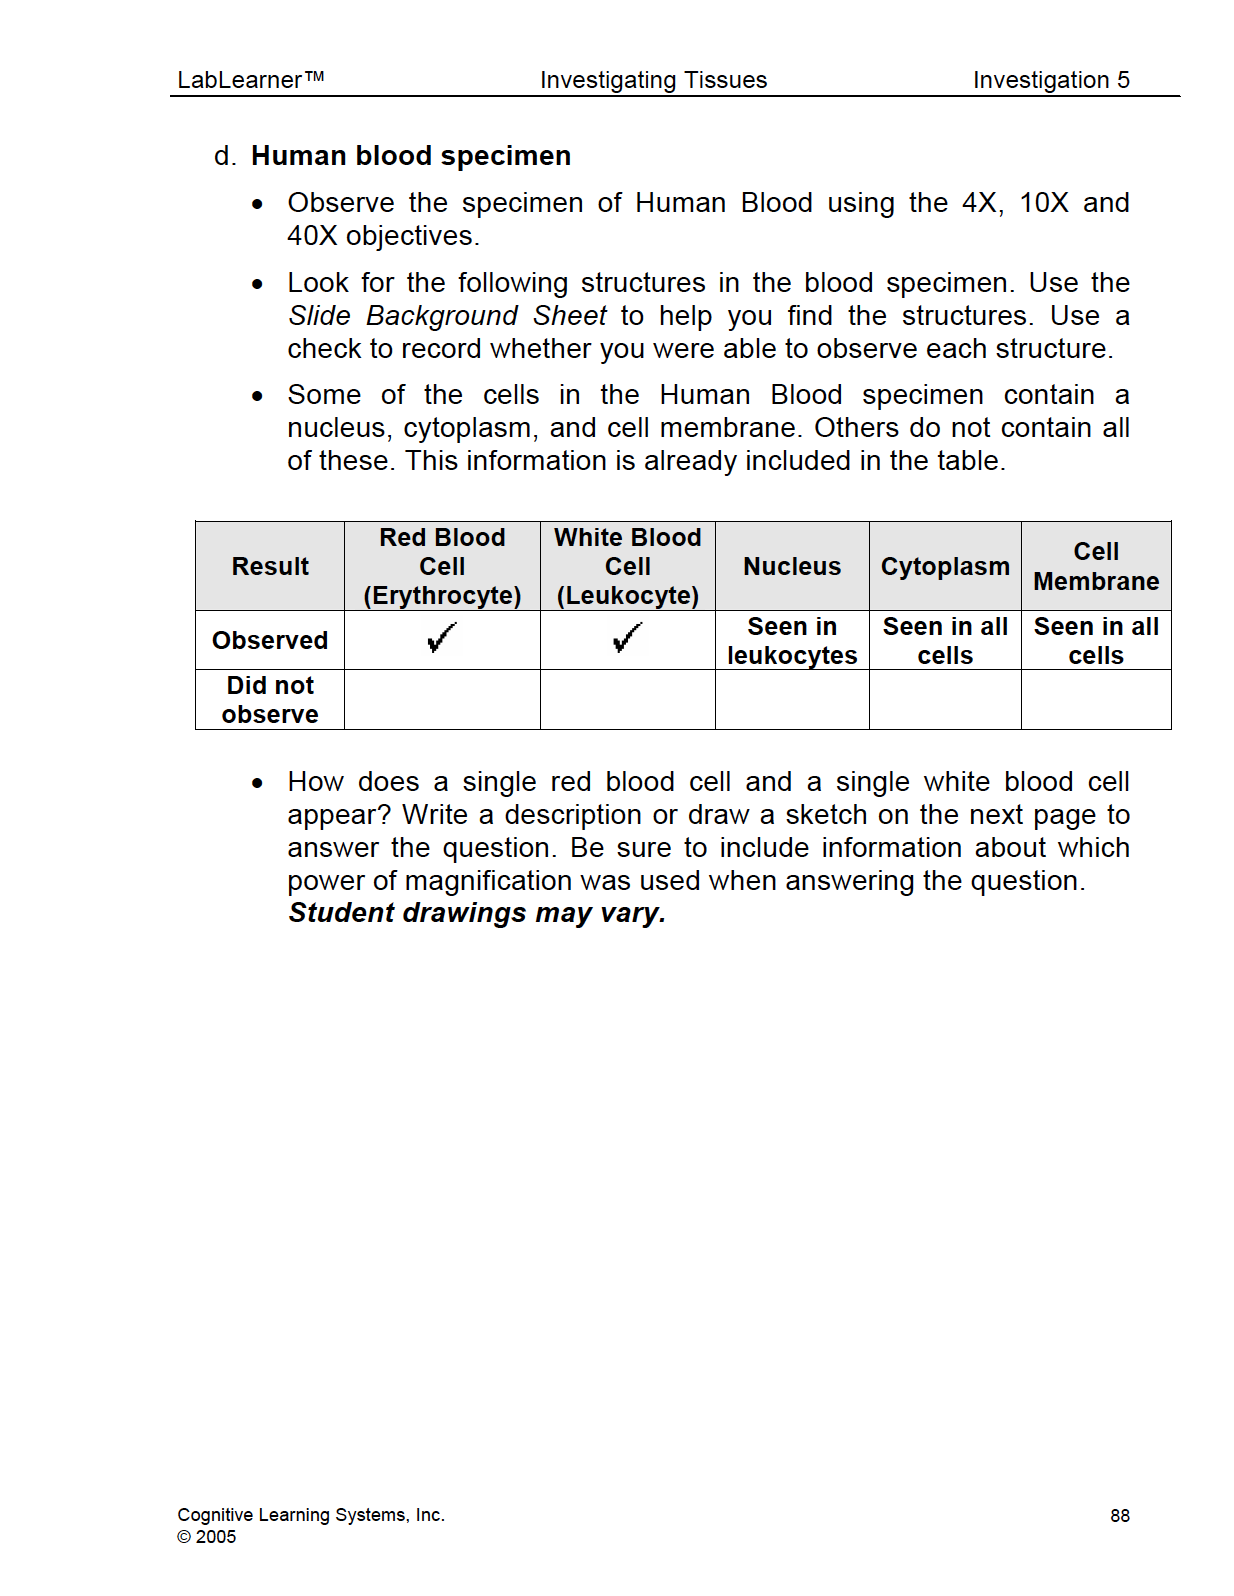
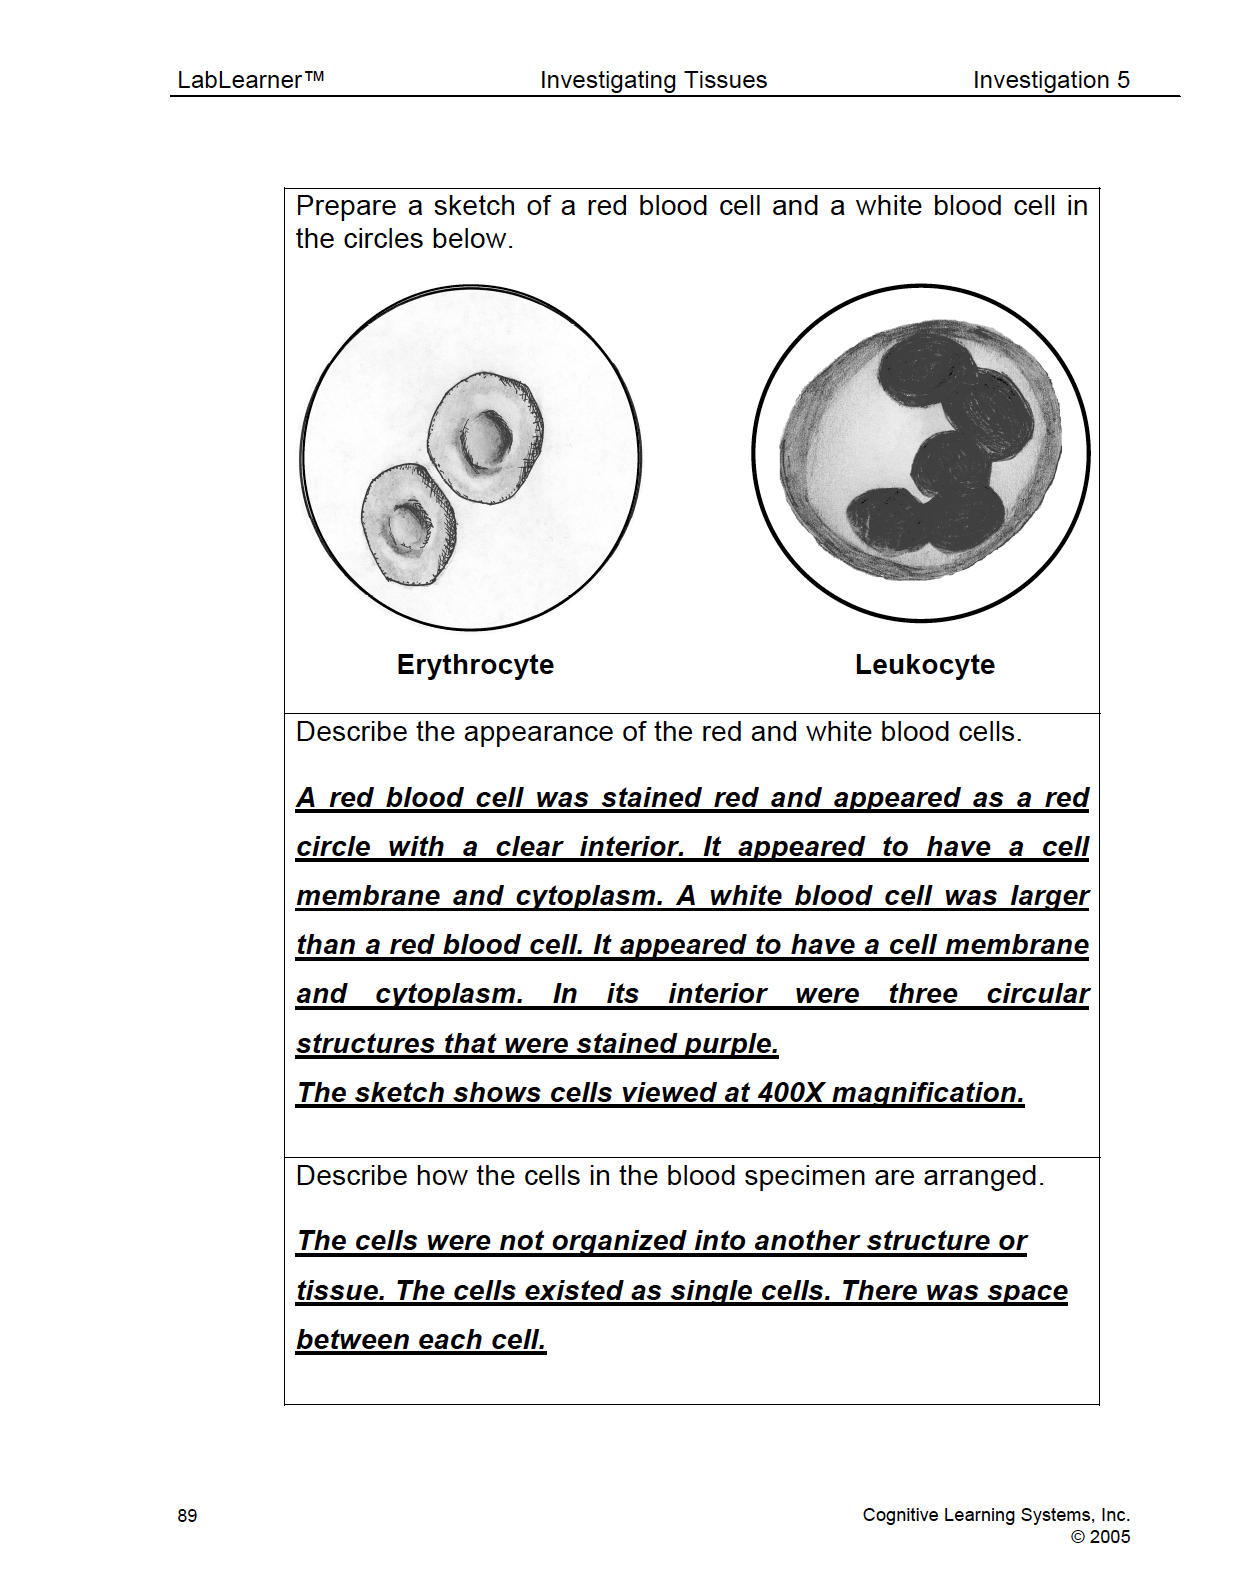
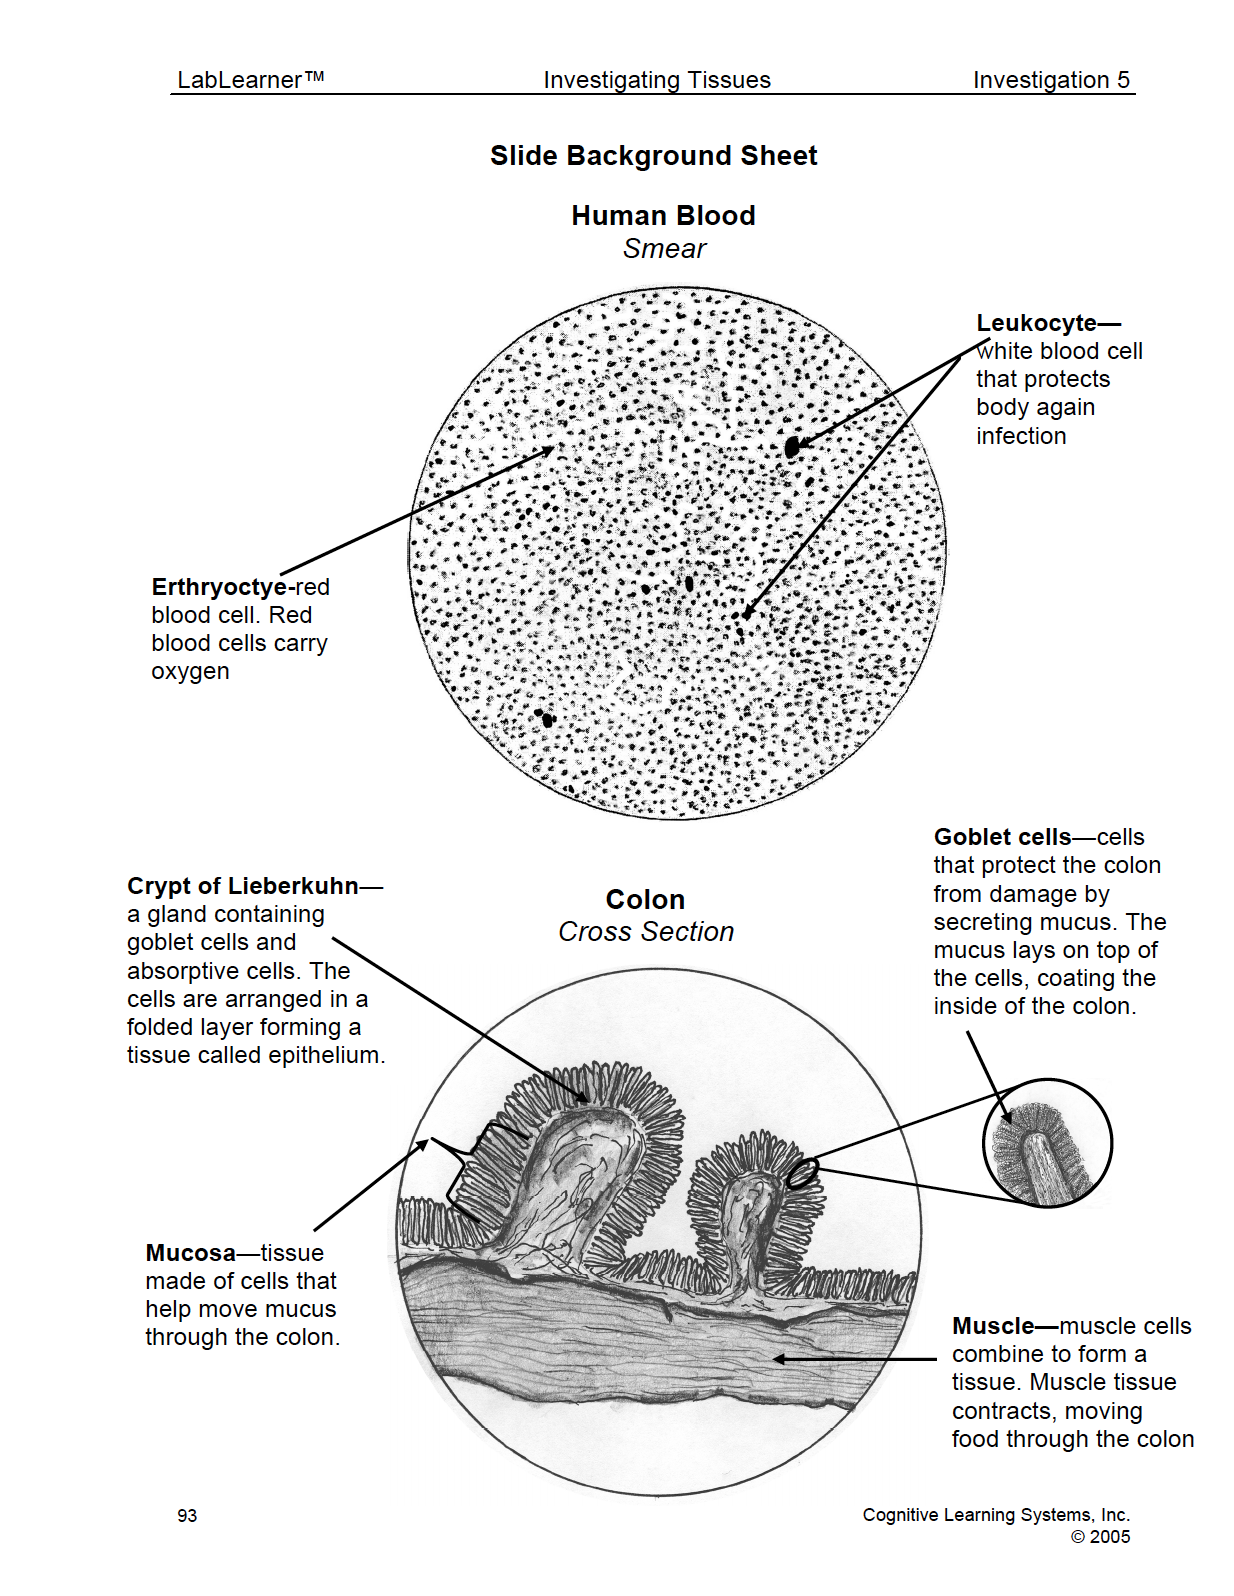
In contrast to Investigations Three and Four, students will not be prompted to locate all organelles, such as the nucleus and chloroplasts for all specimens. There are several reasons for this, for example, there are some cells within organisms that do not contain all organelles and the location of the organelles is not easily identified in some of the specimens. One example is the mature red blood cells in the blood cell smear. Mature red blood cells do not contain a nucleus. However, as students gain additional experience with cellular structures during their later education, they should become more adept at discerning these differences and will be able to apply this knowledge to their analysis of new specimens.
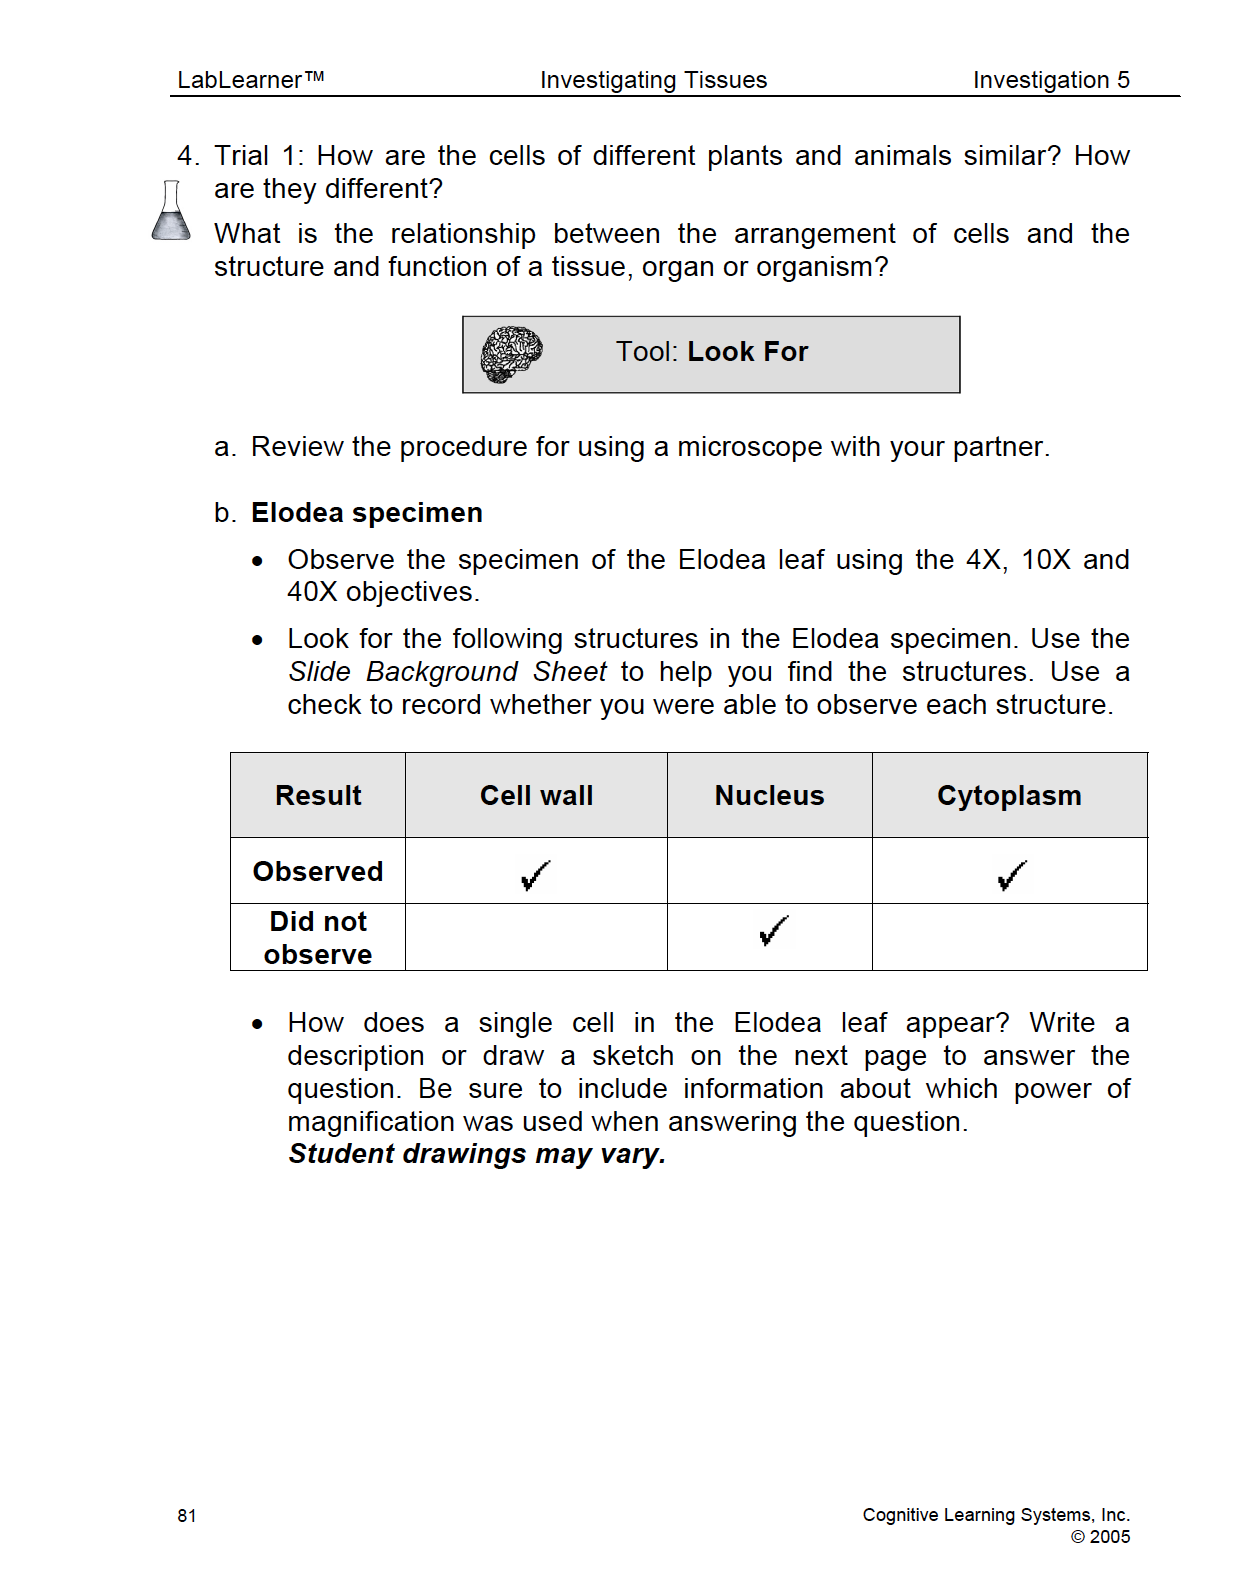
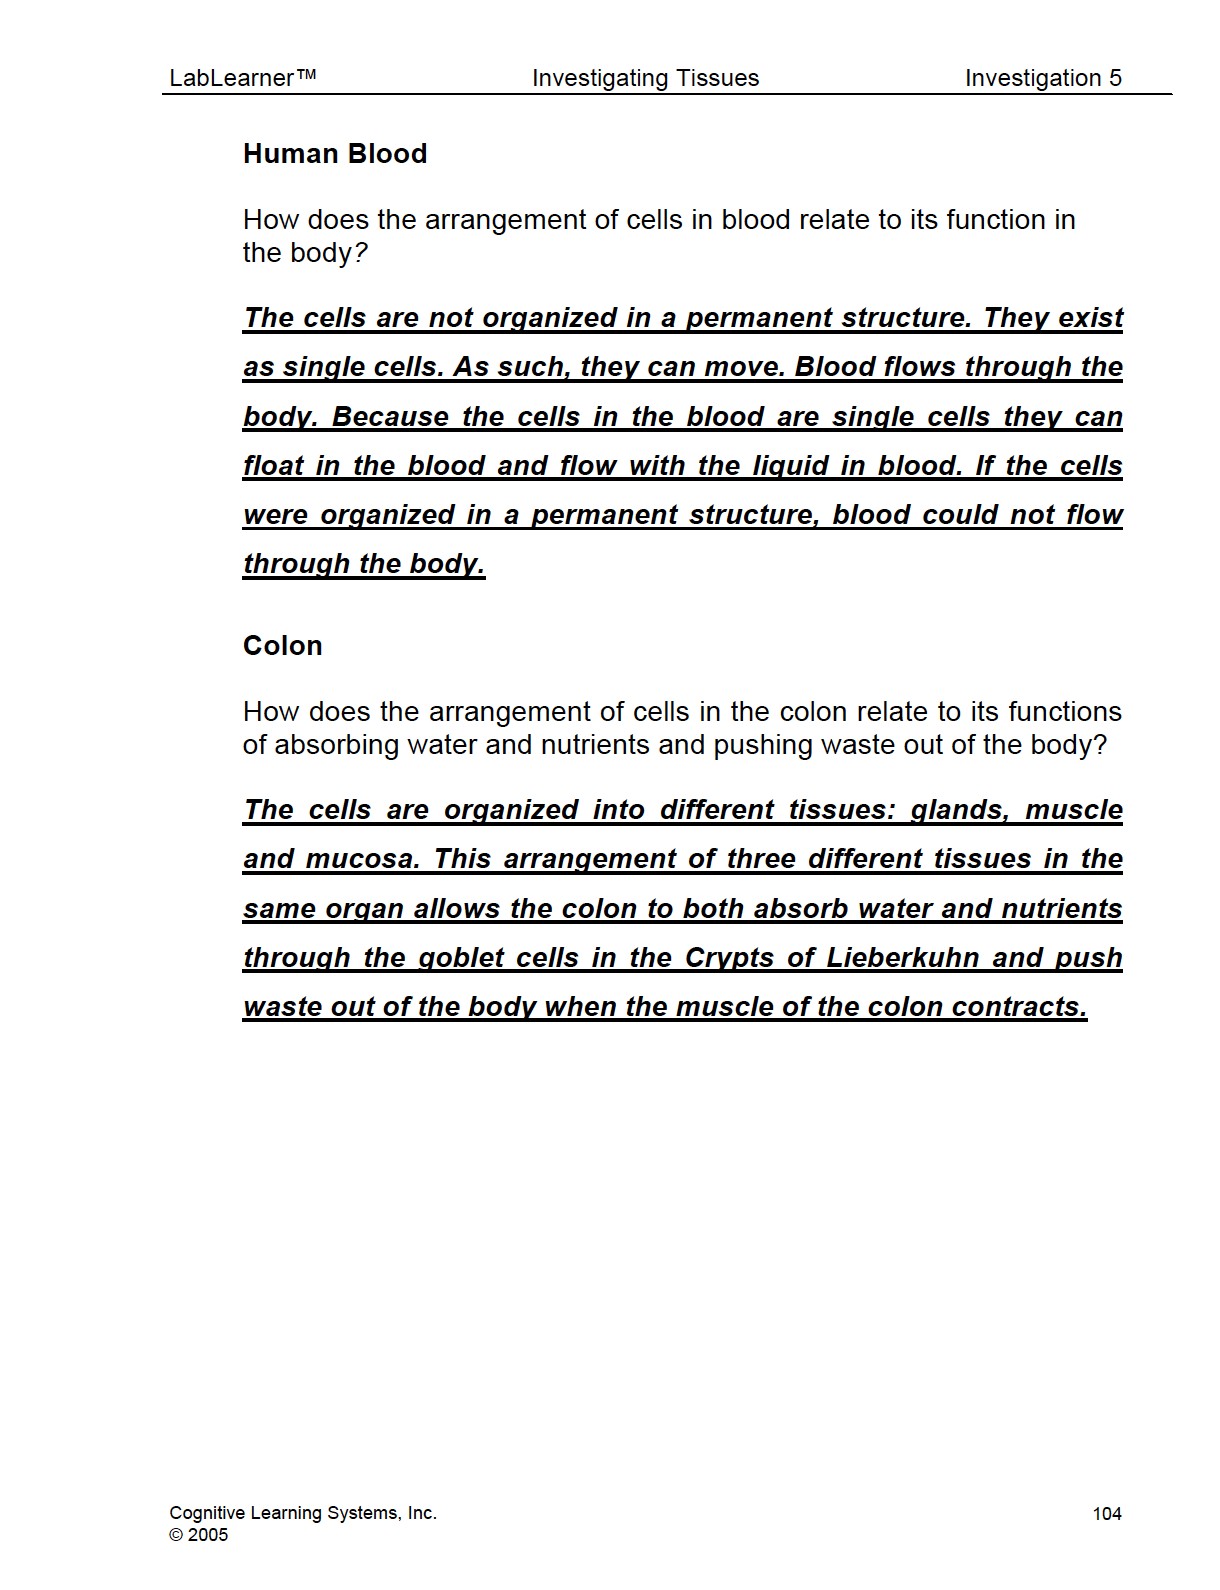
In addition, as students investigate the arrangement of cells within the four specimens, they will be asked to consider how the arrangement of cells affects the tissue or organ’s overall structure and function. In doing so students should begin to see that the structure of cells within a tissue or organ is directly related to its function and that changes in that arrangement would affect the function of the organism. As students begin this trial, they will be asked the following questions: How are the cells of different plants and animals similar? How are they different? What is the relationship between the arrangement of cells and the structure and function of a tissue, organ, or organism?
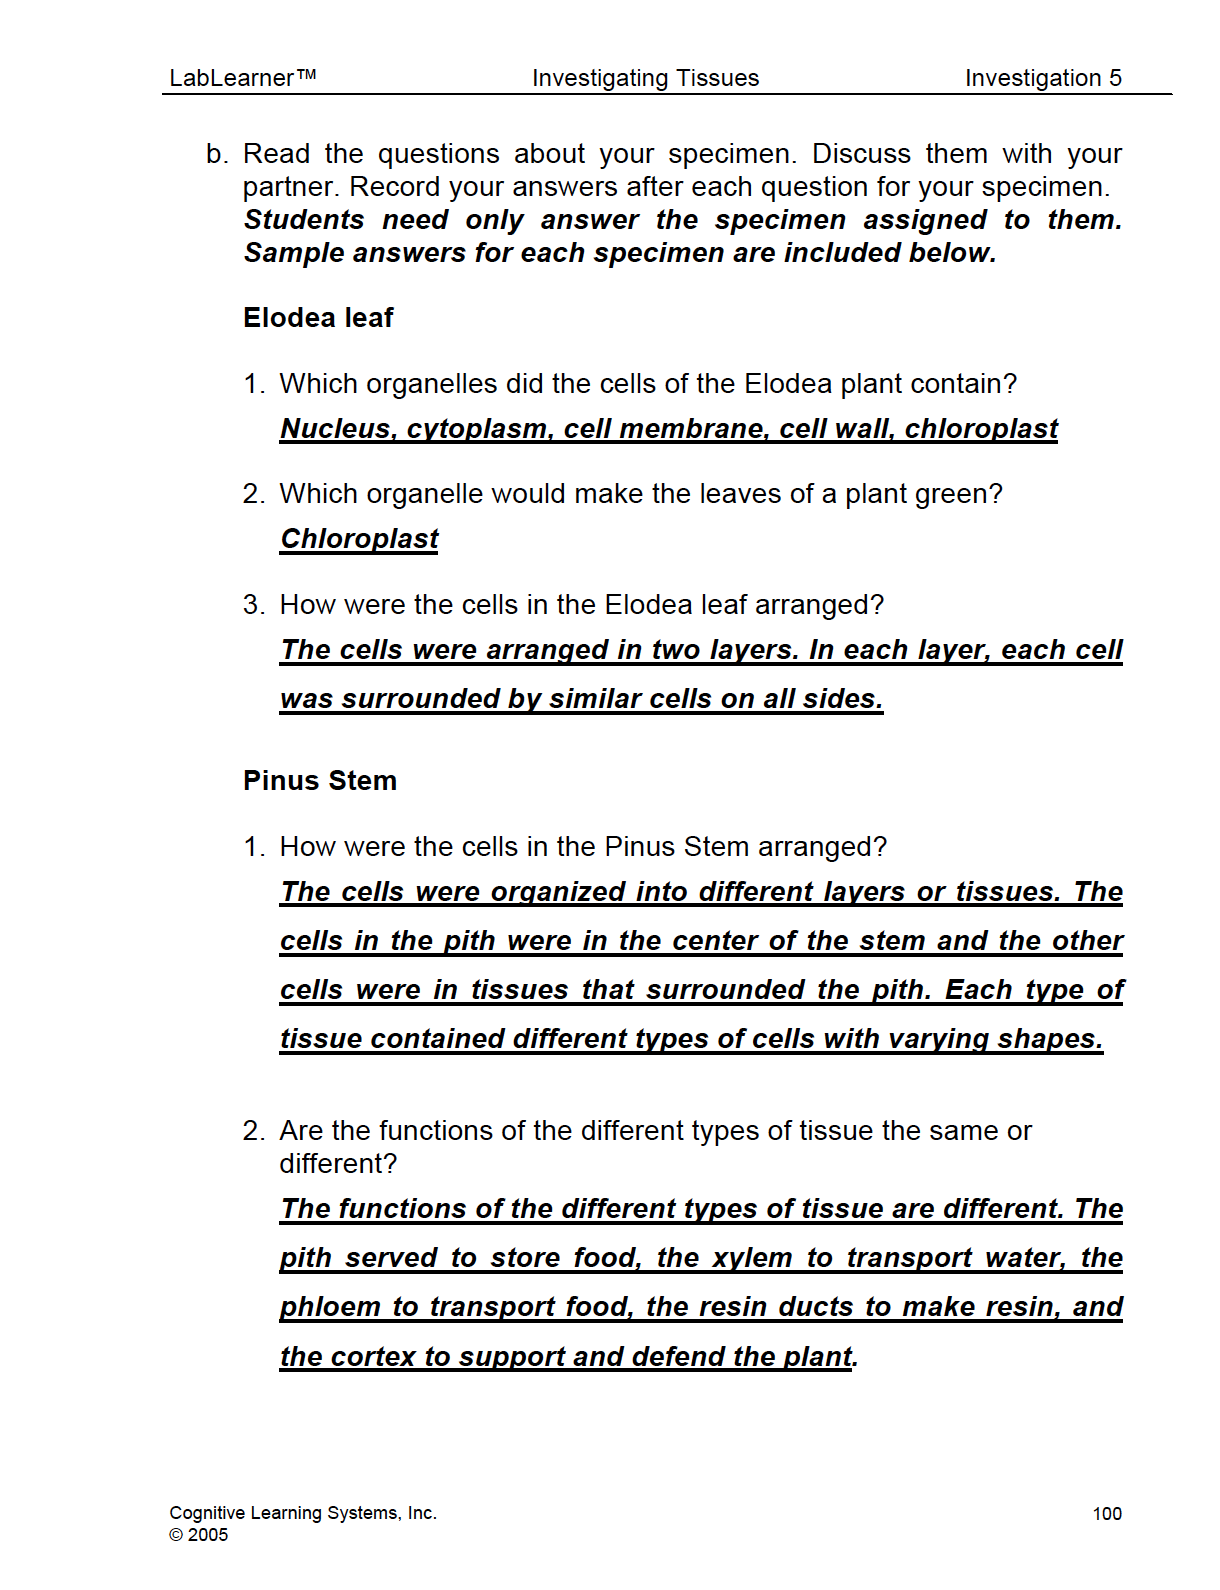
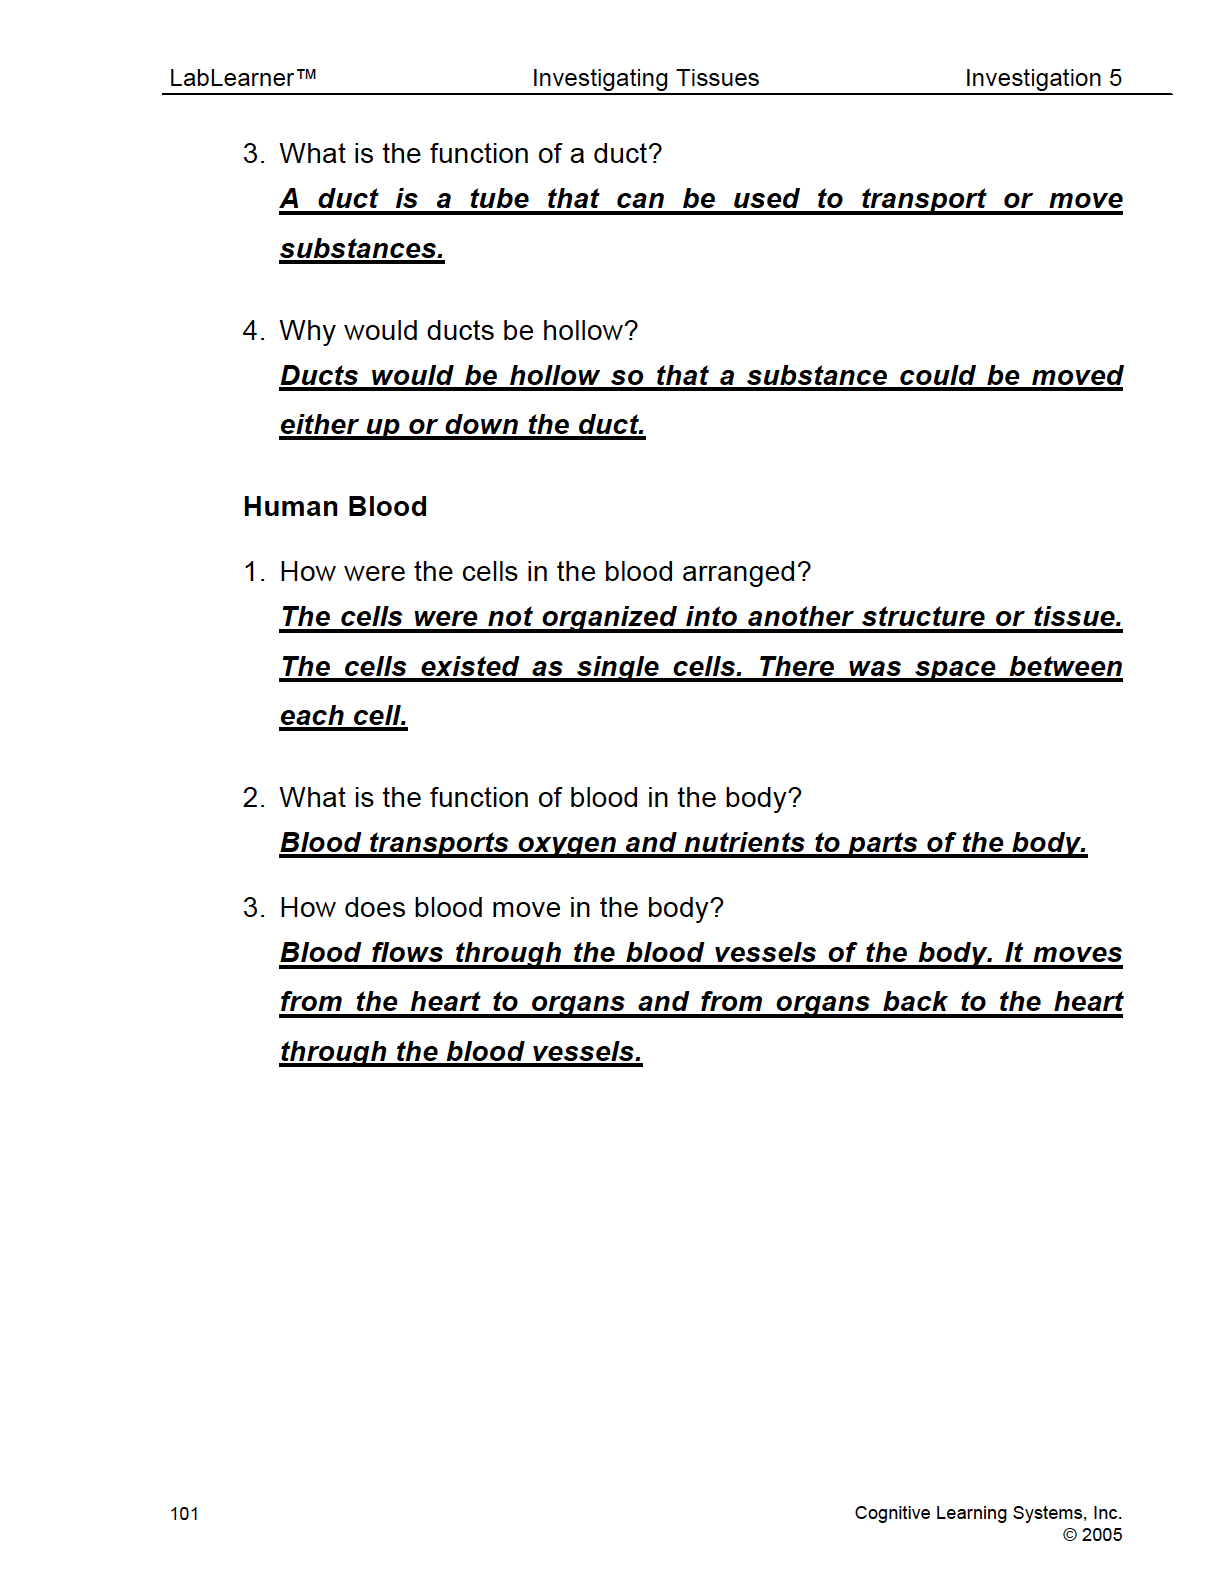
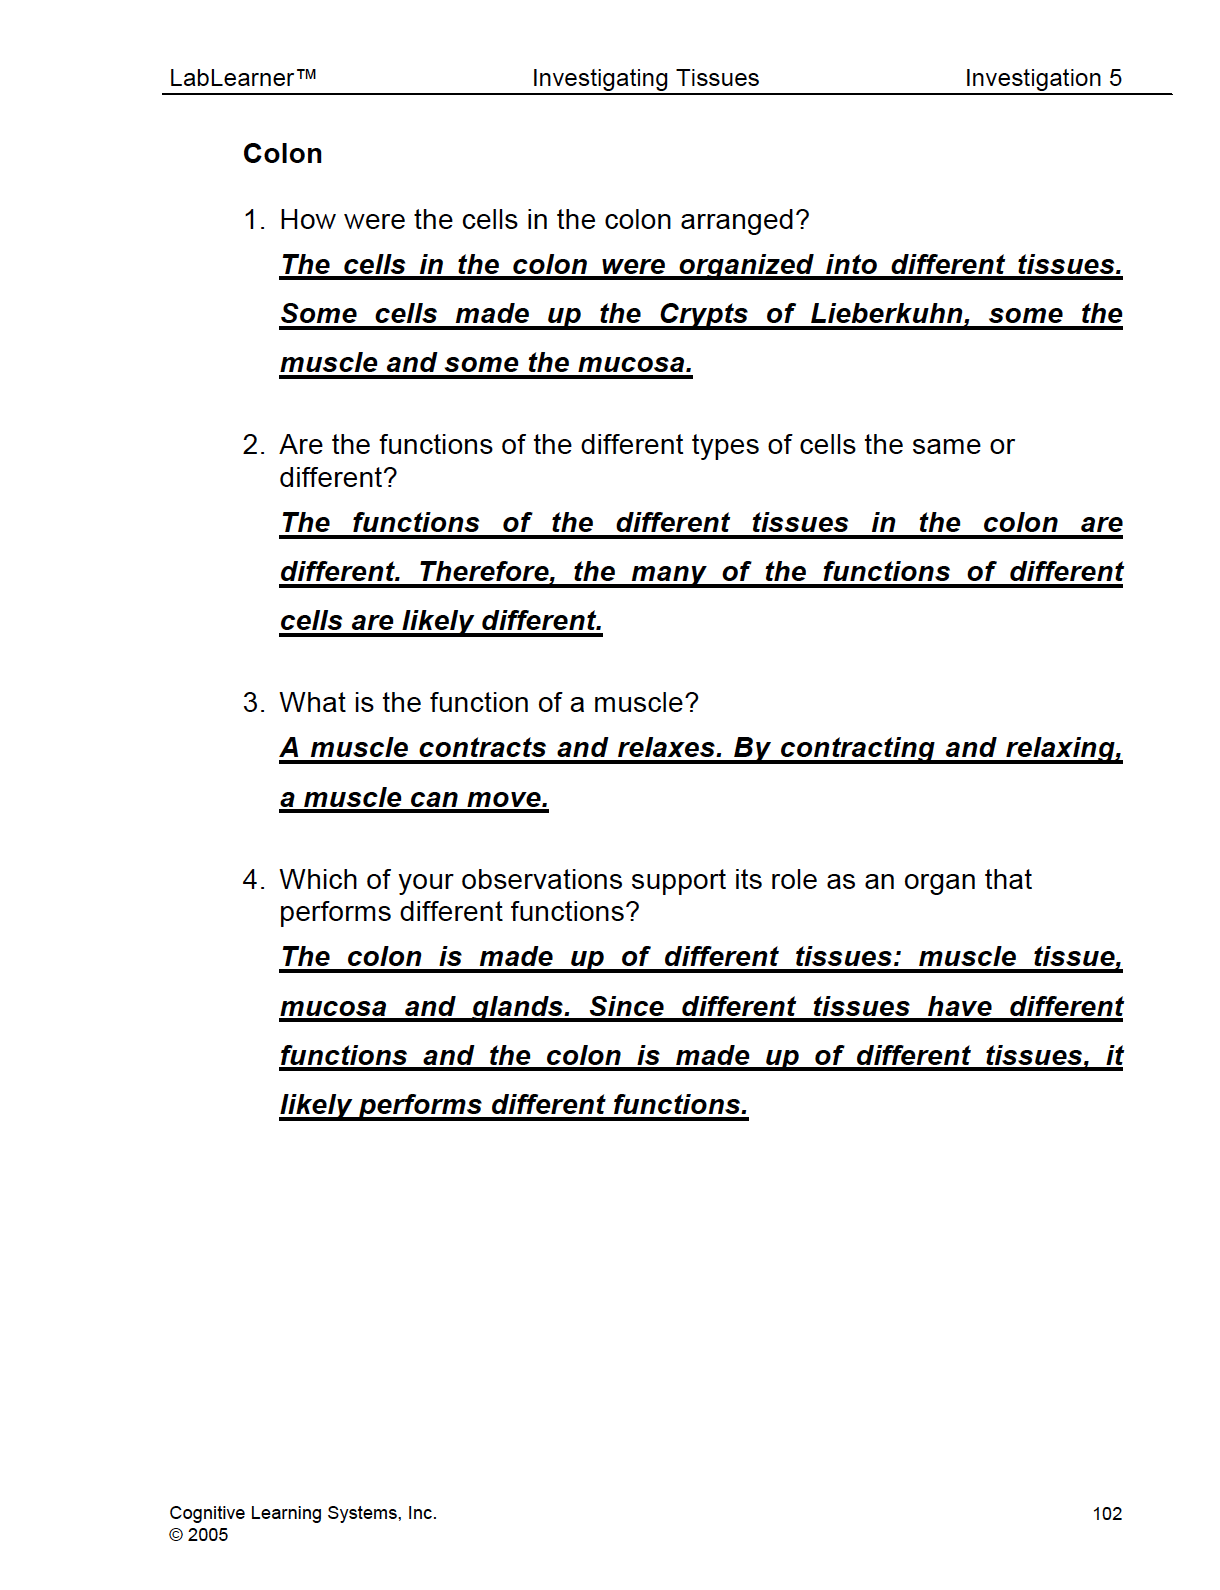
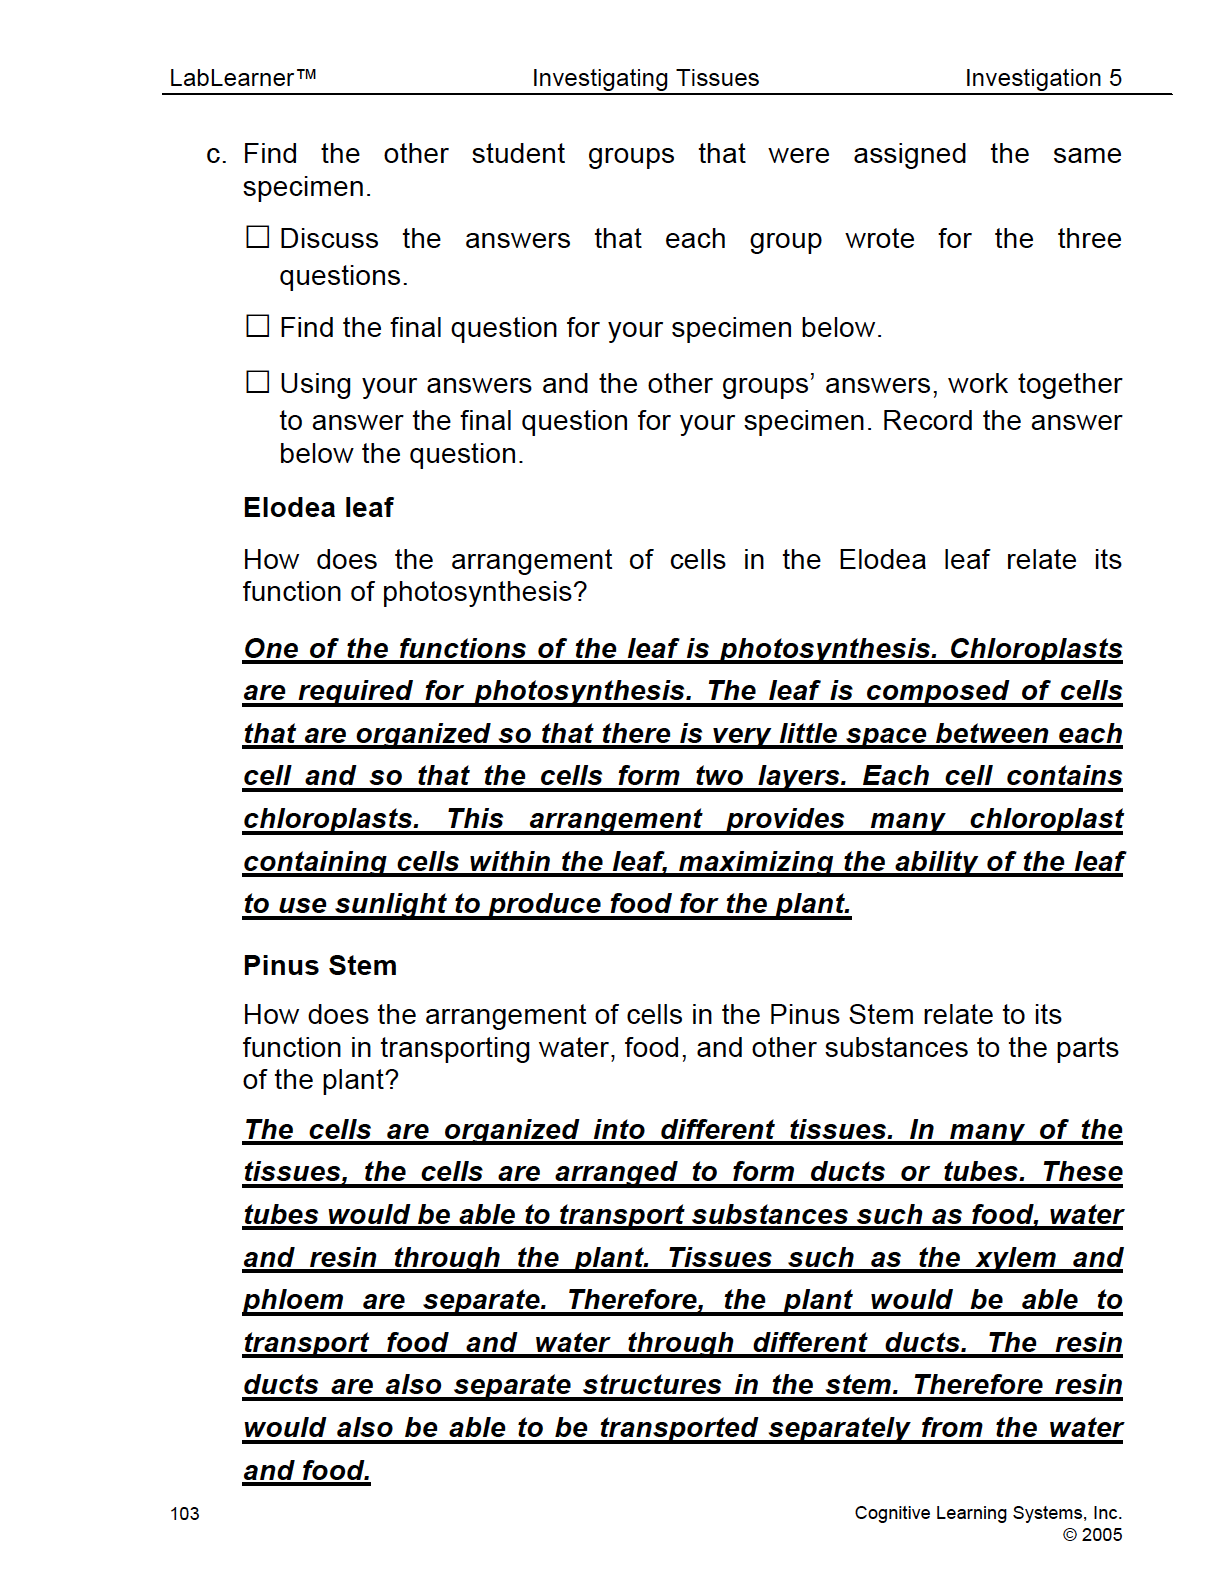
KEYS: TRIAL 1


Trial 2
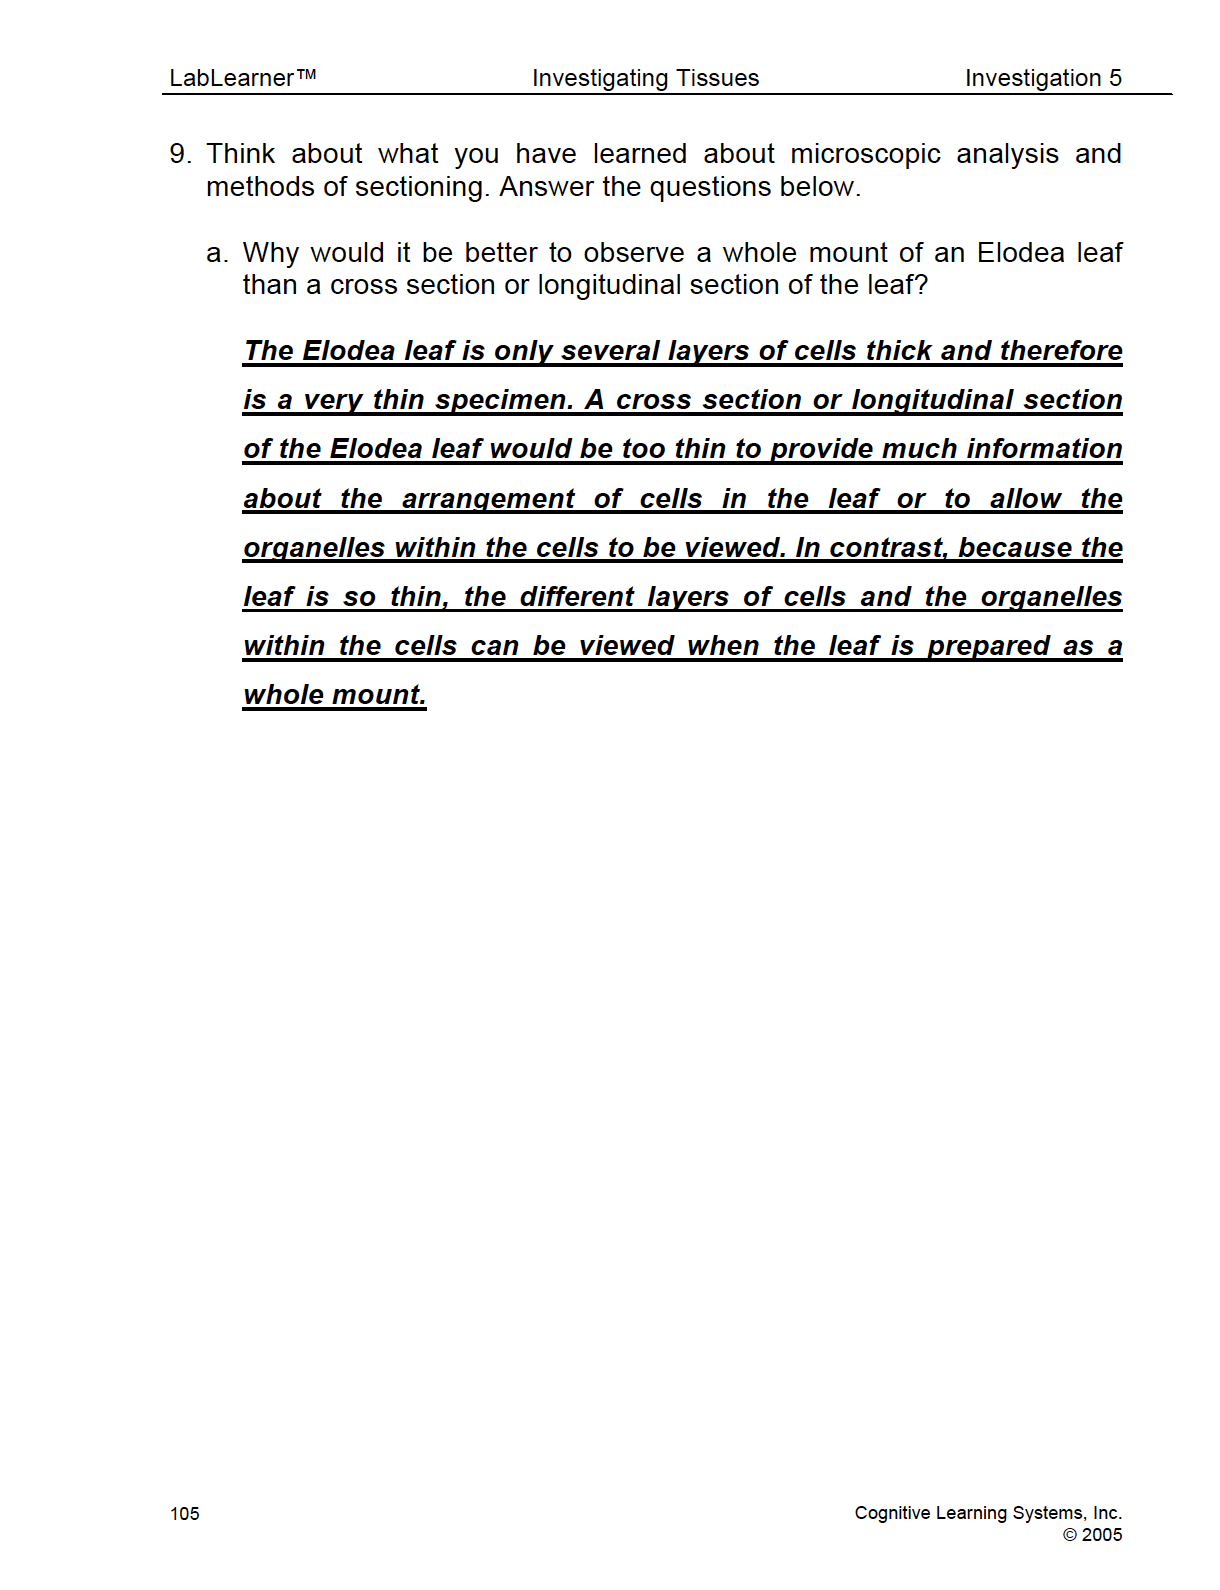
In Trial One, students viewed specimens that had been prepared in three different methods: whole mount of a specimen, cross-section of a specimen, and a smear. In addition to these methods, a longitudinal section of a specimen is frequently used when preparing specimens for microscopic analysis. Trial Two has been designed to provide students with a hands-on opportunity to investigate two different methods of obtaining a section of a specimen: longitudinal and cross-section. In this Trial, students will create a model of the colon, one of the organs they investigated in Trial One. They will then simulate slicing the specimen in both cross and longitudinal sections. In doing so, students will develop a greater understanding of how the appearance of cellular structures on a slide relates to the structure of an entire specimen. As students complete the trial they will be asked to consider the following question:
How does cross-sectional and longitudinal sectioning affect a specimen’s appearance?
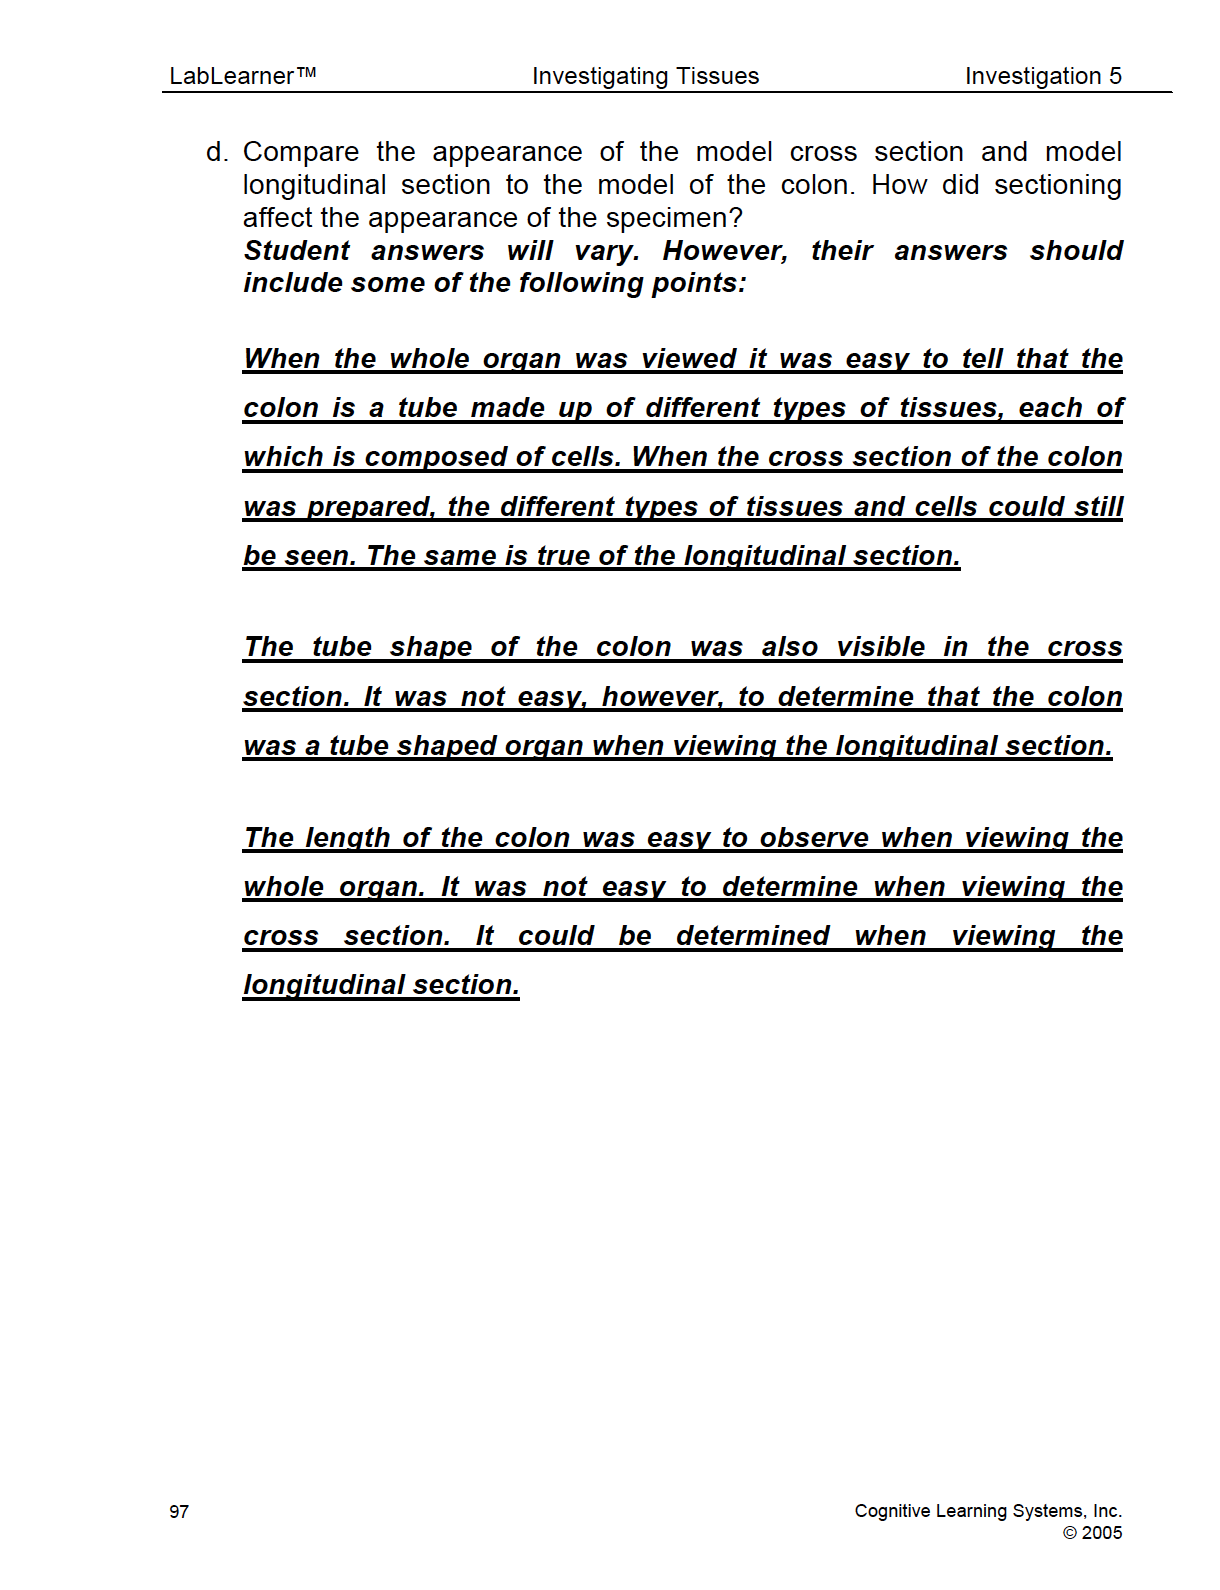
 a. Make a model of the colon.
- Find twenty (20) cubes of the same color. Place these in the middle of the table.
- Find twelve (12) cubes that are all the same color, but a different color from the twenty (20) cubes.
- Place the twelve cubes (12) in a pile next to the twenty (20) cubes.
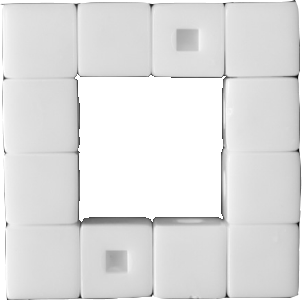
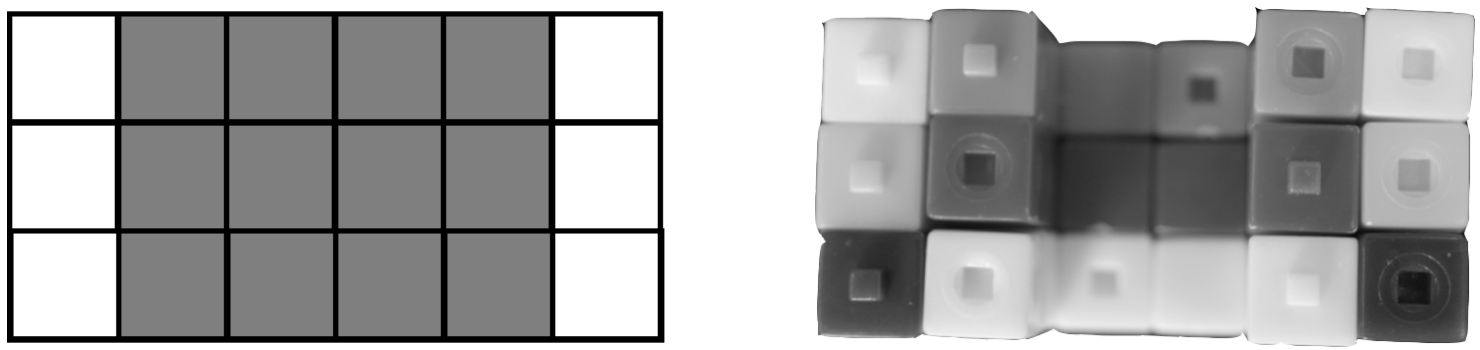
 Look at the picture. Snap the 12 cubes together to make the shape in the picture. Each cube represents a single cell. The combination of cubes represents a tissue.
- Locate the pile of 20 cubes.
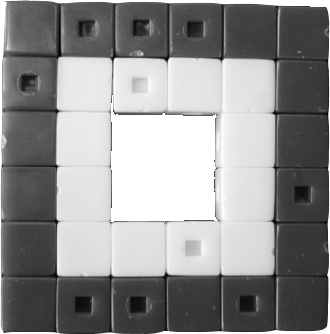
- Look at the picture. Use the 20 cubes to build another layer of cubes around the 12 cubes of a different color. Each cube represents a single cell. The combination of cubes represents a tissue.
- Stop and examine the model. The two different colored layers of cubes represent two different
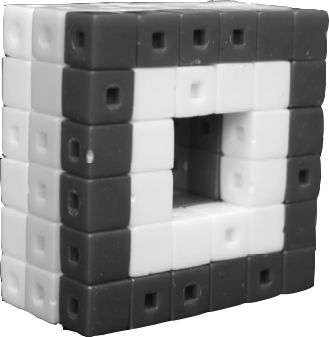 types of tissues in a part of the colon.
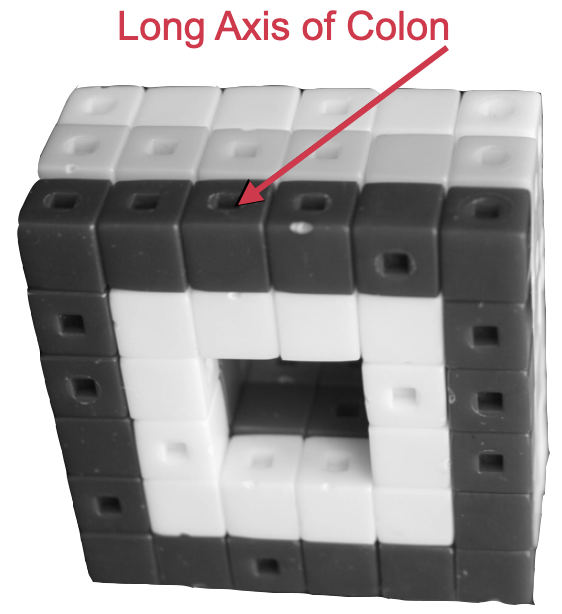
 - The colon is an organ that looks like a long tube. Organs are made of different tissues. Complete the model by finding two other student groups and adding their tissues to yours. When complete the model of the colon should look like the picture here.
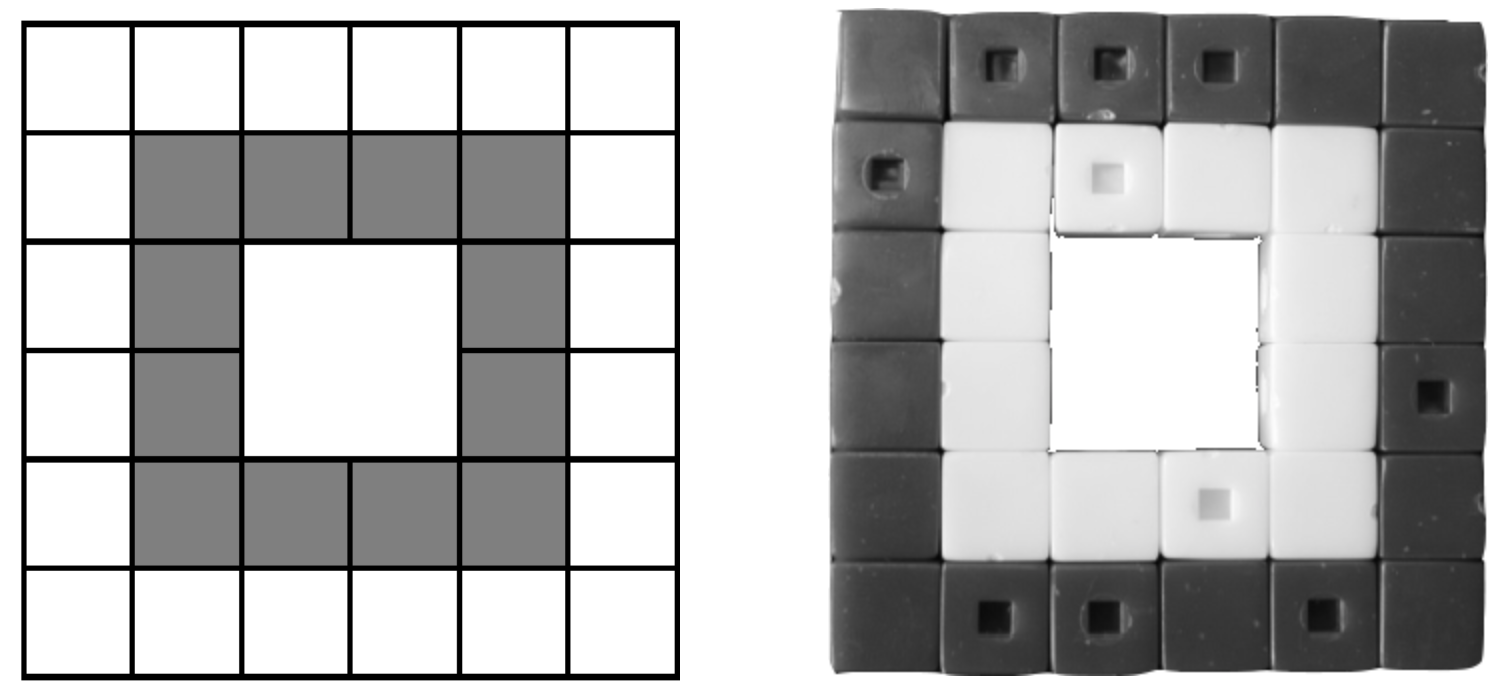
b. Prepare a cross-section of the model of the colon.
- Look at the picture below and then at your model of the colon.
- A cross-section would be cut across the long axis of the colon. Model cutting the colon by removing one layer of cubes.
- Place the cross-section on the table as if viewing the specimen under the microscope.
- Sketch how the cross-section would appear if viewed with the microscope.
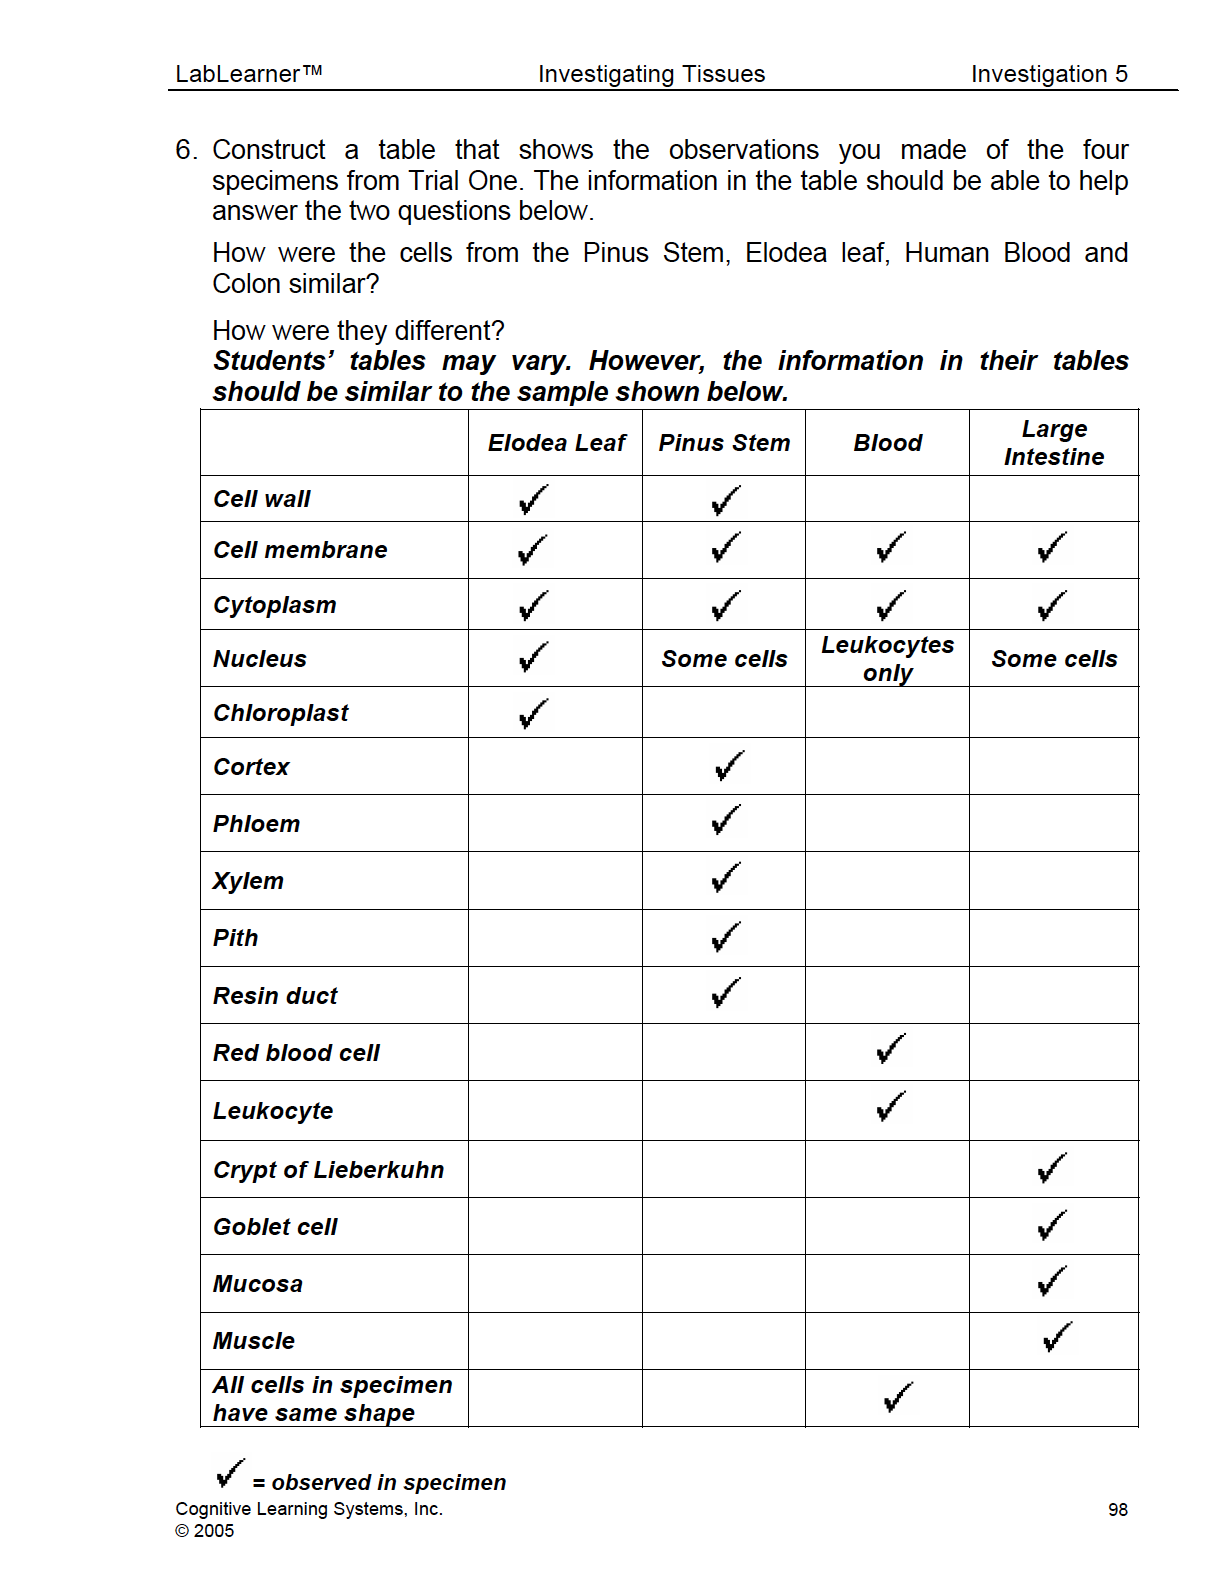
c. Prepare a longitudinal section of the model of the colon.
- Look at the picture below and then at your model of the colon.
A longitudinal section would be cut along the long axis of the colon. Model cutting the colon along the long axis. To do this pull the colon apart at points A and B.
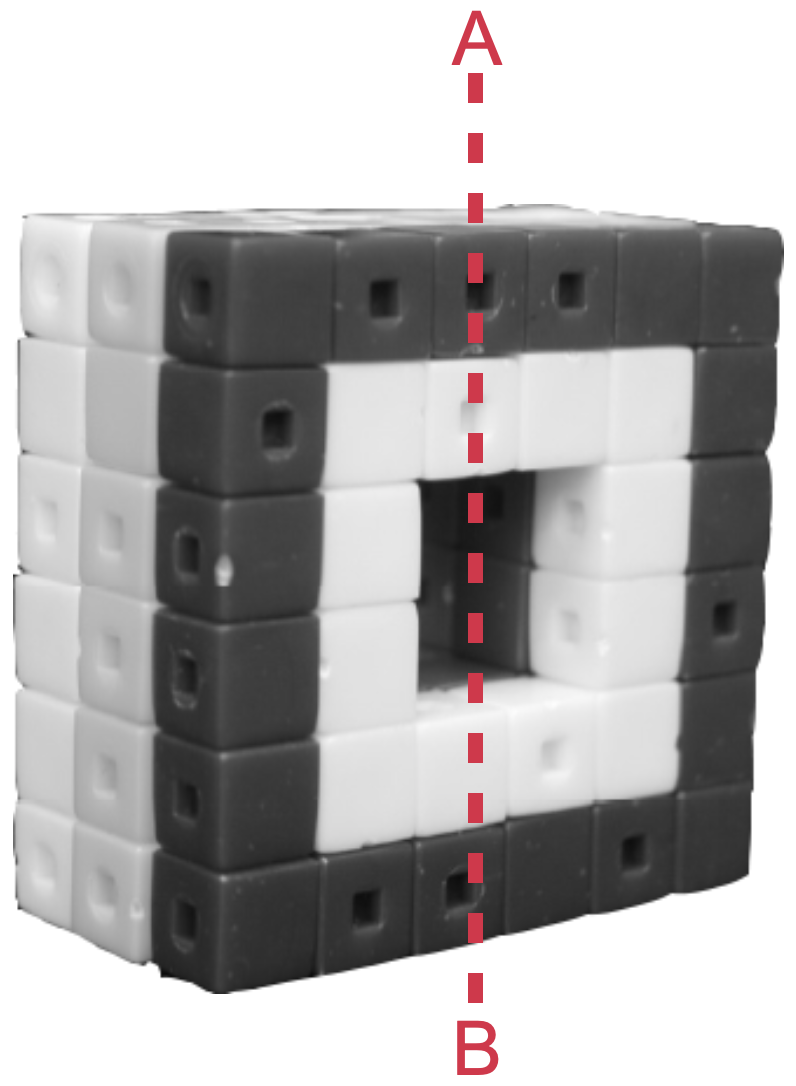
- Place the longitudinal section on the table as if viewing the specimen under the microscope.
- Sketch how the longitudinal section would appear if viewed with the microscope.
KEYS: TRIAL 2
CLEAN UP
Let students know your expectations for clean-up. Ask them to clean up.