Teacher Portal:
Microscopes and Magnification
Investigation 5 – PreLab
 ASK WHY
Microscopes have made a tremendous contribution to science since their use began in the sixteenth century (the 1500s).
Microscopes are one of the most important scientific instruments developed. In fact, in the medical field, microscopes are largely responsible for making modern medicine “modern”!
BRANCH OUT
Microscopists today work in many different fields including field and laboratory life sciences, chemistry, materials science, and nearly every branch of biomedical research and medicine.
PRINT IT
Use your browser to download a printable PDF as help during the slide presentation and to make additional notes. In your browser, go to File > Print and then choose to save as PDF.
MINDSET
This Investigation is designed to:
- allow students to further explore the concept of refraction.
- promote student understanding by using a Venn Diagram to compare and contrast the properties of two objects.
- allow students to contrast the difference between refraction of light by lenses in the eyepiece and objectives in a microscope.
- provide students the opportunity to create a model of lenses in a compound microscope.
- allow students to communicate experimental observations by recording experiment results and participating in class discussions.
SCIENTIST’S GLOSSARY
- Field of view: The portion of an object that is visible through a hand lens or other viewing device.
- Magnify: When a lens refracts light and increases the size of an object’s image.
- Microscope: A scientific tool that is used to view very small objects that are too small to see using the naked eye or a hand lens.
- Refract: When light passes through a transparent object and is bent or redirected in a different direction.
- Resolution: The process that makes fine details more clearly visible.
BE PREPARED
Watch the Investigation 5 Teacher Video and Student Video below to prepare for the PreLab.
SET FOR SUCCESS
- Tell students that they are about to begin the last Investigation of the Microscopes and Magnification CELL, in which they will learn about the eyepiece and objective lens contributions to the magnifying power of a compound microscope.
- Ask students to share the kinds of things they might learn in this Investigation.
Begin the PreLab Concept Slides to start students on their learning journey. Then watch the Pre-Lab Student Video as a class.
NAVIGATE IT
Once the slide presentation is launched
- use your left and right arrows to advance or go back in the slide presentation, and
- hover your mouse over the left edge of the presentation to get a view of the thumbnails for all the slides so that you can quickly move anywhere in the presentation.
- Click HERE to launch the slide presentation for the CELL.
SHARE IT
SLIDE M&M5-pre-1
This is the fifth and final regular Investigation of Microscopes and Magnification. In it, students will review magnification, resolution, and field of view. They will also consider how microscopes are similar to other devices they have seen.
______________________________________________
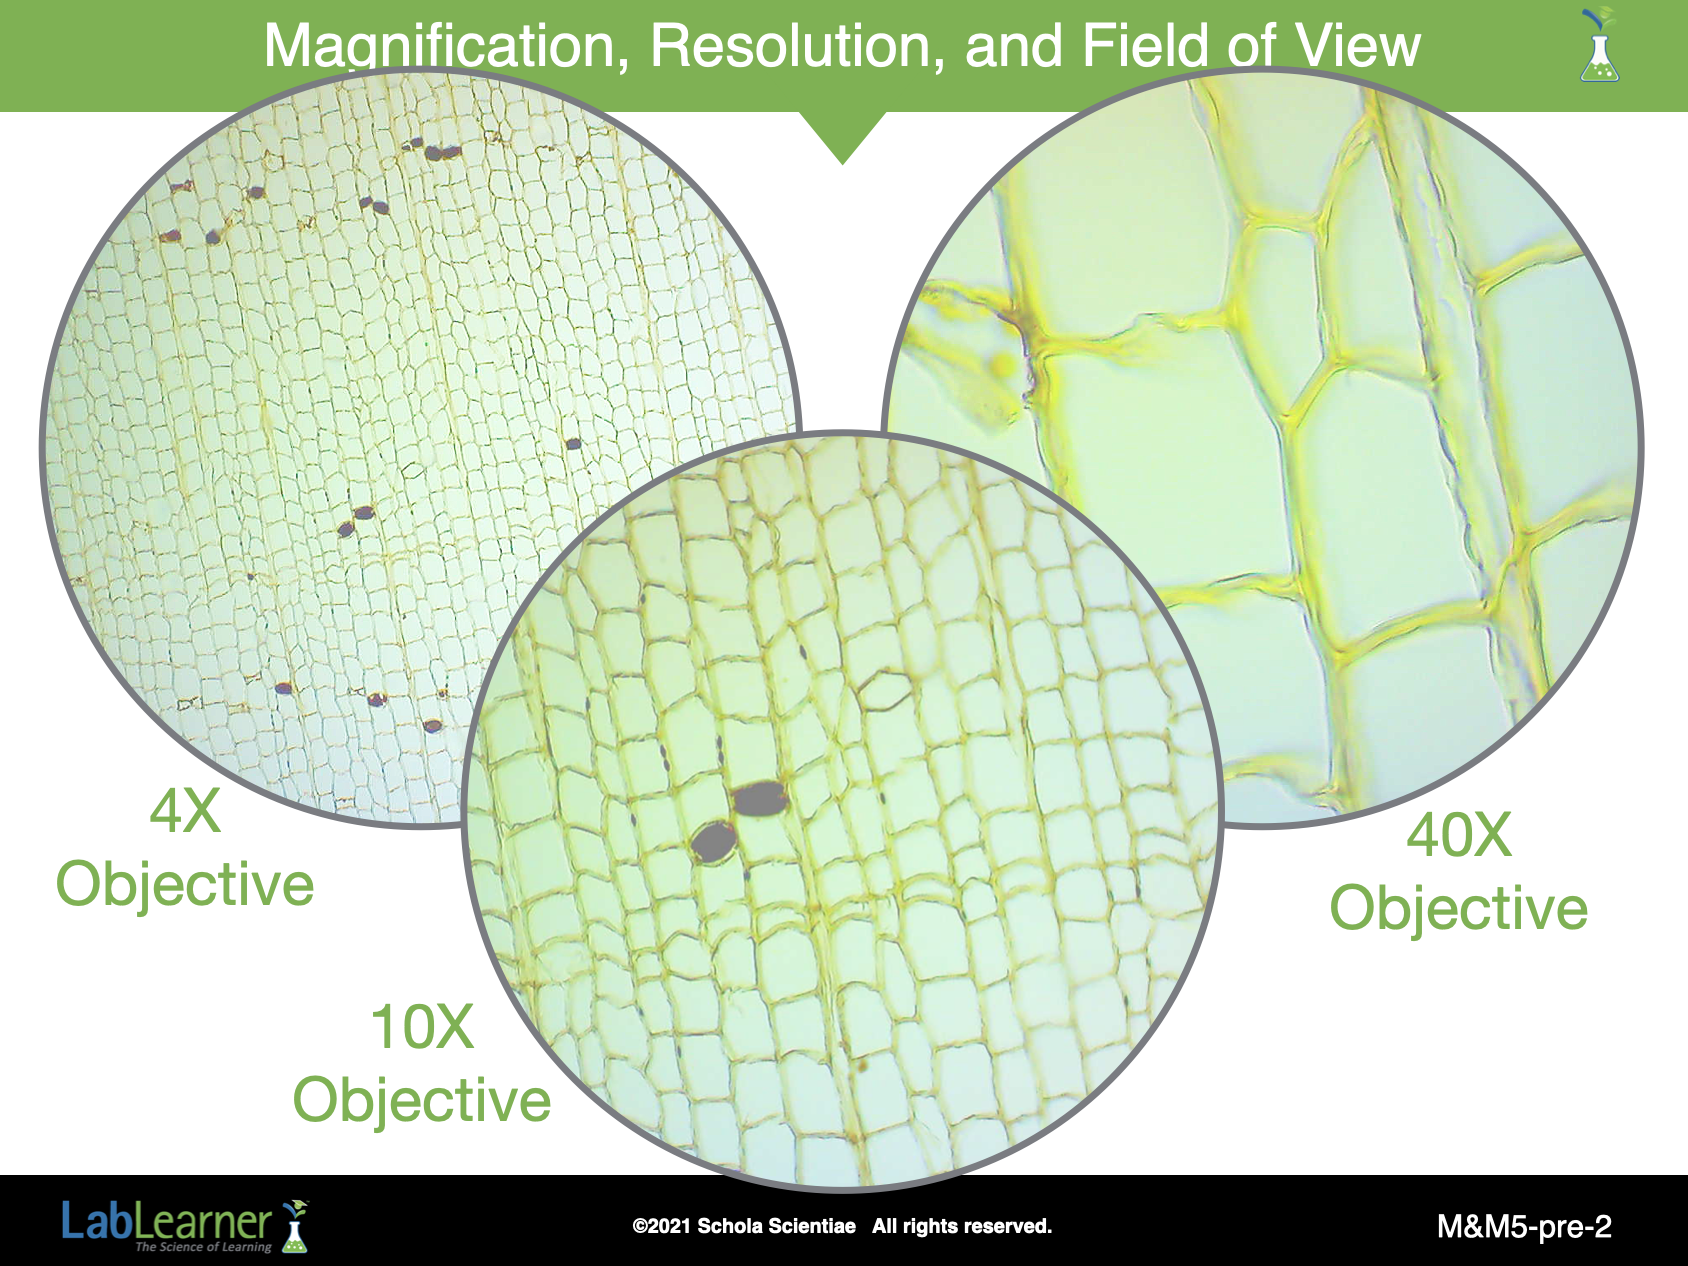
SLIDE M&M5-pre-2
Briefly review the experimental results from Investigation Four by asking students to explain how the lenses in the low, medium, and high power objectives of a microscope affect the images that were observed.
• Ask students: How did the resolution change as the low, the medium, and the high power objectives were used? As the power of magnification was increased by using the three different objectives, a greater resolution was achieved. If necessary, direct students to the term Resolution in the Scientist’s Glossary.
• Ask students: How did the field of view change as the low, the medium and the high power objectives were used? As the power of magnification was increased by using the three different objectives, a smaller field of view of the specimen was observed.
• Ask students: Can you summarize the effect of the power of magnification on the resolution and the field of view? As the power of magnification increases, the resolution increases and the field of view decreases.
______________________________________________
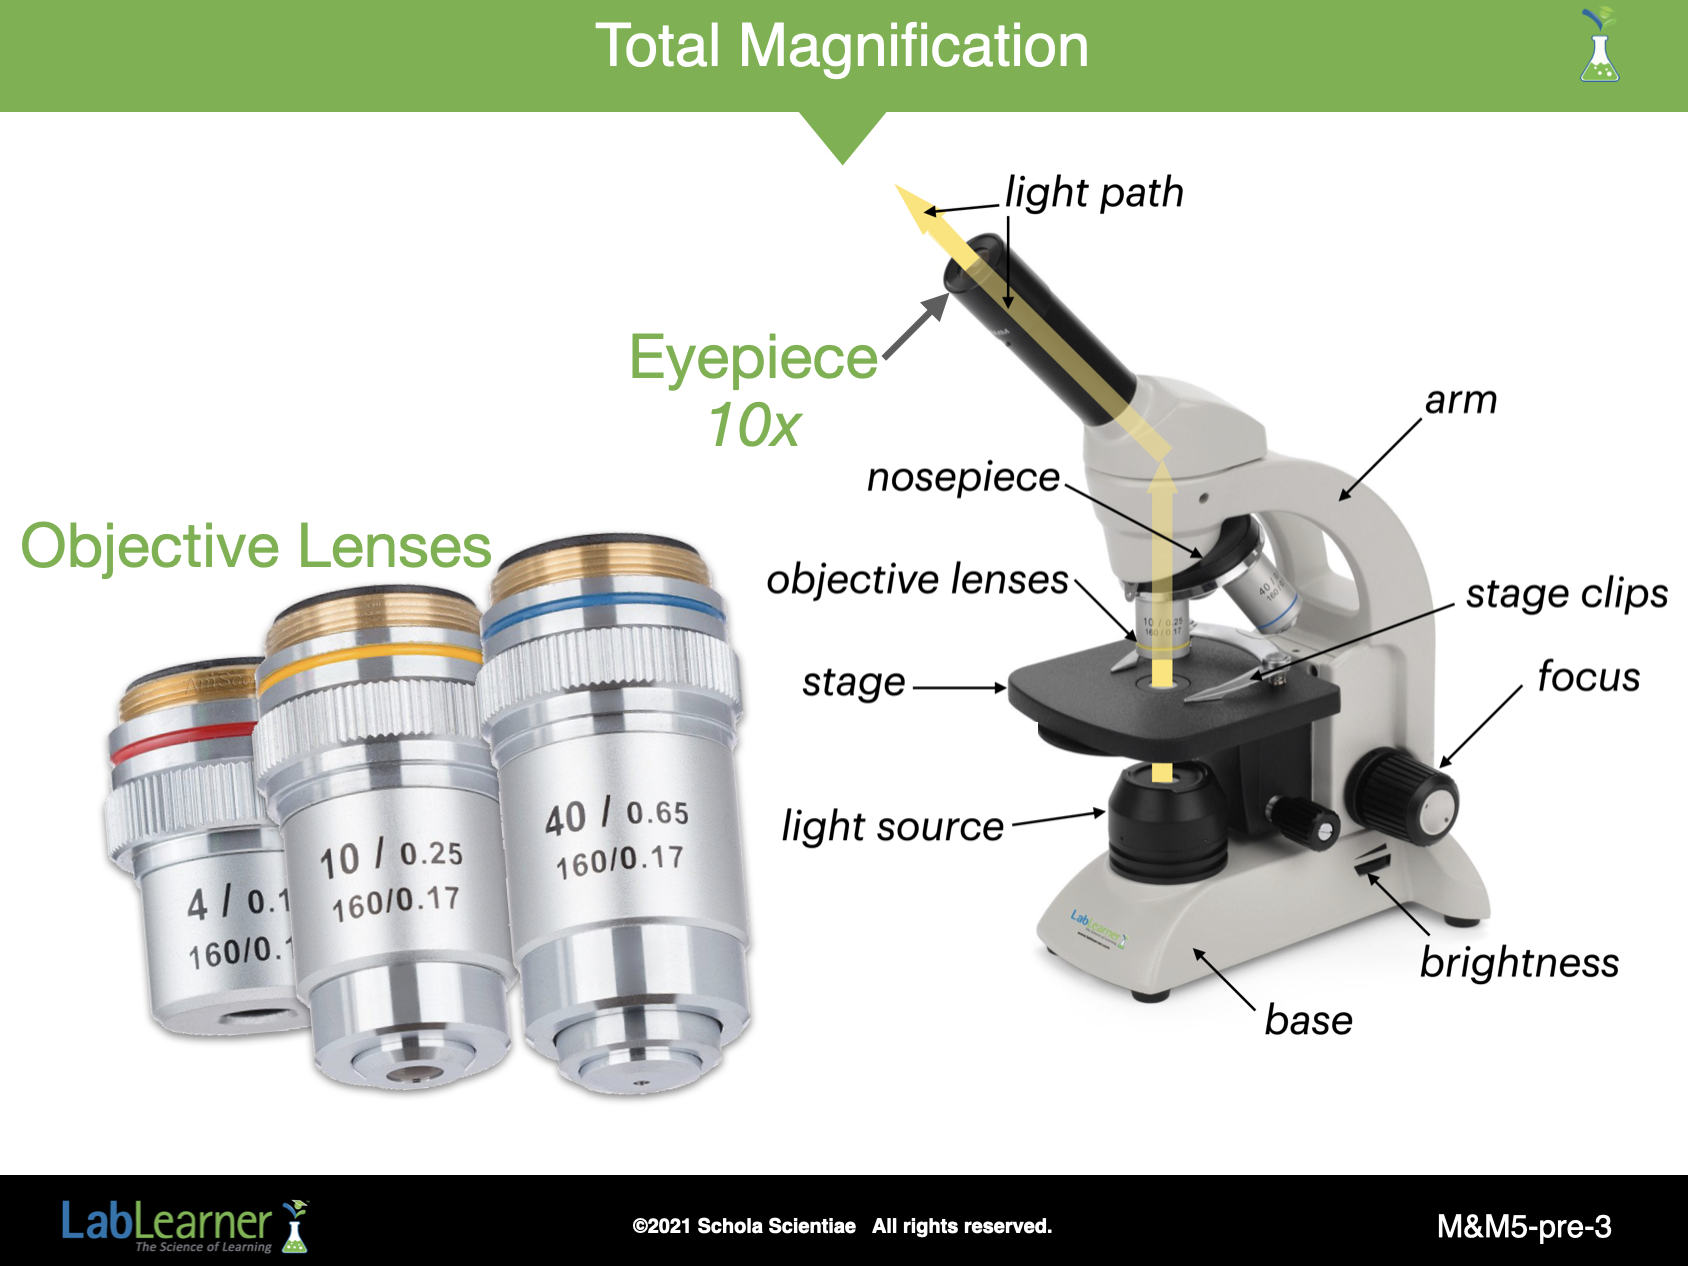
SLIDE M&M5-pre-3
Briefly review the experimental results from Investigation Four by asking students to explain how the total magnification of a specimen is determined using the different objectives of a compound microscope.
• Ask students: How would you calculate the total magnification of a microscope when using a 10x eyepiece with a 4x objective? The answer is found by multiplying the power of magnification of the eyepiece, 10x, by the power of magnification of the objective, 4x, to equal 40x.
• Ask students: How would you calculate the total magnification of a microscope when using a 10x eyepiece with a 10x objective? The answer is found by multiplying the power of magnification of the eyepiece, 10x, by the power of magnification of the objective, 10x, to equal 100x.
- Ask students: How would you calculate the total magnification of a microscope when using a 10x eyepiece with a 40x objective? The answer is found by multiplying the power of magnification of the eyepiece, 10x, by the power of magnification of the objective, 40x, to equal 400x.
______________________________________________
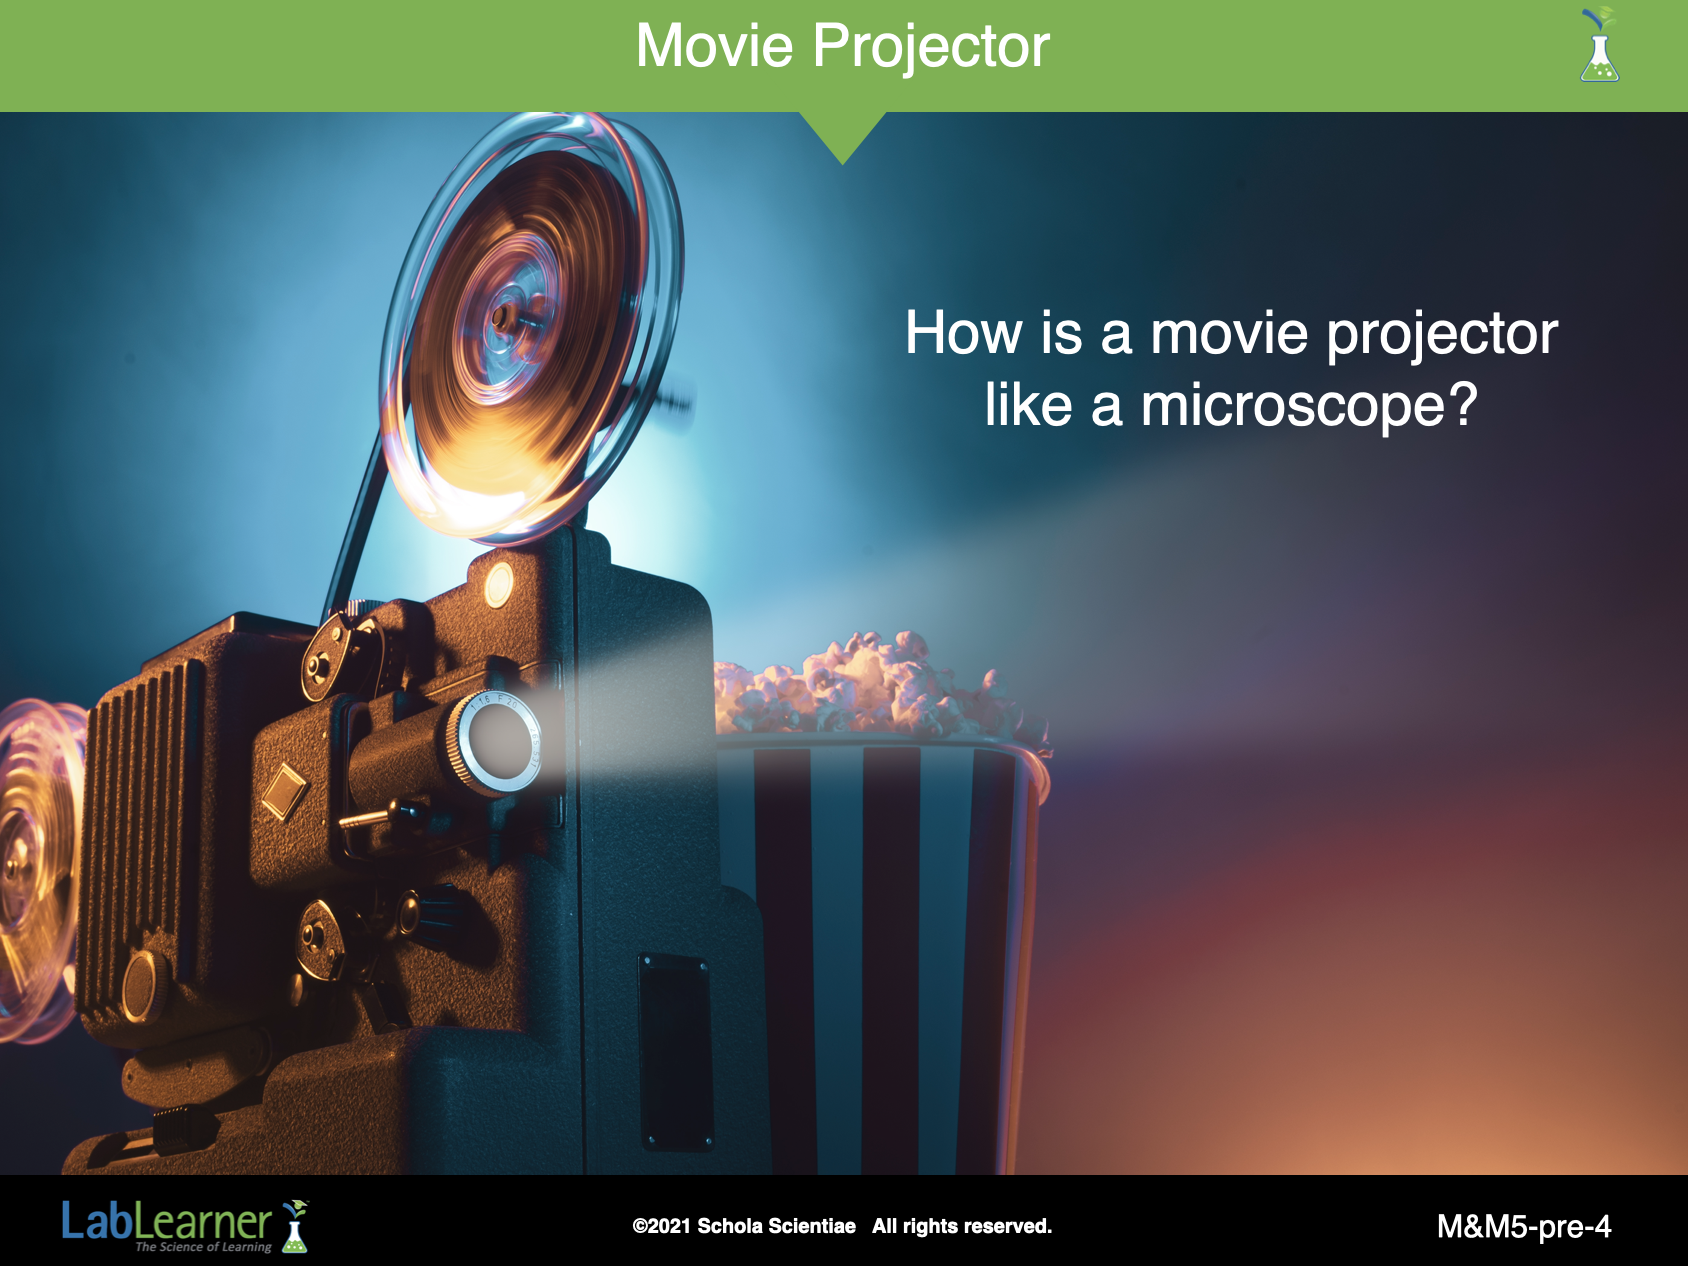
SLIDE M&M5-pre-4
Begin a discussion of how a microscope magnifies an object’s image. Use a movie projector for comparison with the microscope.
1. Ask students: What is a movie projector used for? A movie projector is used to magnify the image of a film placed behind the lens. The object that will be projected is the image on the film.
______________________________________________
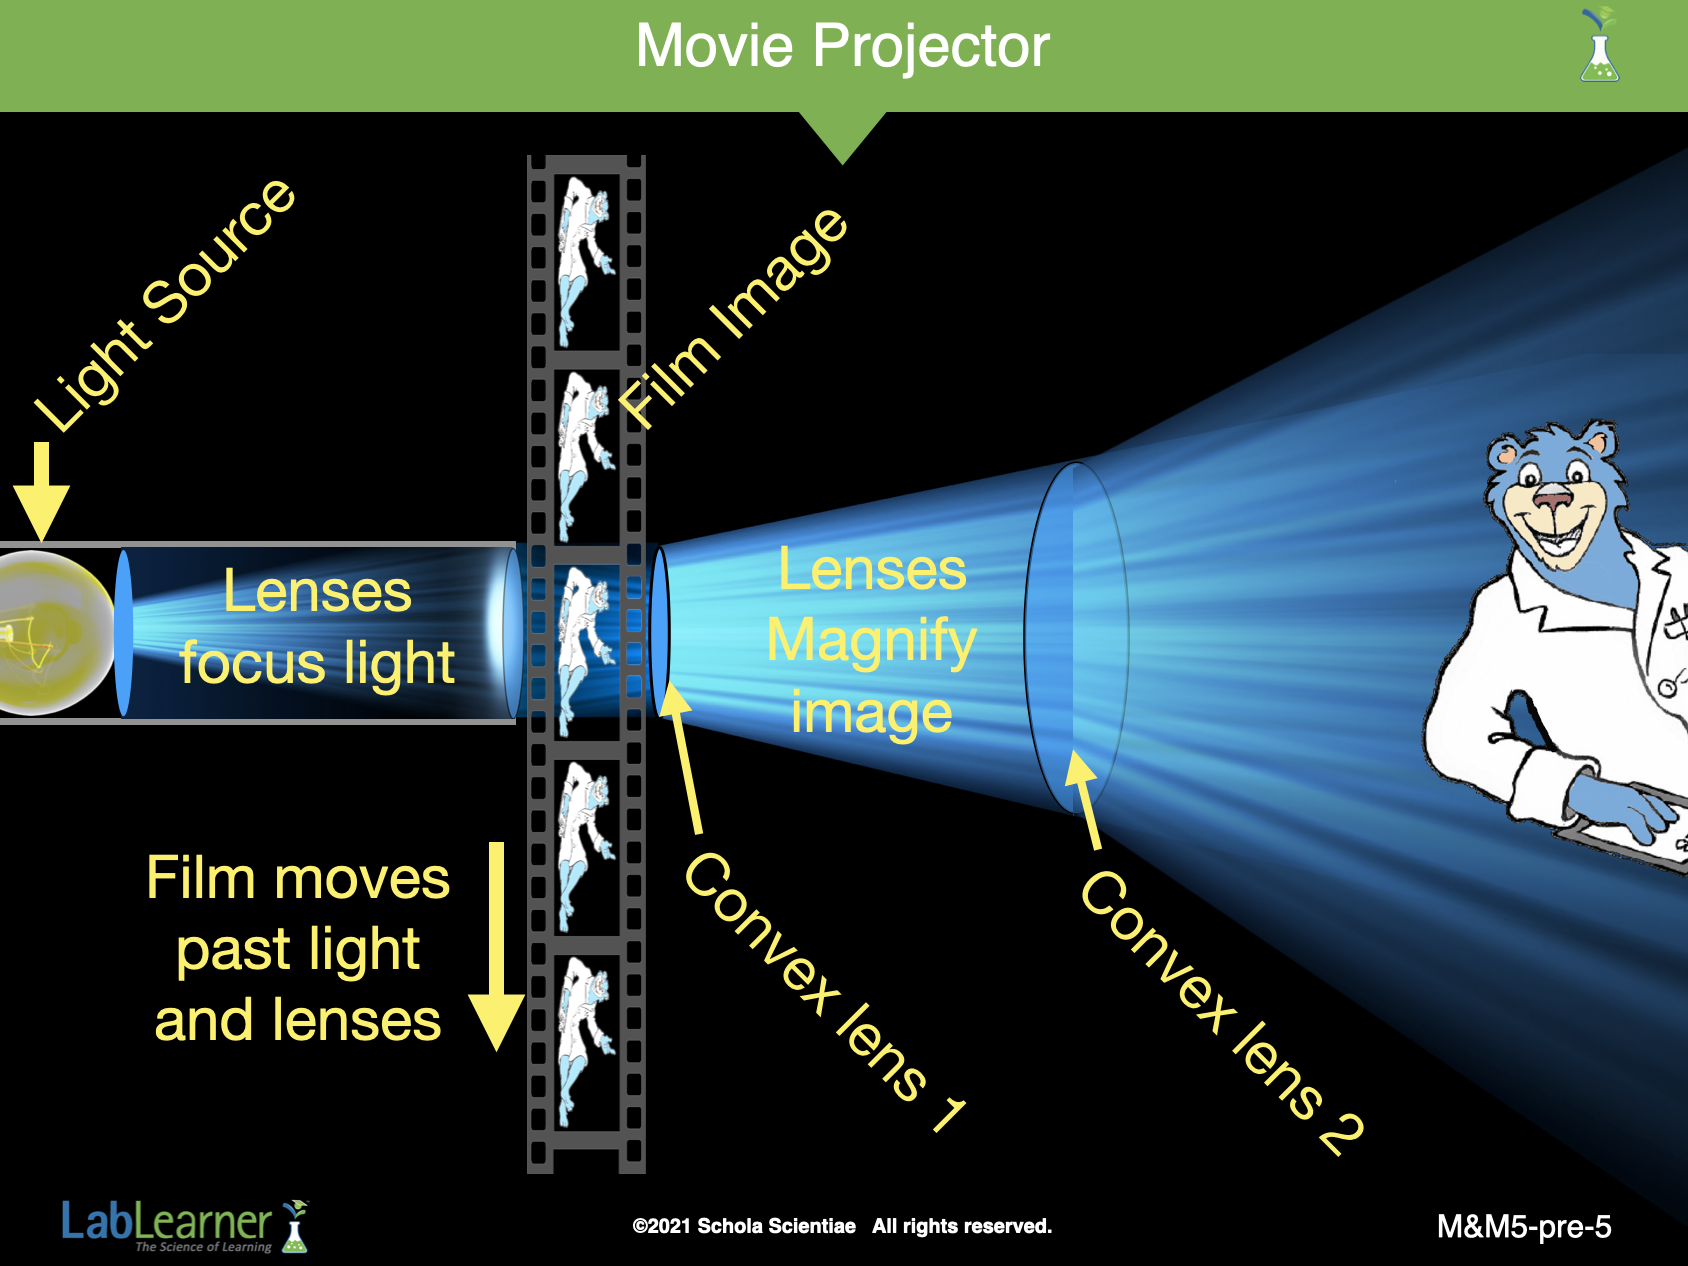
SLIDE M&M5-pre-5
2. Ask students: How does the movie projector magnify the image? Explain the path that light takes in a projector.
• A light bulb is the source of light in the projector. The light focuses on the film and passes through the transparent movie film.
• The light continues its path through the film and any picture that is on the film.
• The image passes through the first convex lens which refracts the light and magnifies the image of the object.
• The light then passes through the second convex lens, which again, refracts the light, and again magnifies the image.
• The light travels to the screen on which it displays the magnified image on the film.
______________________________________________
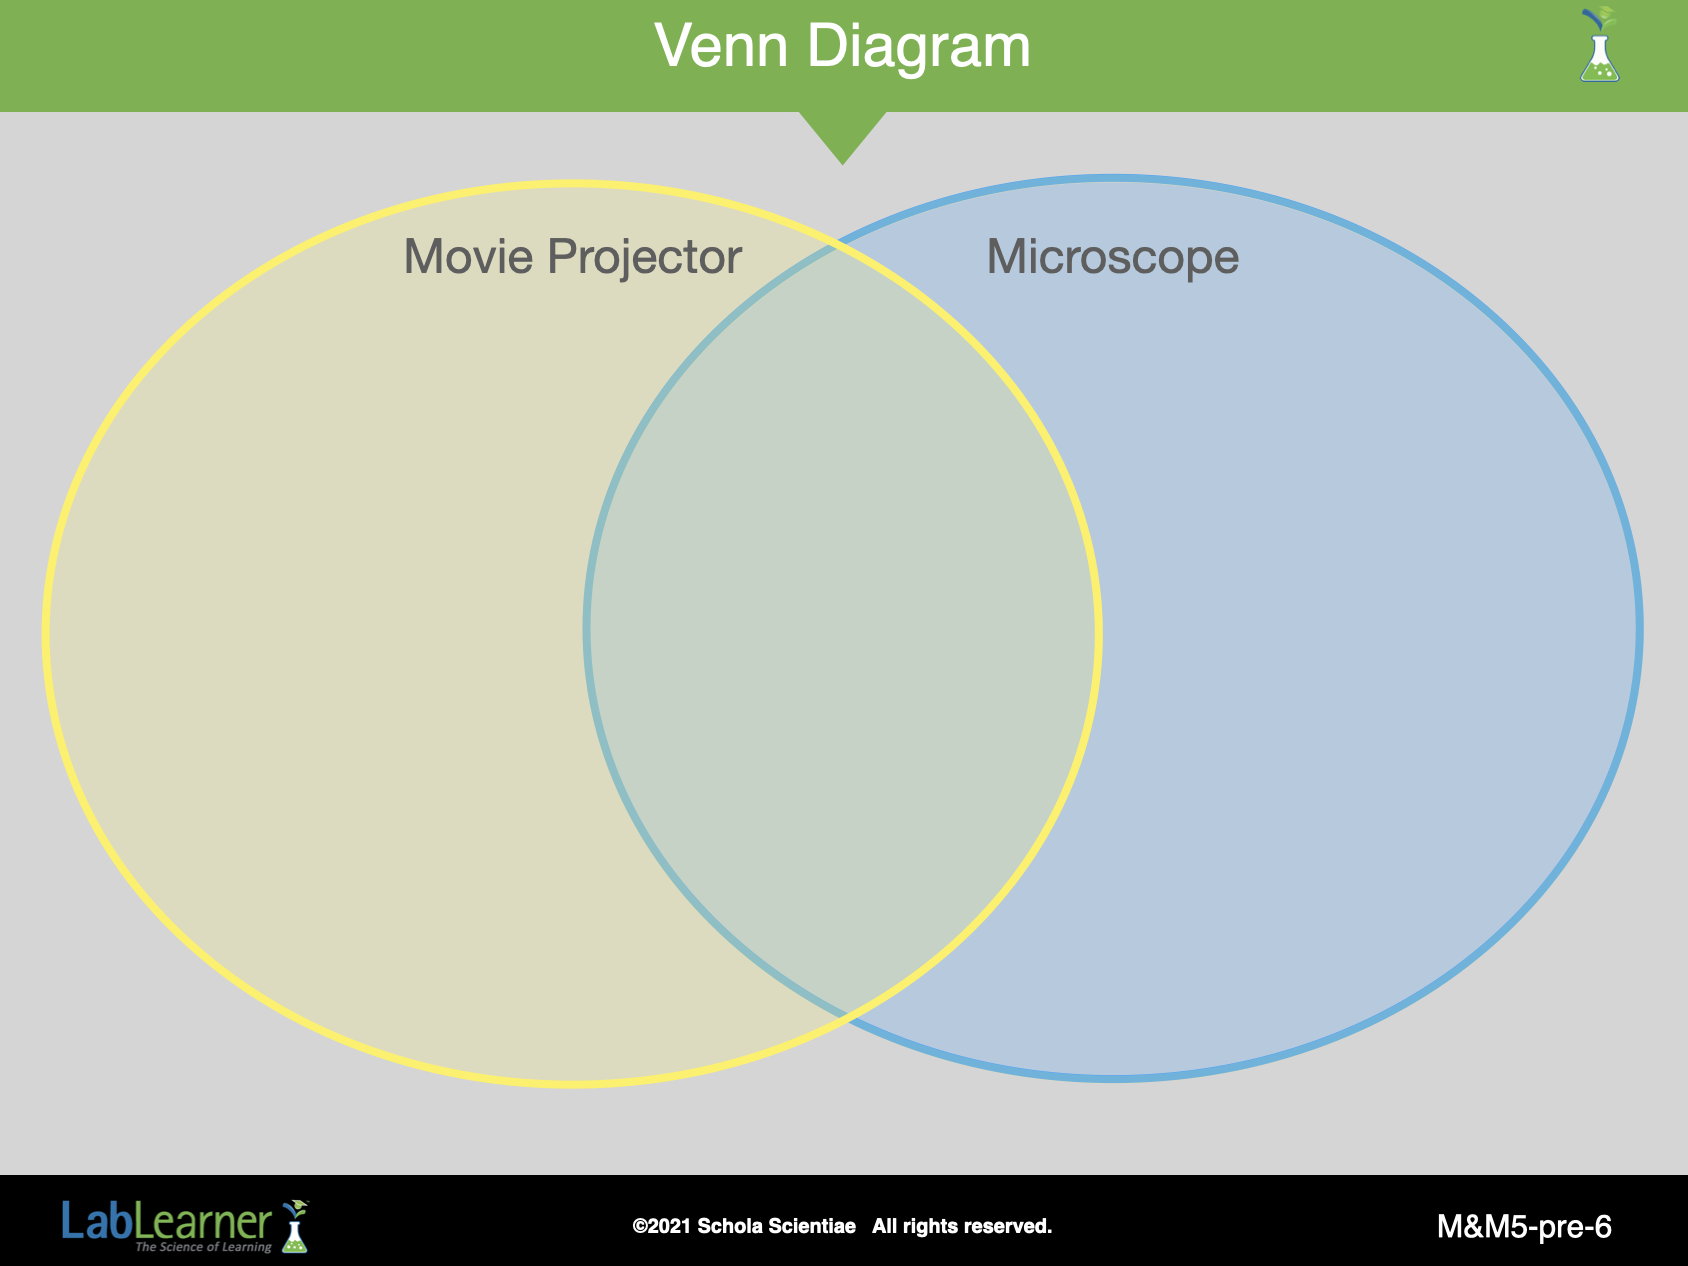
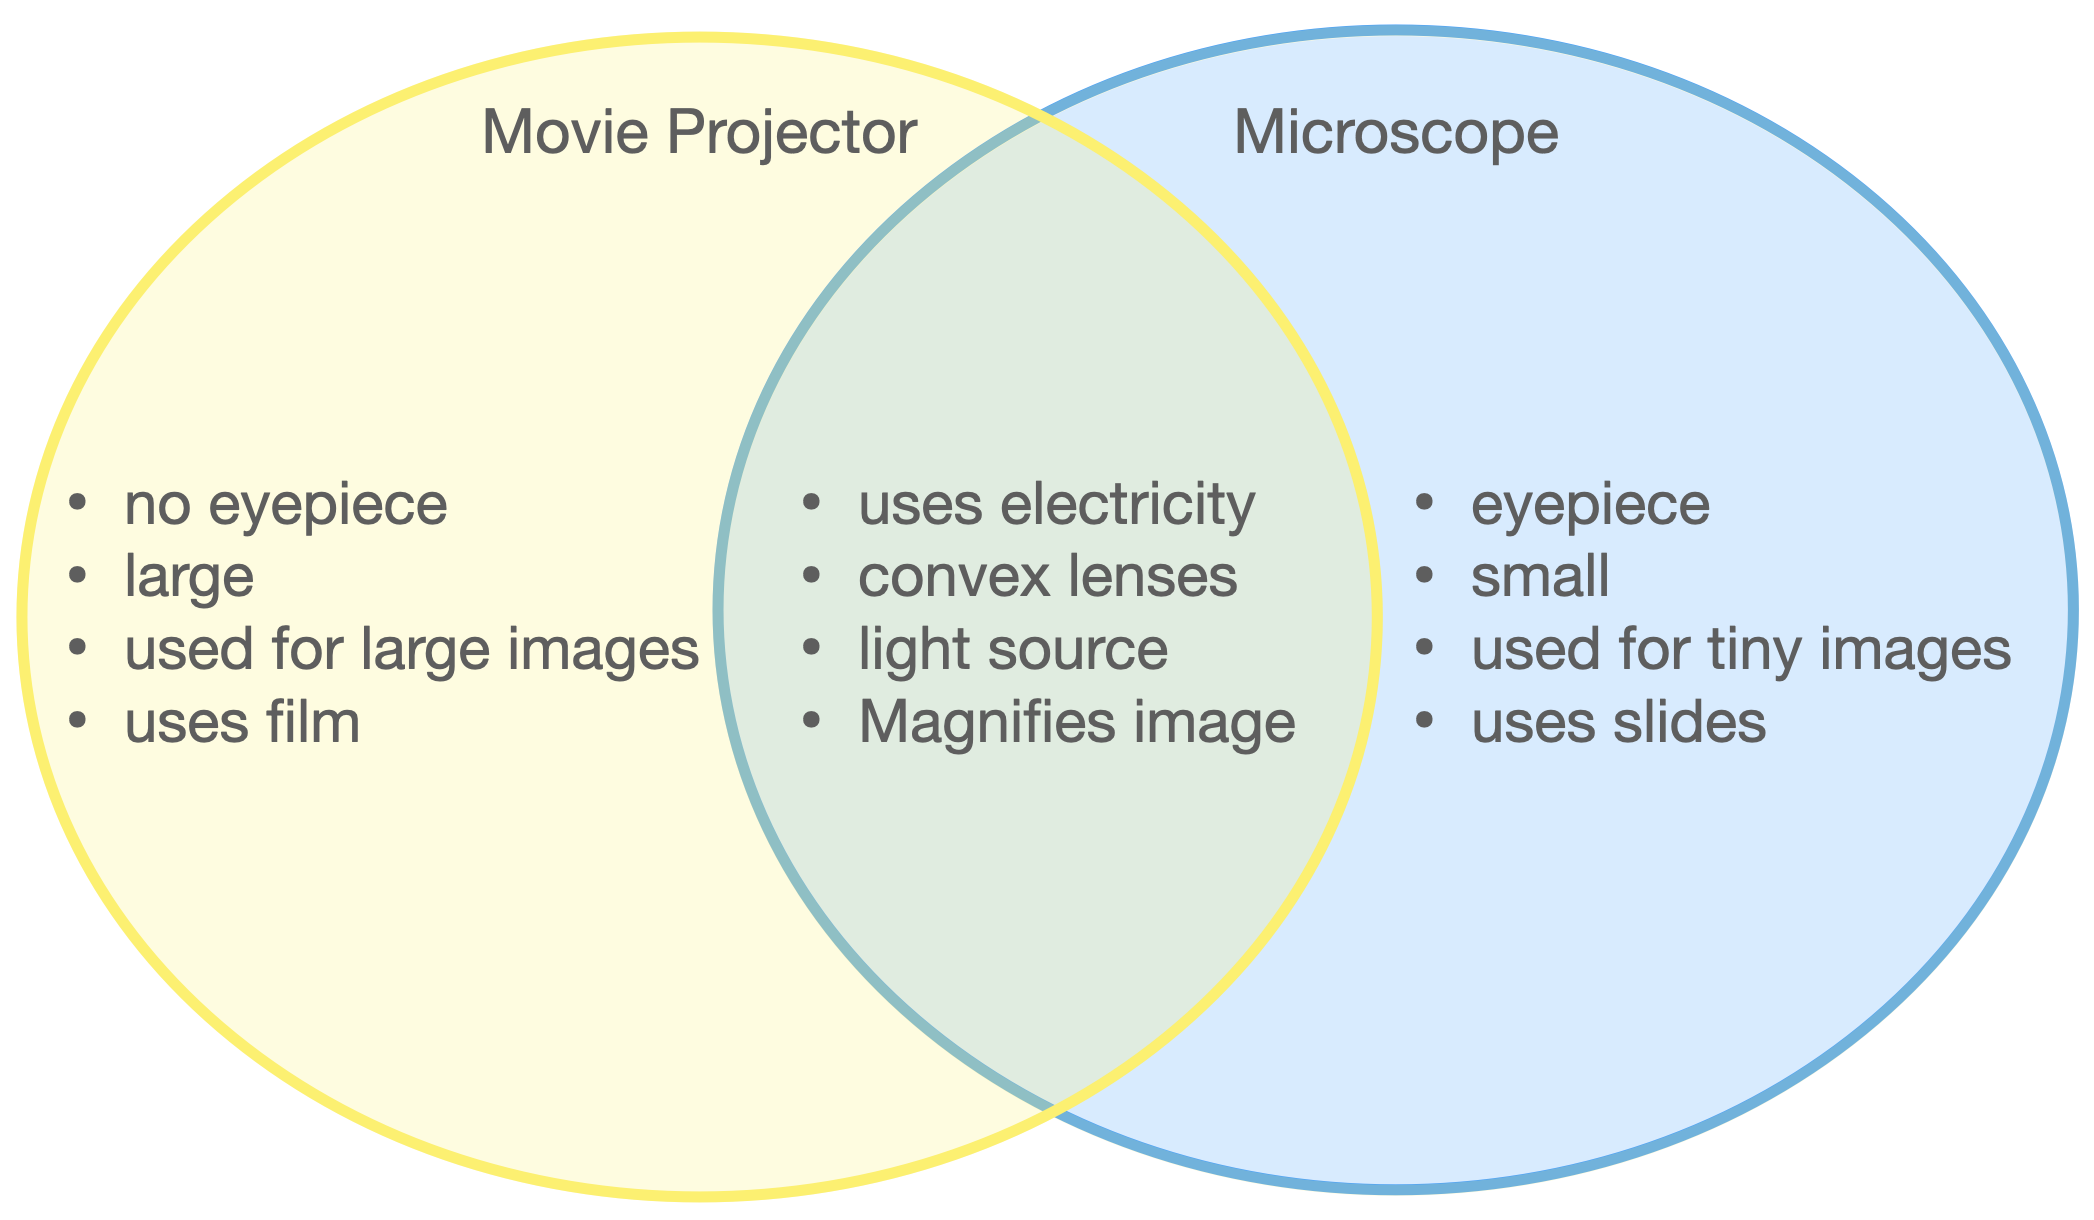
SLIDE M&M5-pre-6
Look at this Venn Diagram comparing and contrasting an overhead projector with a microscope.
• Explain to students that a film projector is used for magnifying images on a transparent film which, although small, can be seen with the naked eye. A microscope is used for images that cannot be seen by the naked eye.
Continue filling in the Venn diagram:
______________________________________________
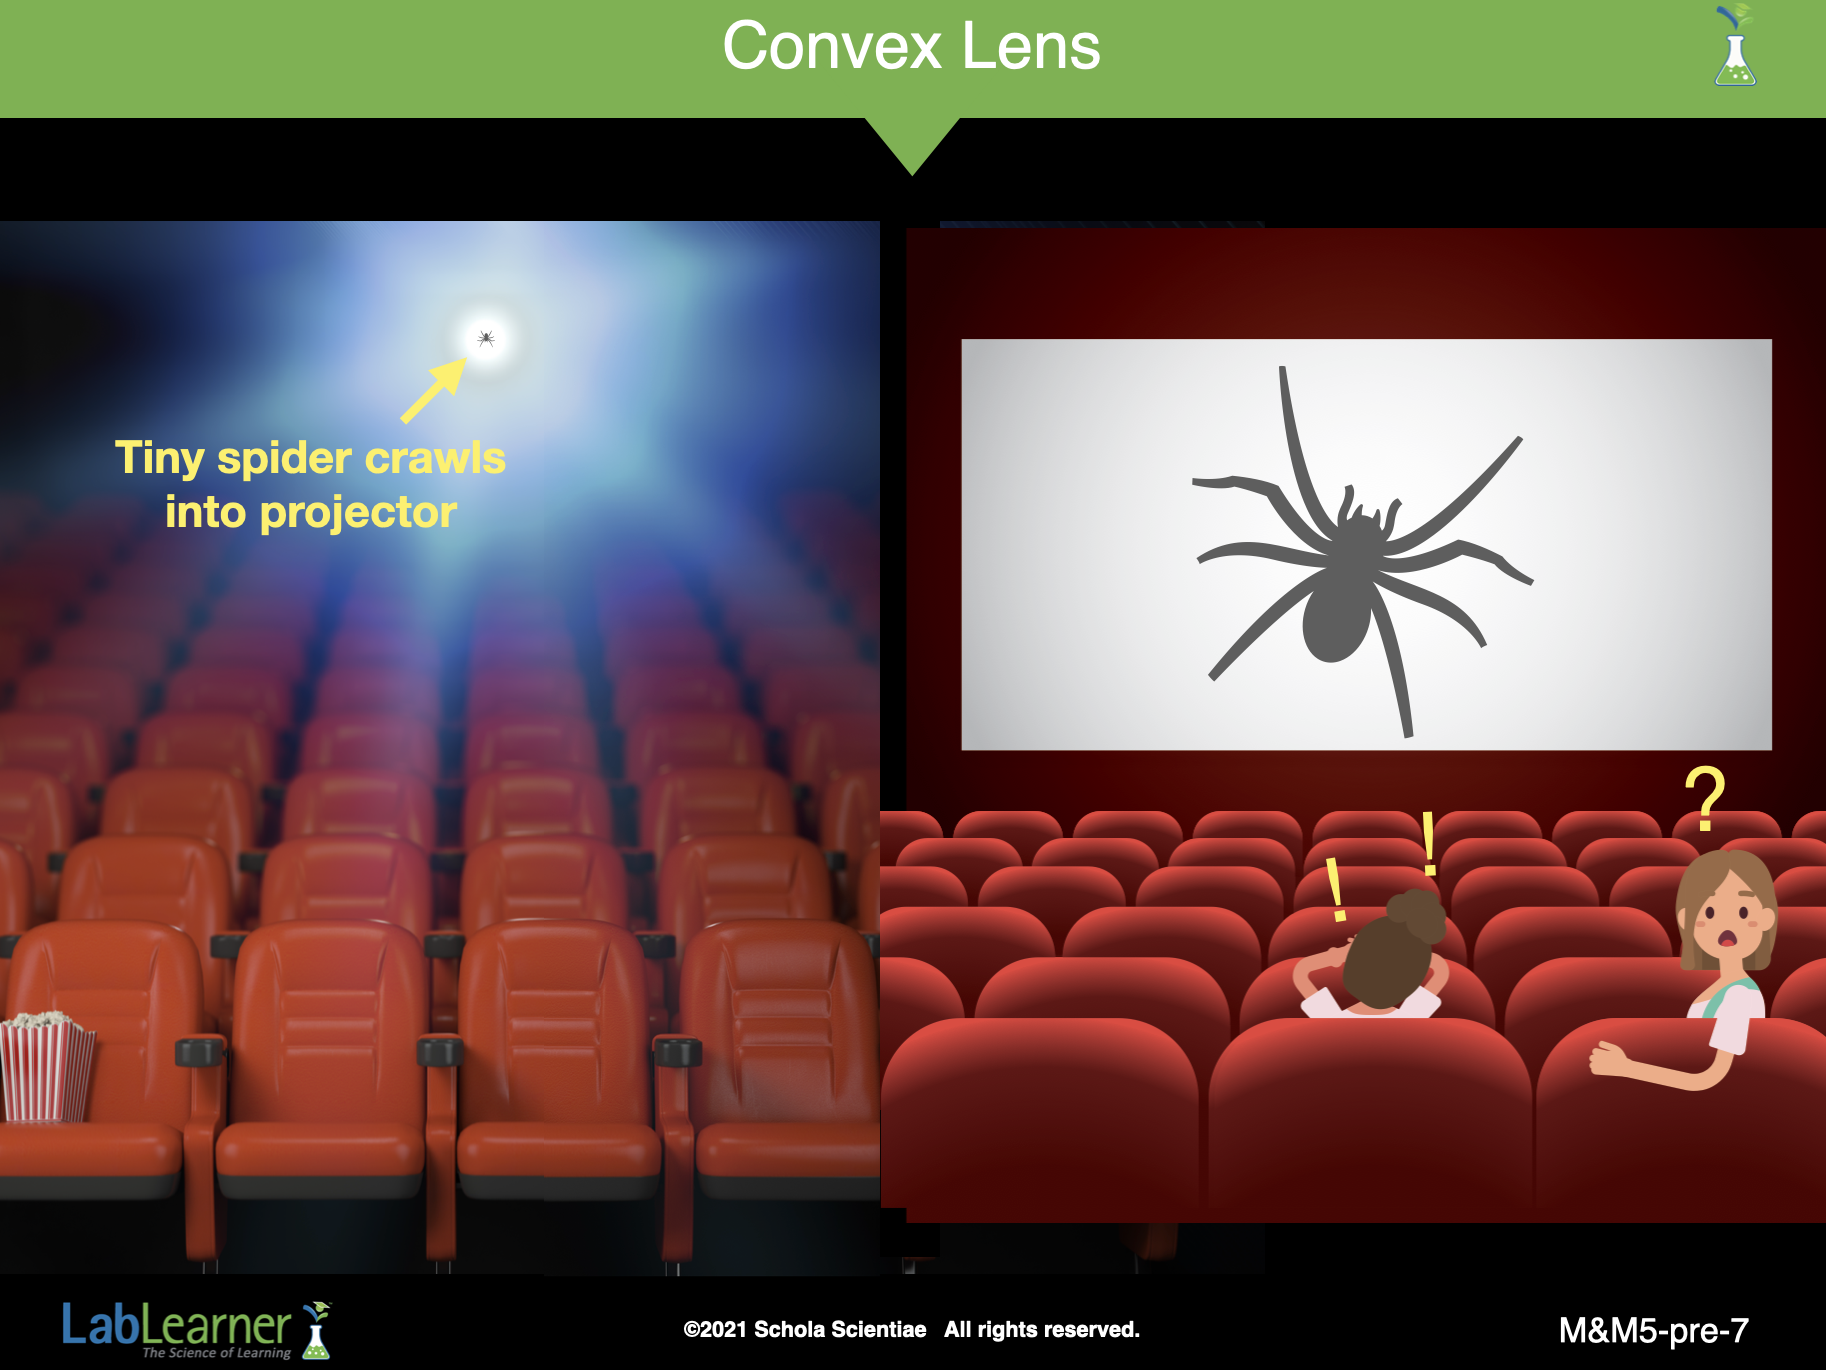
SLIDE M&M5-pre-7
Fun problem:
Ask students where in the movie projector the tiny spider must have crawled. Somehow the spider crawled on the film between the light source and the convex lenses used to magnify the image on the film.
______________________________________________
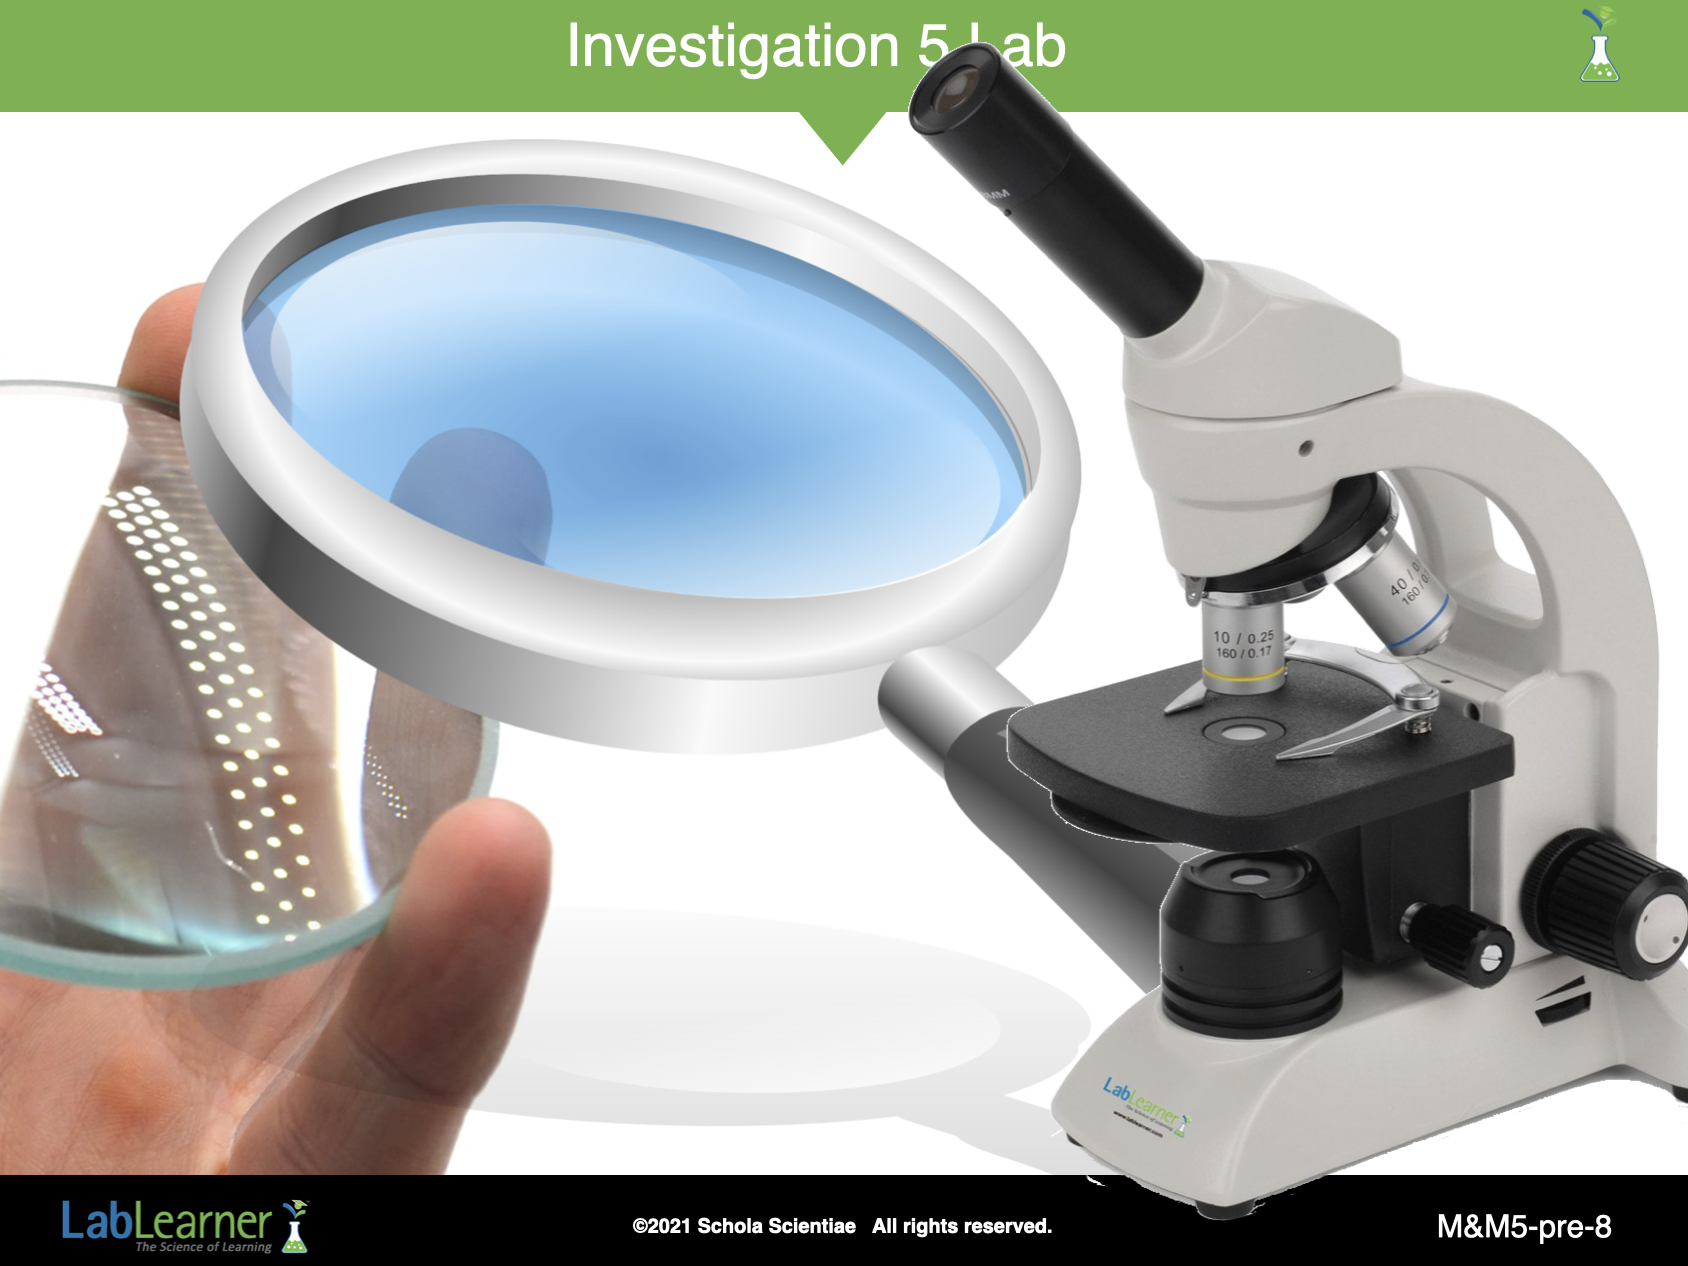
SLIDE M&M5-pre-8
Inform students that they will investigate the following questions in Lab:
• How are the images produced by a hand lens and a microscope similar and different?
• How does a microscope produce an image?