Teacher Portal:
Microscopes and Magnification
Investigation 1 – PreLab
 ASK WHY
Microscopes have made a tremendous contribution to science since their use began in the sixteenth century (the 1500s).
Microscopes are one of the most important scientific instruments developed. In fact, in the medical field, microscopes are largely responsible for making modern medicine “modern”!
BRANCH OUT
Microscopists today work in many different fields including field and laboratory life sciences, chemistry, materials science, and nearly every branch of biomedical research and medicine.
PRINT IT
Use your browser to download a printable PDF as help during the slide presentation and to make additional notes. In your browser, go to File > Print and then choose to save as PDF.
MINDSET
This Investigation is designed to:
- explore the basic concepts of magnification using a hand lens.
- introduce the parts of the human eye to students through the use of a hand lens.
- allow students to demonstrate the functions of the human eye.
- investigate how the human eye collects and focuses light onto the retina.
- allow students to compare the resolution of the naked (unassisted) and the assisted eye.
- allow students to reconstruct how the eye detects light and the brain processes all information from the eye.
- allow students to infer that magnification increases resolution.
- correlate the size of the pupil with the amount of light that enters the eye.
SCIENTIST’S GLOSSARY
- Brain: The part of the body that controls all voluntary and involuntary functions and all sensory functions.
- Cornea: The outer layer of the eye, which helps focus light.
- Eye: The organ that contains all the structures needed for sight.
- Lens: A curved piece of transparent material, usually glass or plastic that refracts light. A lens is also found in the human eye.
- Pupil: An opening in the eye that allows light to enter and be detected.
- Retina: The lining of cells at the back of the eye. The retina senses the light reflected from an object and sends nerve signals to the brain.
- Iris: The muscular structure that opens and closes the pupil.
- Optic Nerve: The nerve that carries information from the eye to the brain.
- Hand Lens: A magnifying lens that aids in seeing small objects.
- Magnify: When a lens refracts light and increases the size of an object’s image.
- Reflection: When light bounces off of an object.
- Refract: When light passes through a transparent object and is bent or redirected in a different direction.
- Resolution: The process that makes fine details more clearly visible.
- Field of View: The portion of an object that is visible through a hand lens or other viewing device.
BE PREPARED
Watch the Investigation 1 Teacher Video and Student Video below to prepare for the PreLab.
SET FOR SUCCESS
- Tell students that they are about to begin the Microscopes and Magnification CELL.
- Ask students to share the kinds of things they might learn in these Investigations.
- Tell students they will think about the structures and functions of the human eye. They will also explore sight and the resolution of detail through experiments and discussion using a hand lens as an aid to the naked eye.
Begin the PreLab Concept Slides to start students on their learning journey. Then watch the Pre-Lab Student Video as a class.
NAVIGATE IT
Once the slide presentation is launched
- use your left and right arrows to advance or go back in the slide presentation, and
- hover your mouse over the left edge of the presentation to get a view of the thumbnails for all the slides so that you can quickly move anywhere in the presentation.
- Click HERE to launch the slide presentation for the CELL.
SHARE IT
SLIDE M&M1-pre-1
This slide is the first in the Microscopes and Magnification CELL.
______________________________________________
SLIDE M&M1-pre-2
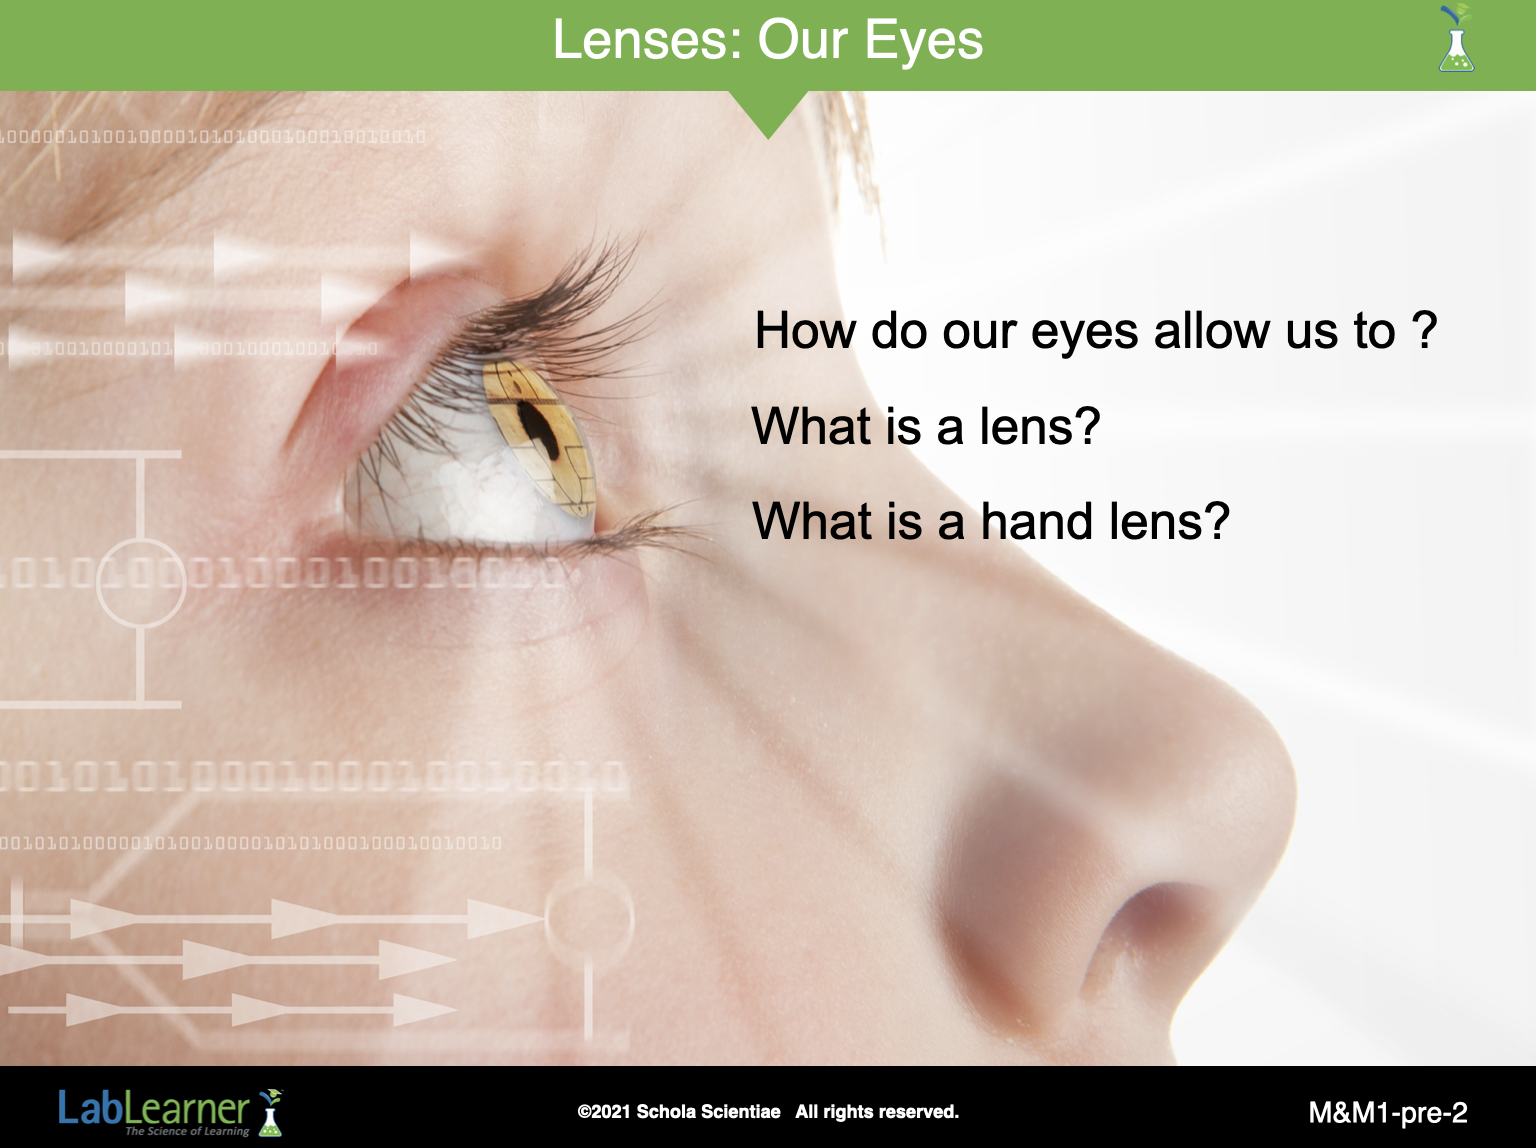
Begin Investigation 1 by asking students three basic questions concerning lenses at the outset:
How do our eyes allow us to see? Student answers will vary. Students may recall that our eyes send signals to our brain, which processes the signals and allows us to recognize shapes, colors, and objects.
What is a lens? Students may recall lenses such as contact lenses or glasses. Encourage students to think about the properties of a lens. A lens is a curved piece of transparent material such as glass or plastic.
What is a hand lens? The hand lens is a lens that is protected by plastic and can be used to view objects by holding in the hand.
______________________________________________
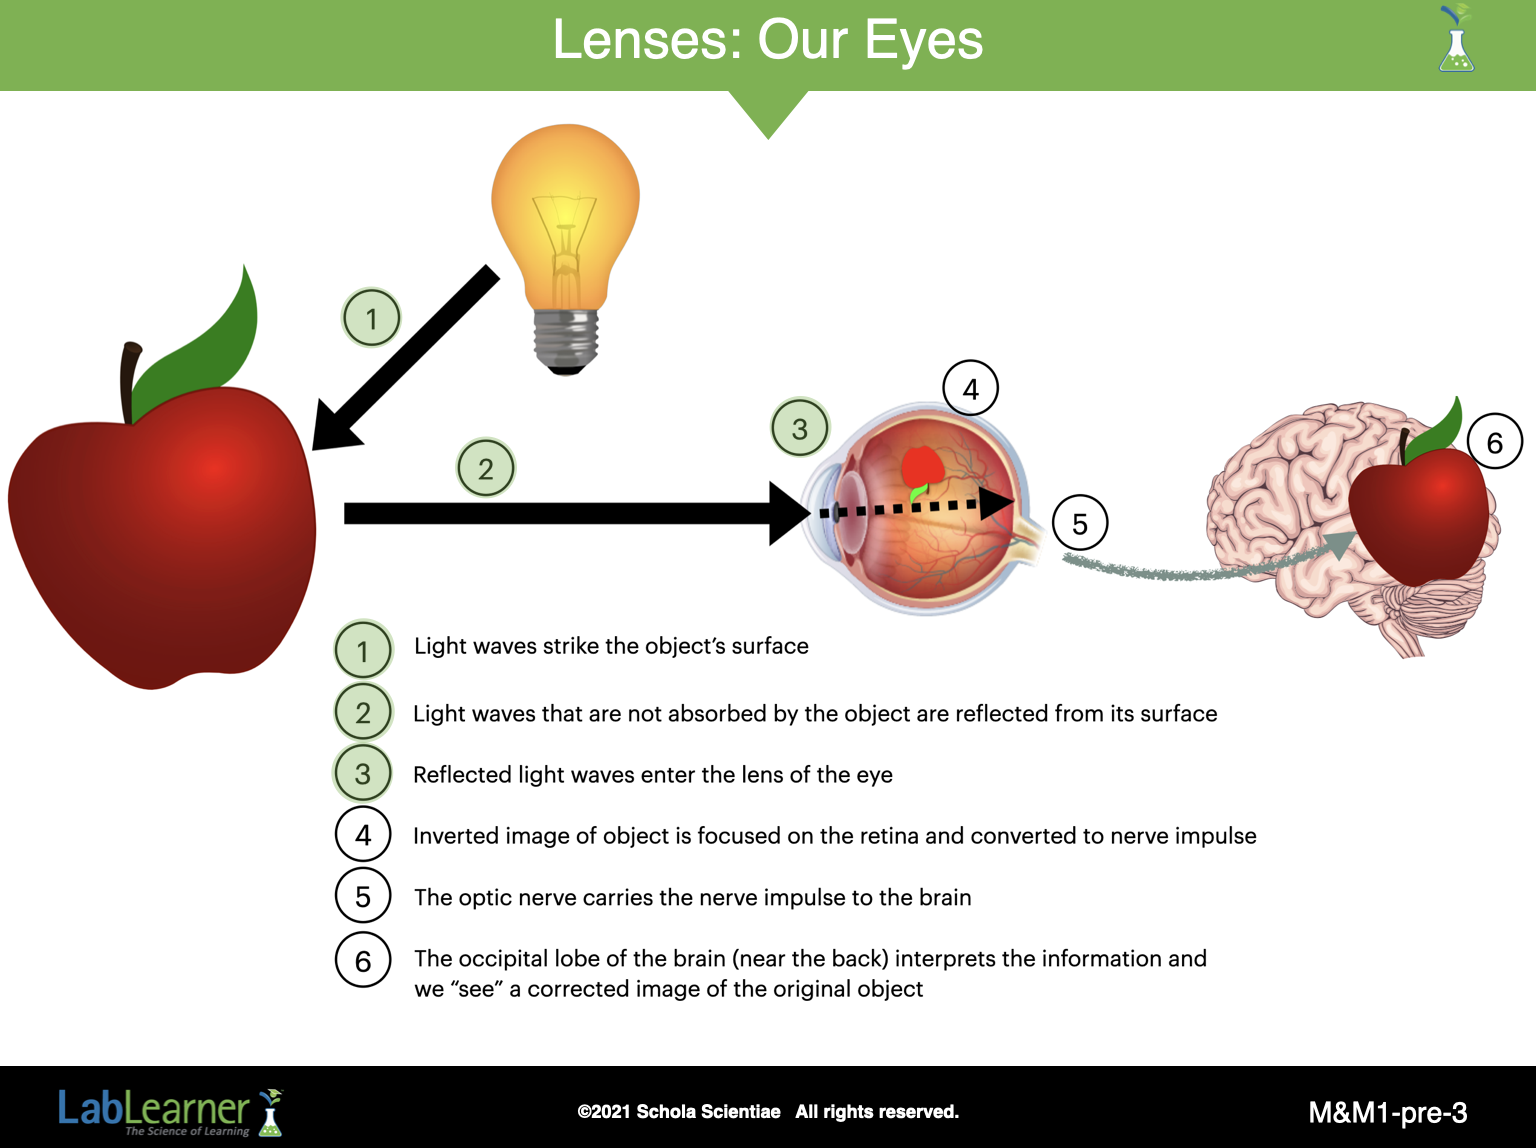
SLIDE M&M1-pre-3
This slide begins a discussion about how the human eye works in the sense of sight. We will return to a similar slide later (SLIDE M&M1-pre-5):
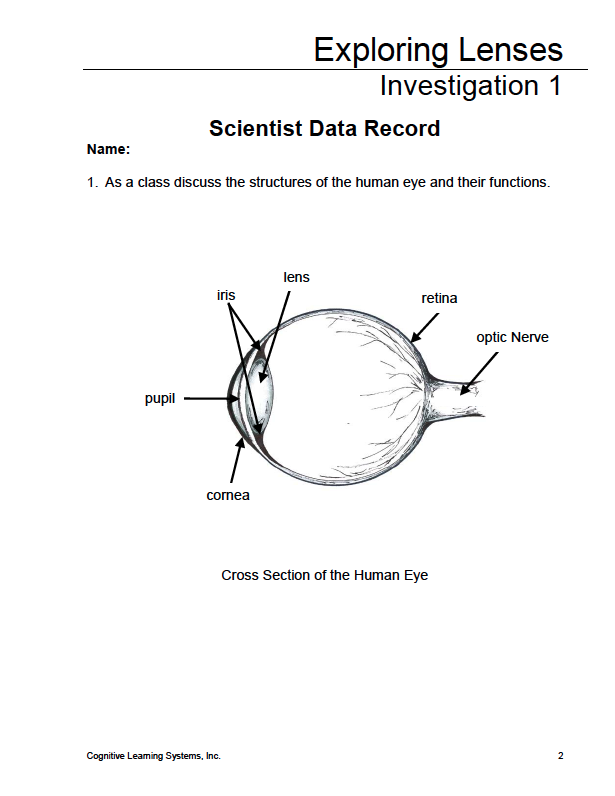
- Explain to students that light reflects off of an object and then passes through the outer layer of the eye, called the cornea.
- The light then enters the eye through an opening called the pupil. The size of the pupil is controlled by the iris, which is the colored part of the eye.
______________________________________________
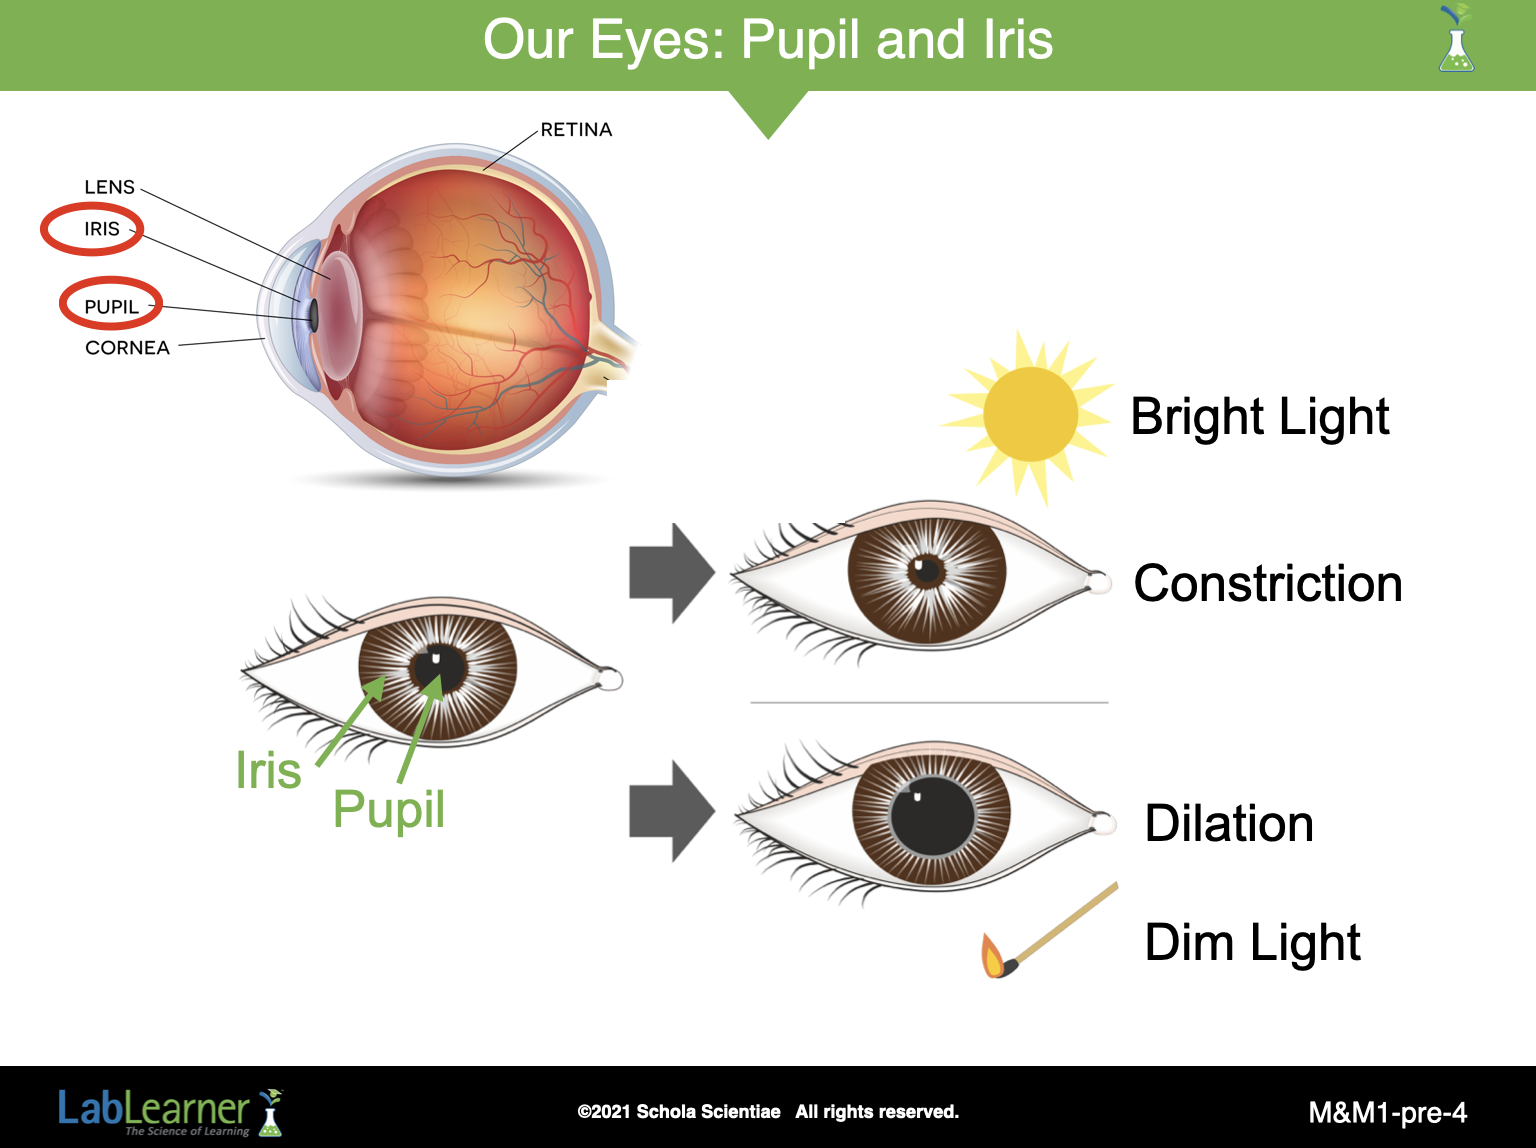
SLIDE M&M1-pre-4
This slide shows what is known as the pupillary reflex (or pupillary response). The muscles of the iris contract under conditions of bright light and the pupil gets smaller (constricts). Under low-light conditions, the iris muscles relax and the pupils get larger (dilation).
This reflex is used in basic neurological exams at the doctor’s office. Under normal conditions, shining a bright flashlight in the eye immediately causes the pupillary reflex. Lack of this involuntary (you can not control it) response may indicate damage to the eye, brain, or the nerves that connect the two.
______________________________________________
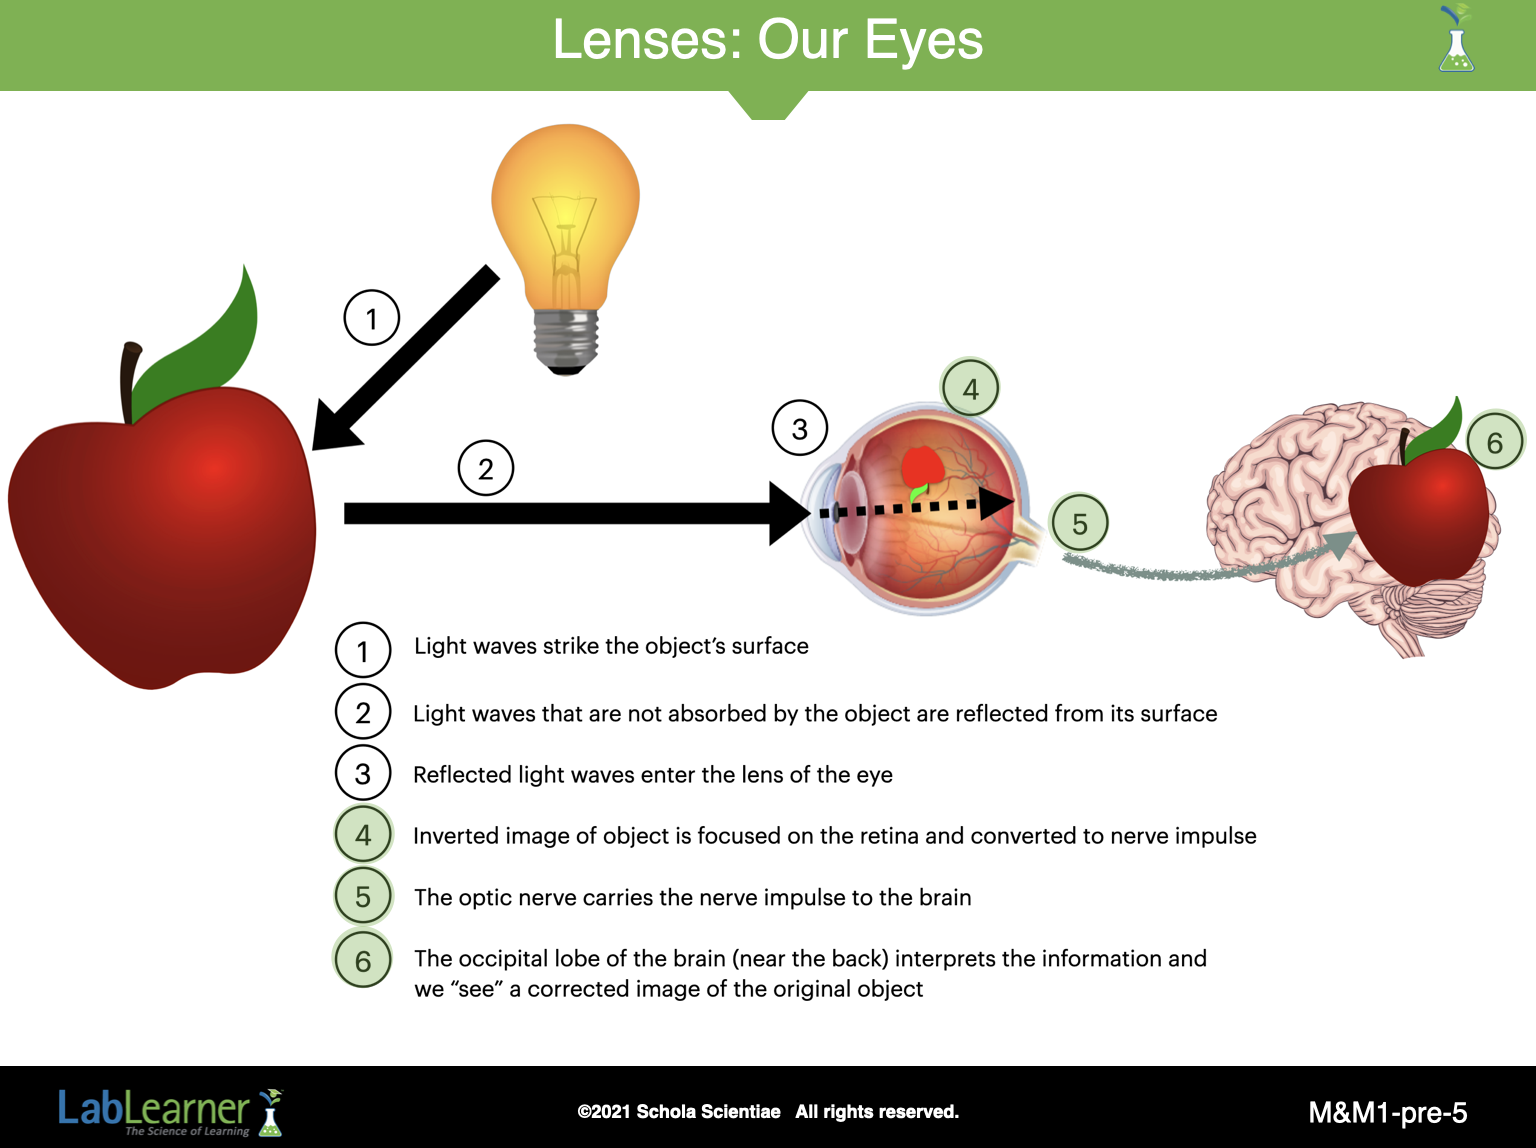
SLIDE M&M1-pre-5
This slide is a continuation of the one we discussed above (SLIDE M&M1-pre-3)
- Light from the object then passes through a lens that focuses the image of the object onto a structure in the back of the eye called the retina.
- Cells in the retina convert the light falling on them into nerve signals that are carried by the optic nerve to the brain.
- The brain then interprets these signals allowing the identification of the object.
______________________________________________
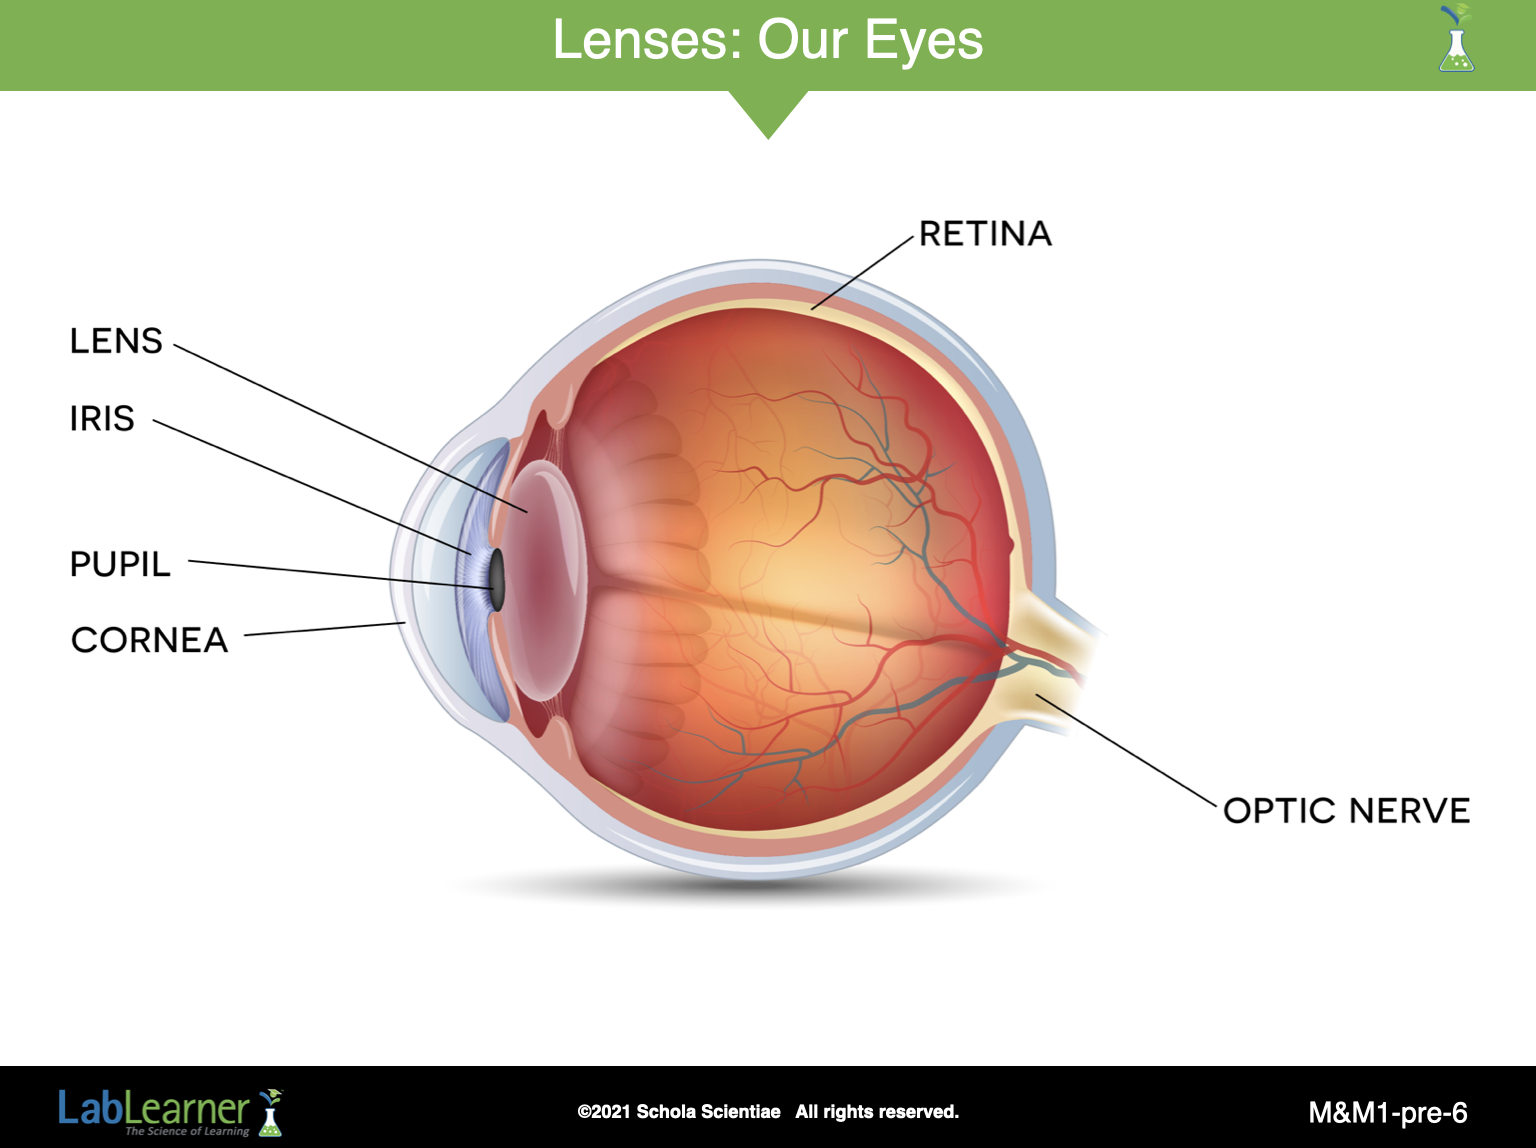
SLIDE M&M1-pre-6
This slide is included to show an enlarged view of the anatomy of the human eye with some of the key structures labeled.
______________________________________________
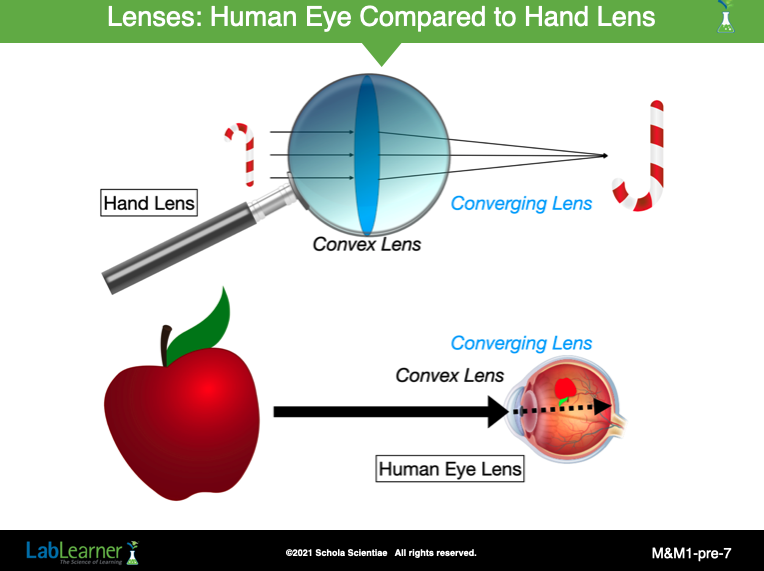
SLIDE M&M1-pre-7
This slide compares the lens of the human eye to a hand lens.
- Notice that both types of lenses are convex lenses (as opposed to convex lenses).

- Also, notice that both types of lenses are converging lens. That is, they collect light from a wide area and focus the light beams at some distance behind the lens. This is caused by a property of glass lenses called refraction.
______________________________________________
PRELAB EXERCISE
- The first demonstration illustrates how distance affects the resolution of an object’s image.
- Ask students to first look at an object outside the classroom window or at an object in the classroom. Students should record three details of the object in problem 2 in their Scientist Data Record.
- Instruct students to then look at another student and then record three details of the other student in problem 3 in their Scientist Data Record.
- Discuss how details of the distant object are not as clear or as resolved as details of the other student who is closer to their eyes than the distant object.
- Use the Flower Transparency (use SLIDE M&M1-pre-8 and SLIDE M&M1-pre-9 below) to demonstrate how when an image is not focused, it loses resolution.
- Display SLIDE M&M1-pre-8 and ask students to draw what they see in problem 4 in their Scientist Data Record.
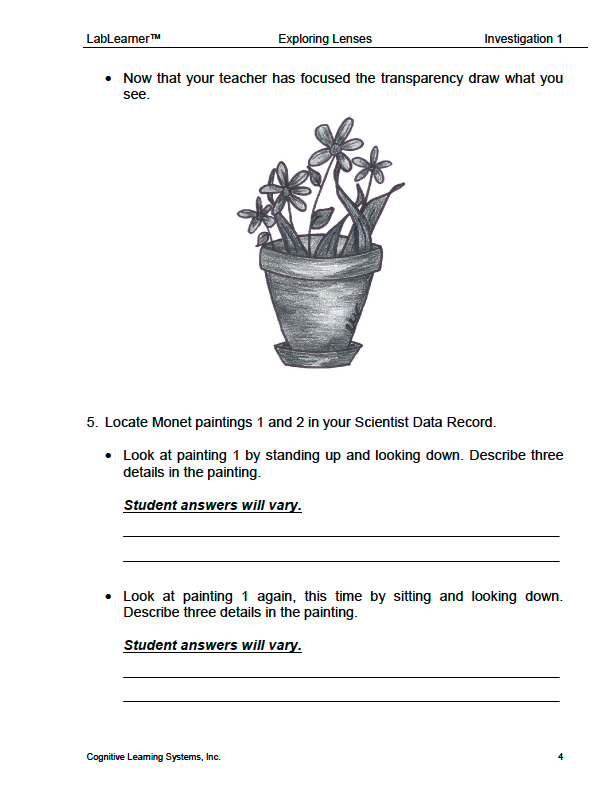
- Display SLIDE M&M1-pre-9 and ask students to draw what they see in problem 5 in their Scientist Data Record.
- Inform students that the first image of the flower they saw was not in focus. This allowed unfocused light from the image to enter their eye.
- The image was resolved better when focused in SLIDE M&M1-pre-9.
- Use the two Monet paintings as the third demonstration of resolution.
- Ask each student to locate Monet painting 1 in their Scientist Data Record.
- Each student should place the painting on their lab table, stand up and look down at it. Students should record three details of the painting in problem 5 of their Scientist Data Record.
- Students should then sit down and look at painting 1. Students should record three details of the painting in problem 5 of their Scientist Data Record. Students should also record any changes they observe in the details of the painting in problem 5 of their Scientist Data Record.
- As a class, discuss the observed differences in painting 1 when viewed at the two distances. (If desired show the class each painting using the transparencies provided.) At a greater distance, it is easy to determine the detail of the painting and to see the entire painting. At the shorter distance, it is harder to see the entire painting, but details are more easily seen. The shorter distance increased the resolution of the painting but decreased how much of the painting was visible.
- Students should now look at paintings 1 and 2 side by side by standing up and looking down. Students should record three details they see in both paintings in problem 6 of their Scientist Data Record.
- Students should answer problem 7 of their Scientist Data Record.
- Inform students that painting 1 was painted earlier in Monet’s career (1899) and painting 2 was painted later in his career (1924). There was less resolution in painting 2 due to his failing eyesight.
- Ask students the following questions:
What do you think Monet was painting in each of the two paintings? The paintings are of the same Japanese-style bridge that was located in his water garden.
Why do you think Monet painted with less resolution later in his career? Monet’s eyesight gradually failed him, as he became older, resulting in blurred vision. Monet could not see with as much resolution as he became older, so he simply painted what he saw.
KEYS: PRELAB EXERCISE
SHARE IT (Continued)

SLIDE M&M1-pre-8
Use this slide (and the next) in place of transparencies for Problem 4 in the student Data Record.
______________________________________________
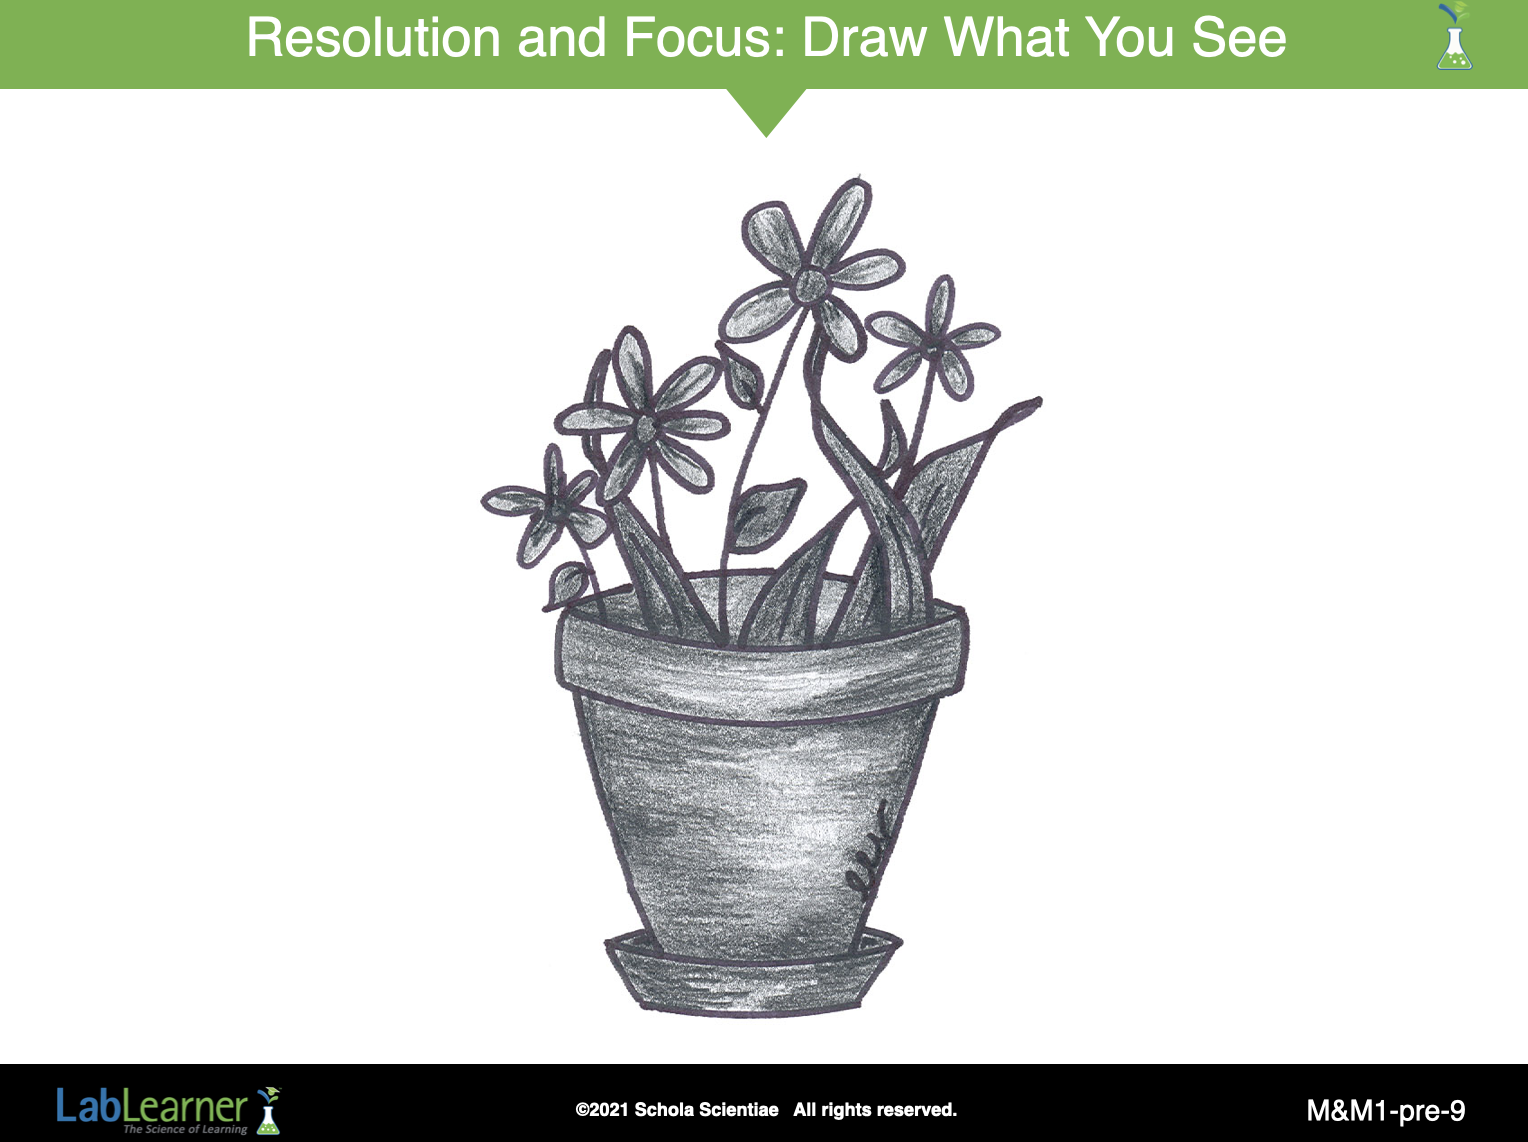
SLIDE M&M1-pre-9
Use this slide (and the previous slide) in place of transparencies for Problem 4 in the student Data Record.
______________________________________________
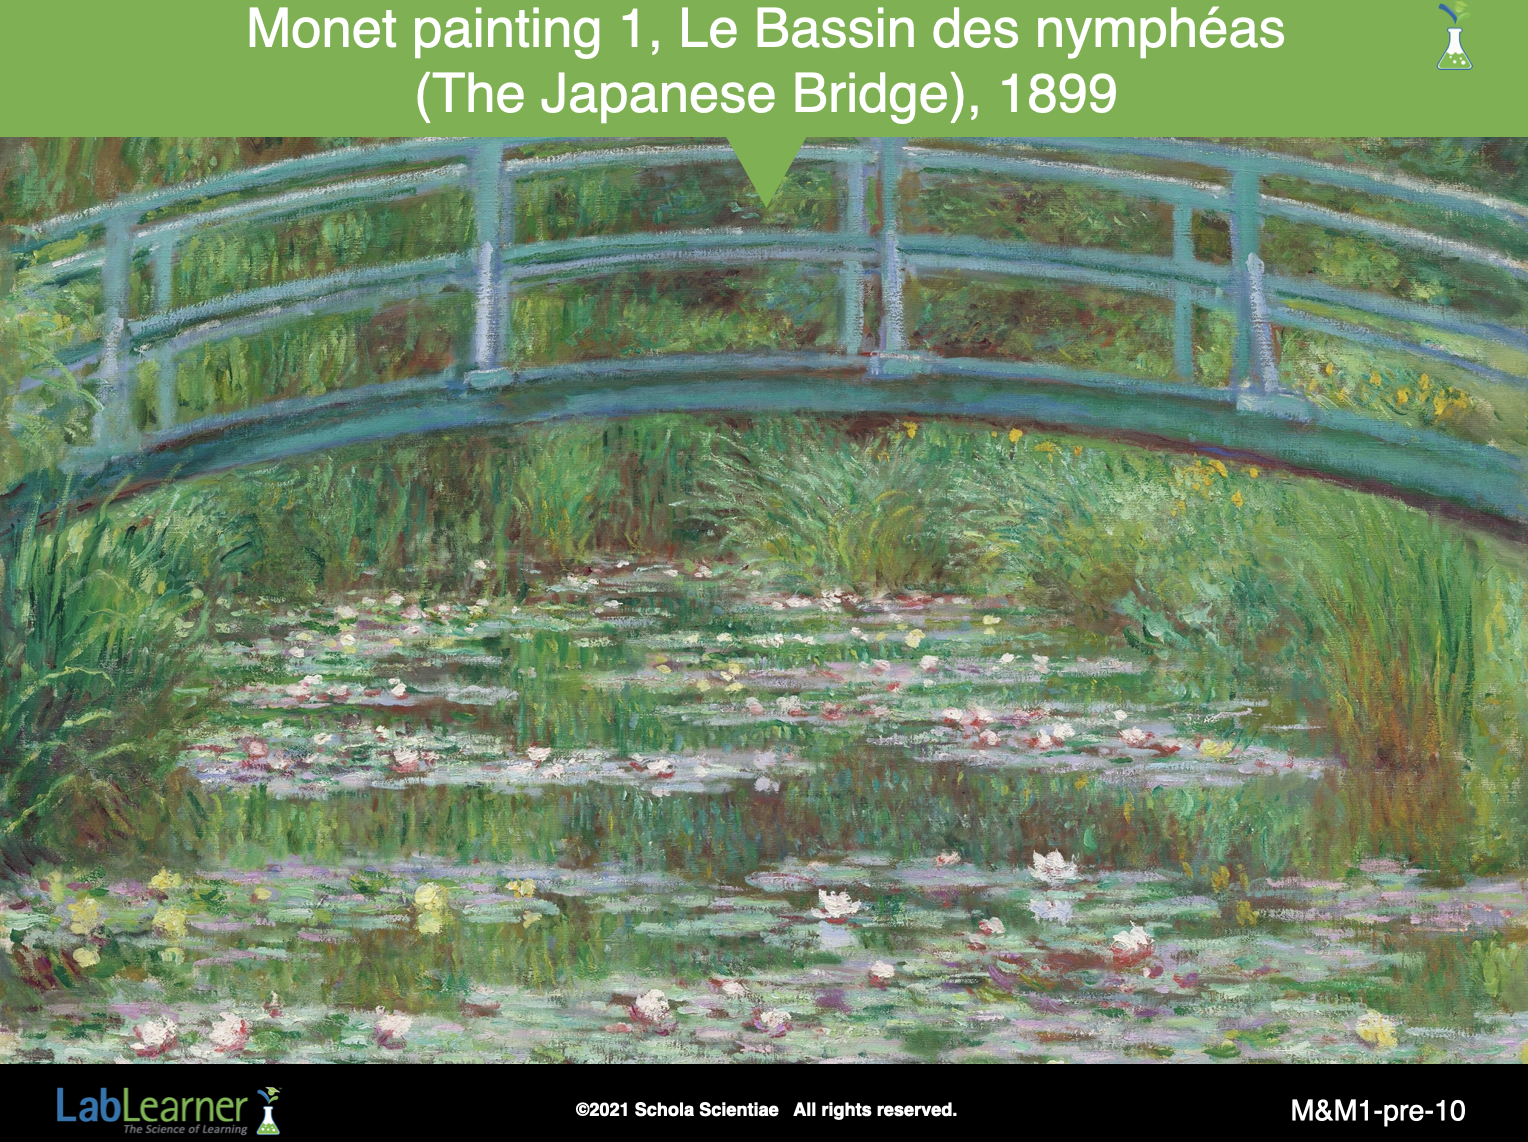
SLIDE M&M1-pre-10
Use this slide (and the next) in place of transparencies for Problems 5, 6, and 7 in the Student Data Records.
______________________________________________
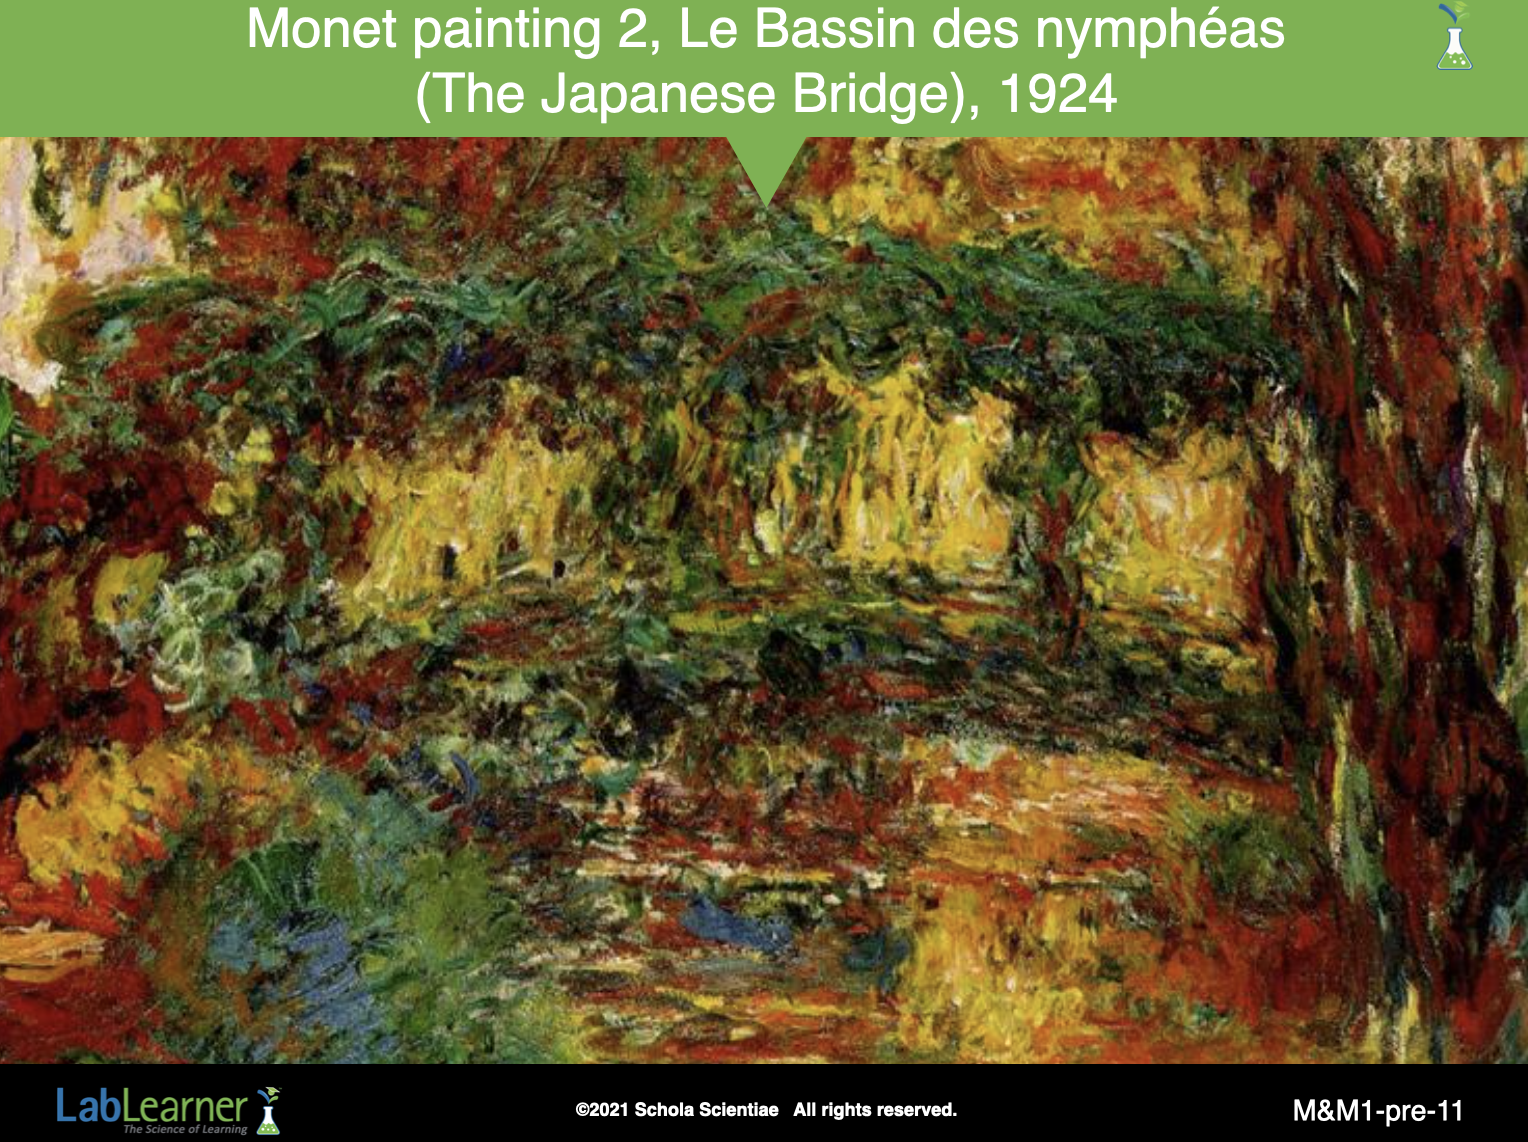
SLIDE M&M1-pre-11
Use this slide (and the next) in place of transparencies for Problems 5, 6, and 7 in the Student Data Records.
______________________________________________
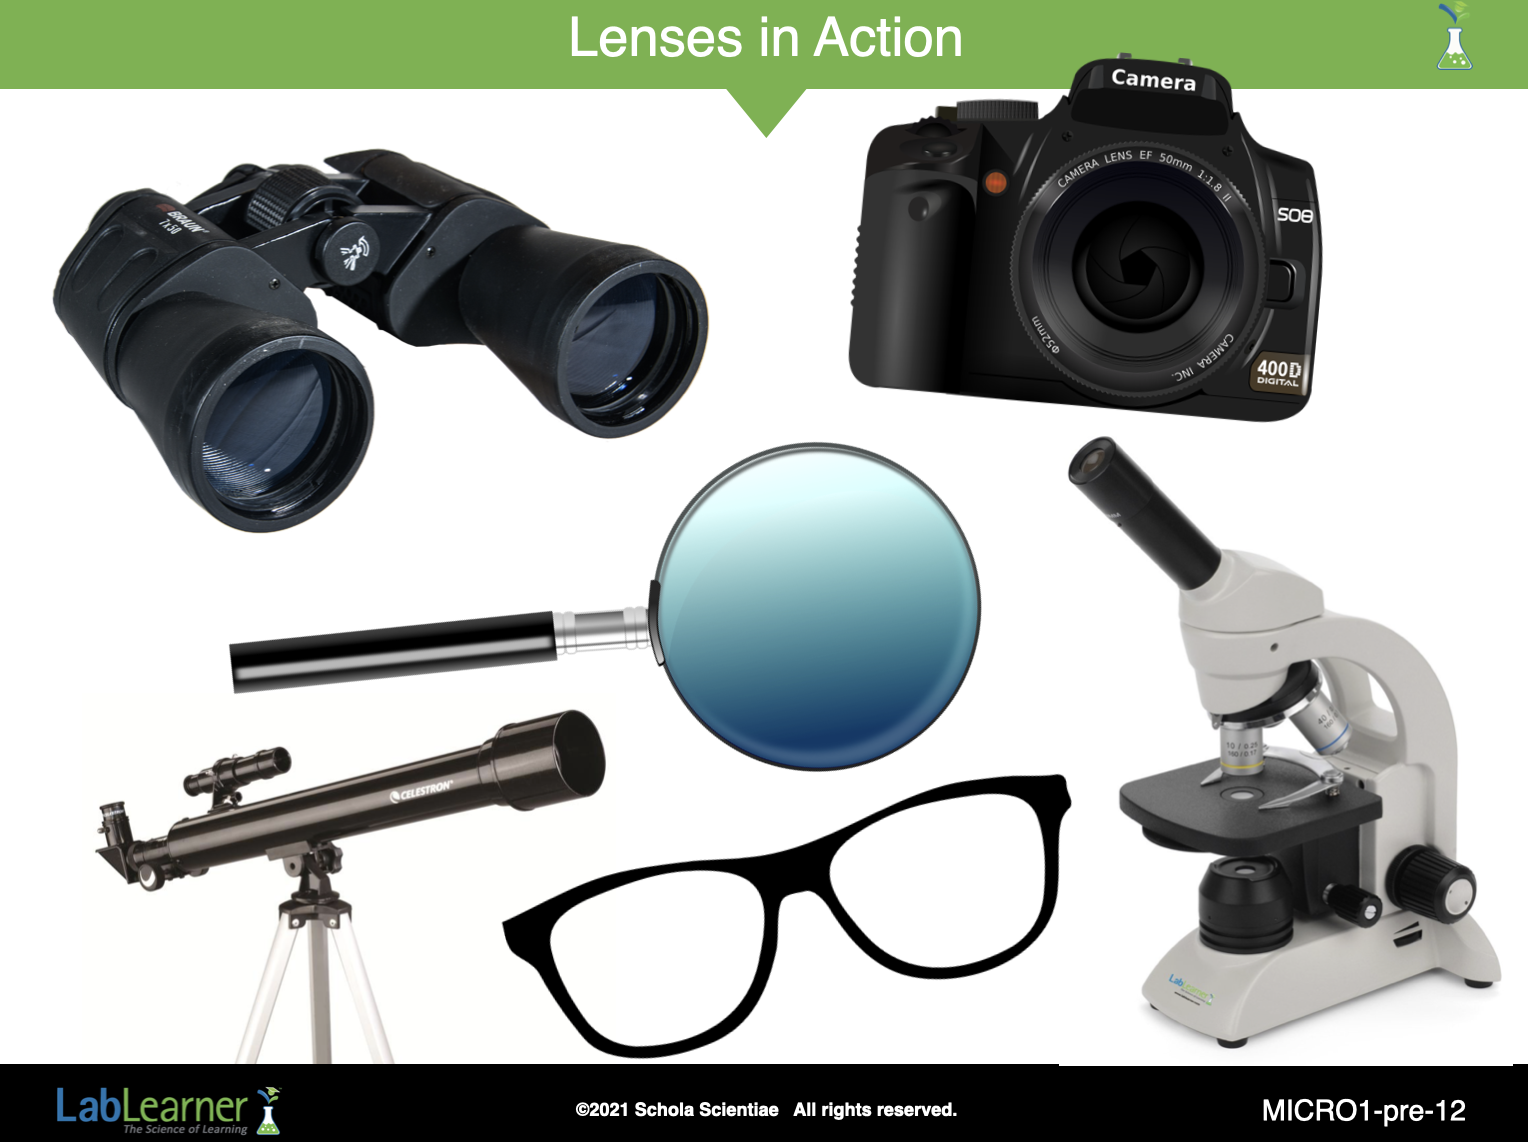
SLIDE M&M1-pre-12
This final slide simply shows a number of different devices that use glass lenses similar to those we have been discussing.
- Binoculars
- Camera
- Compound microscope
- Reading glasses
- Telescope
- Hand lens (magnifying glass)
______________________________________________