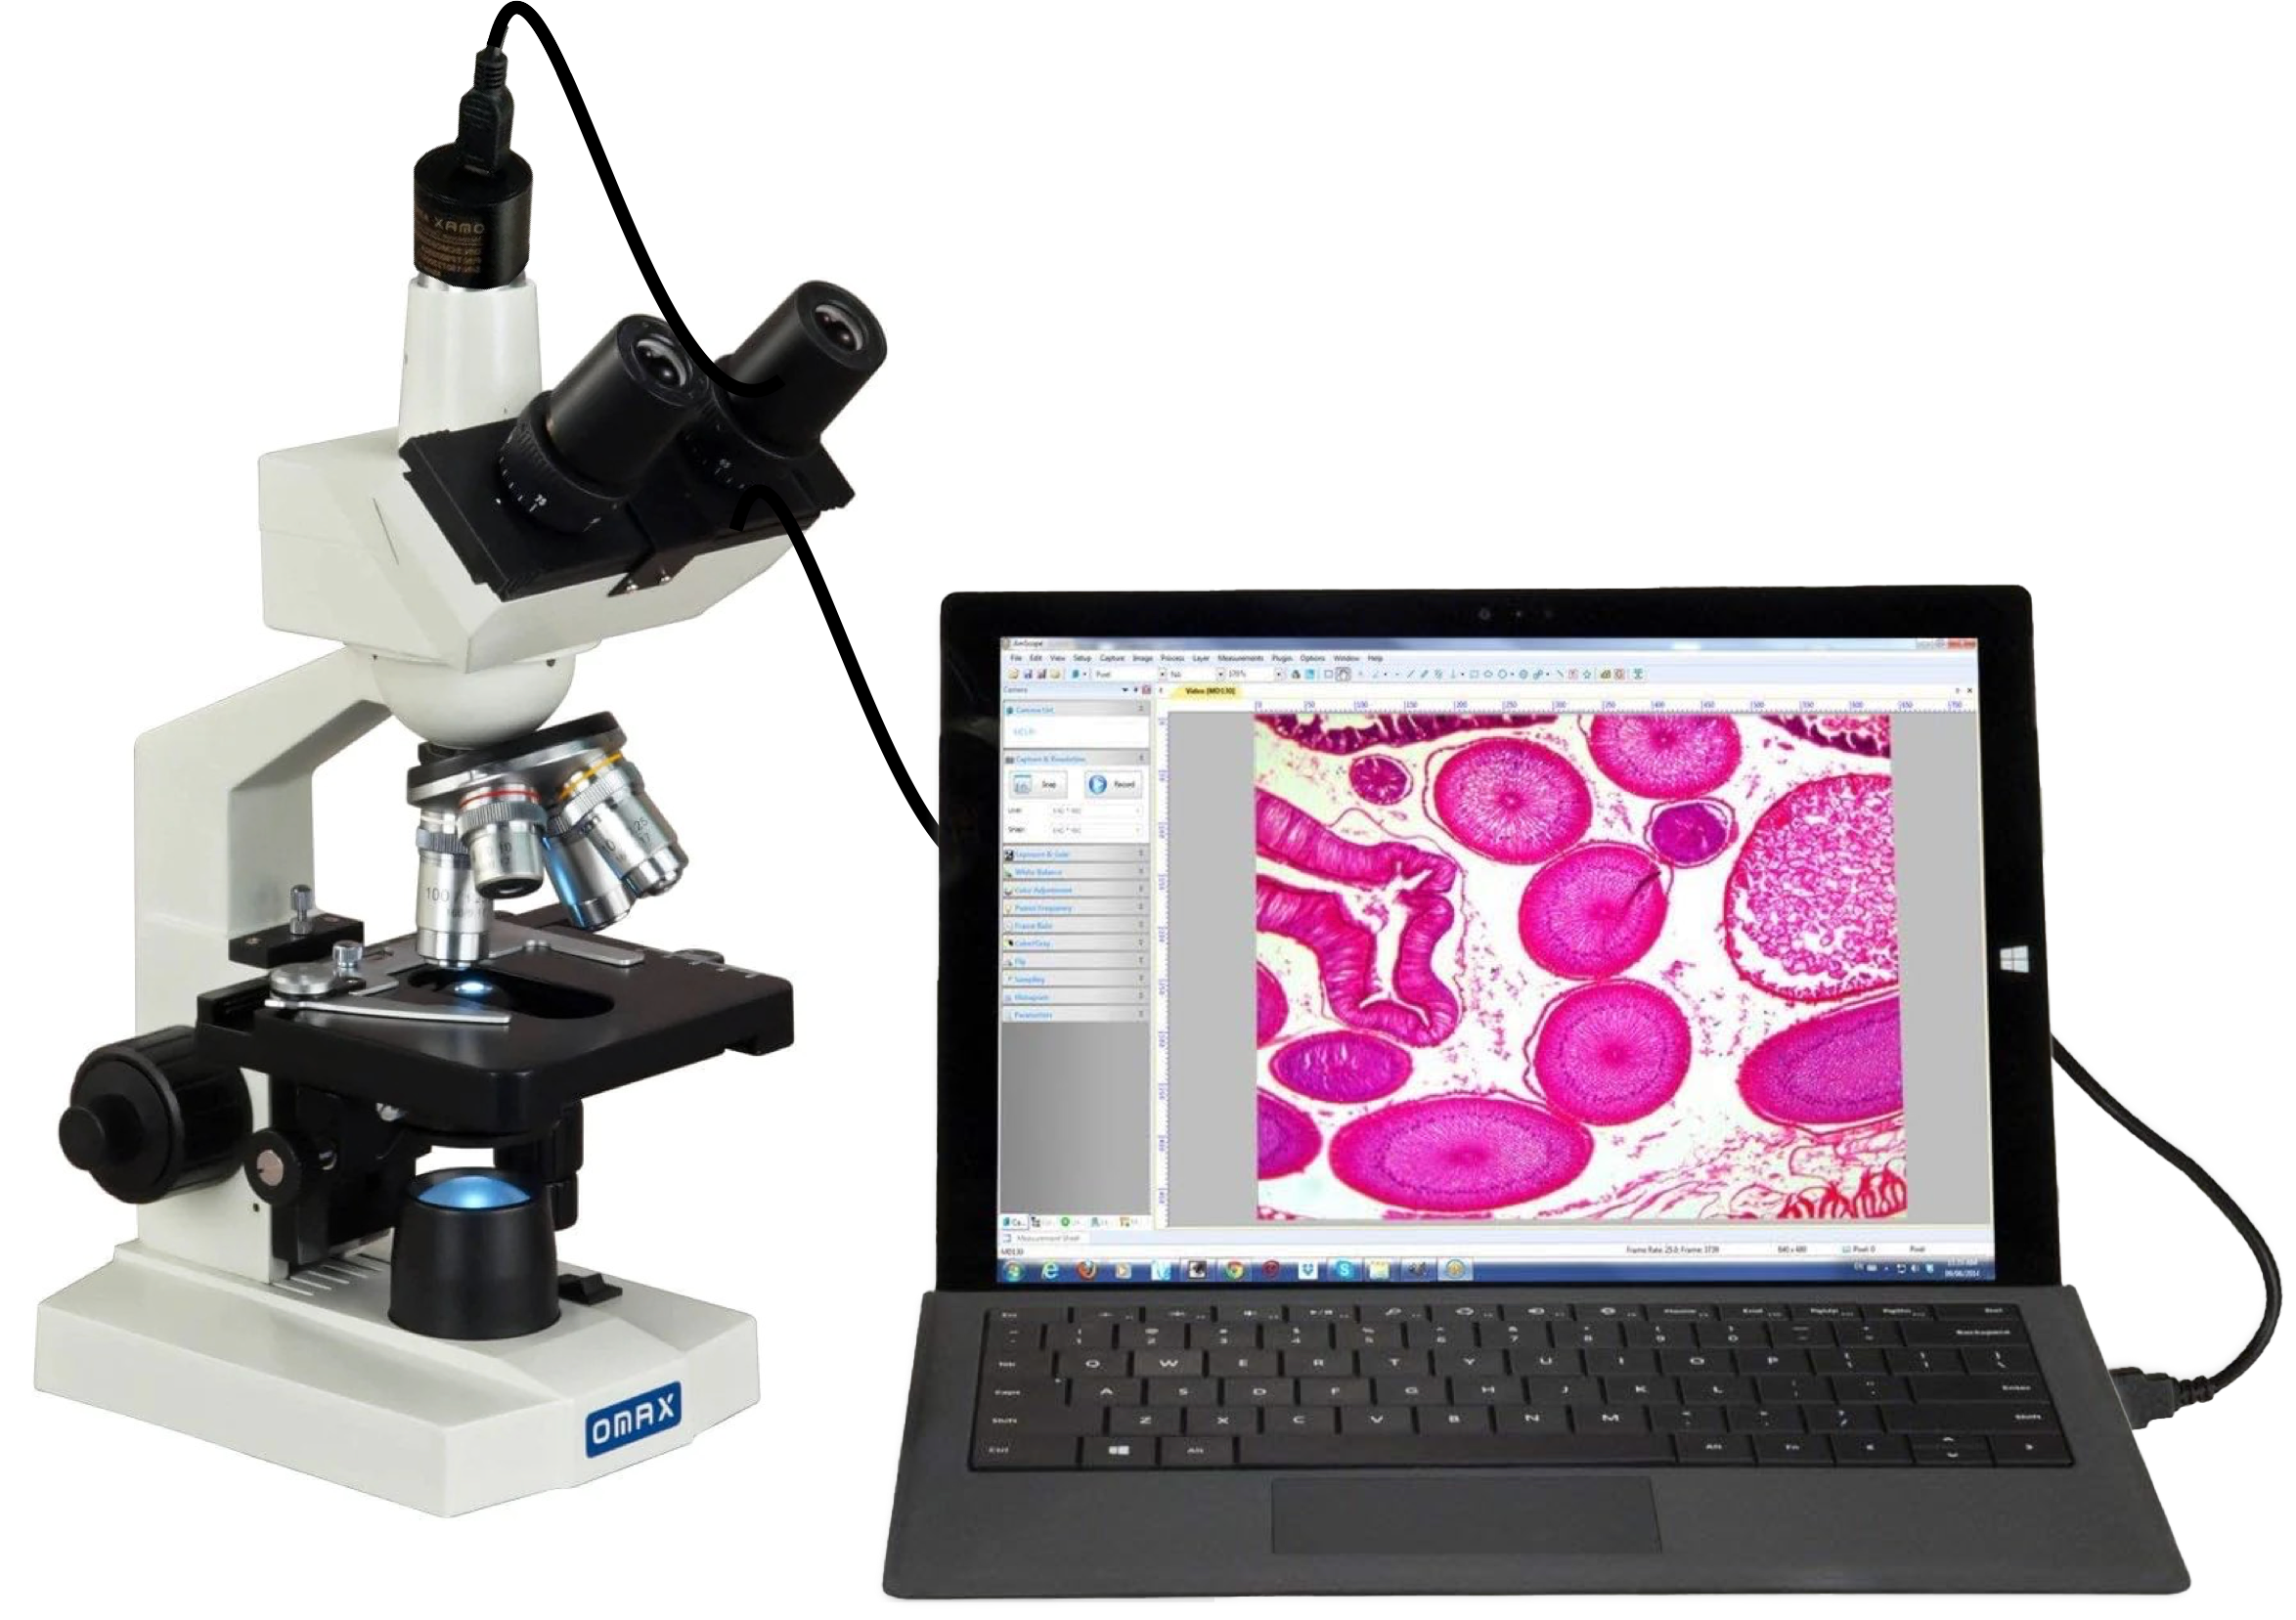
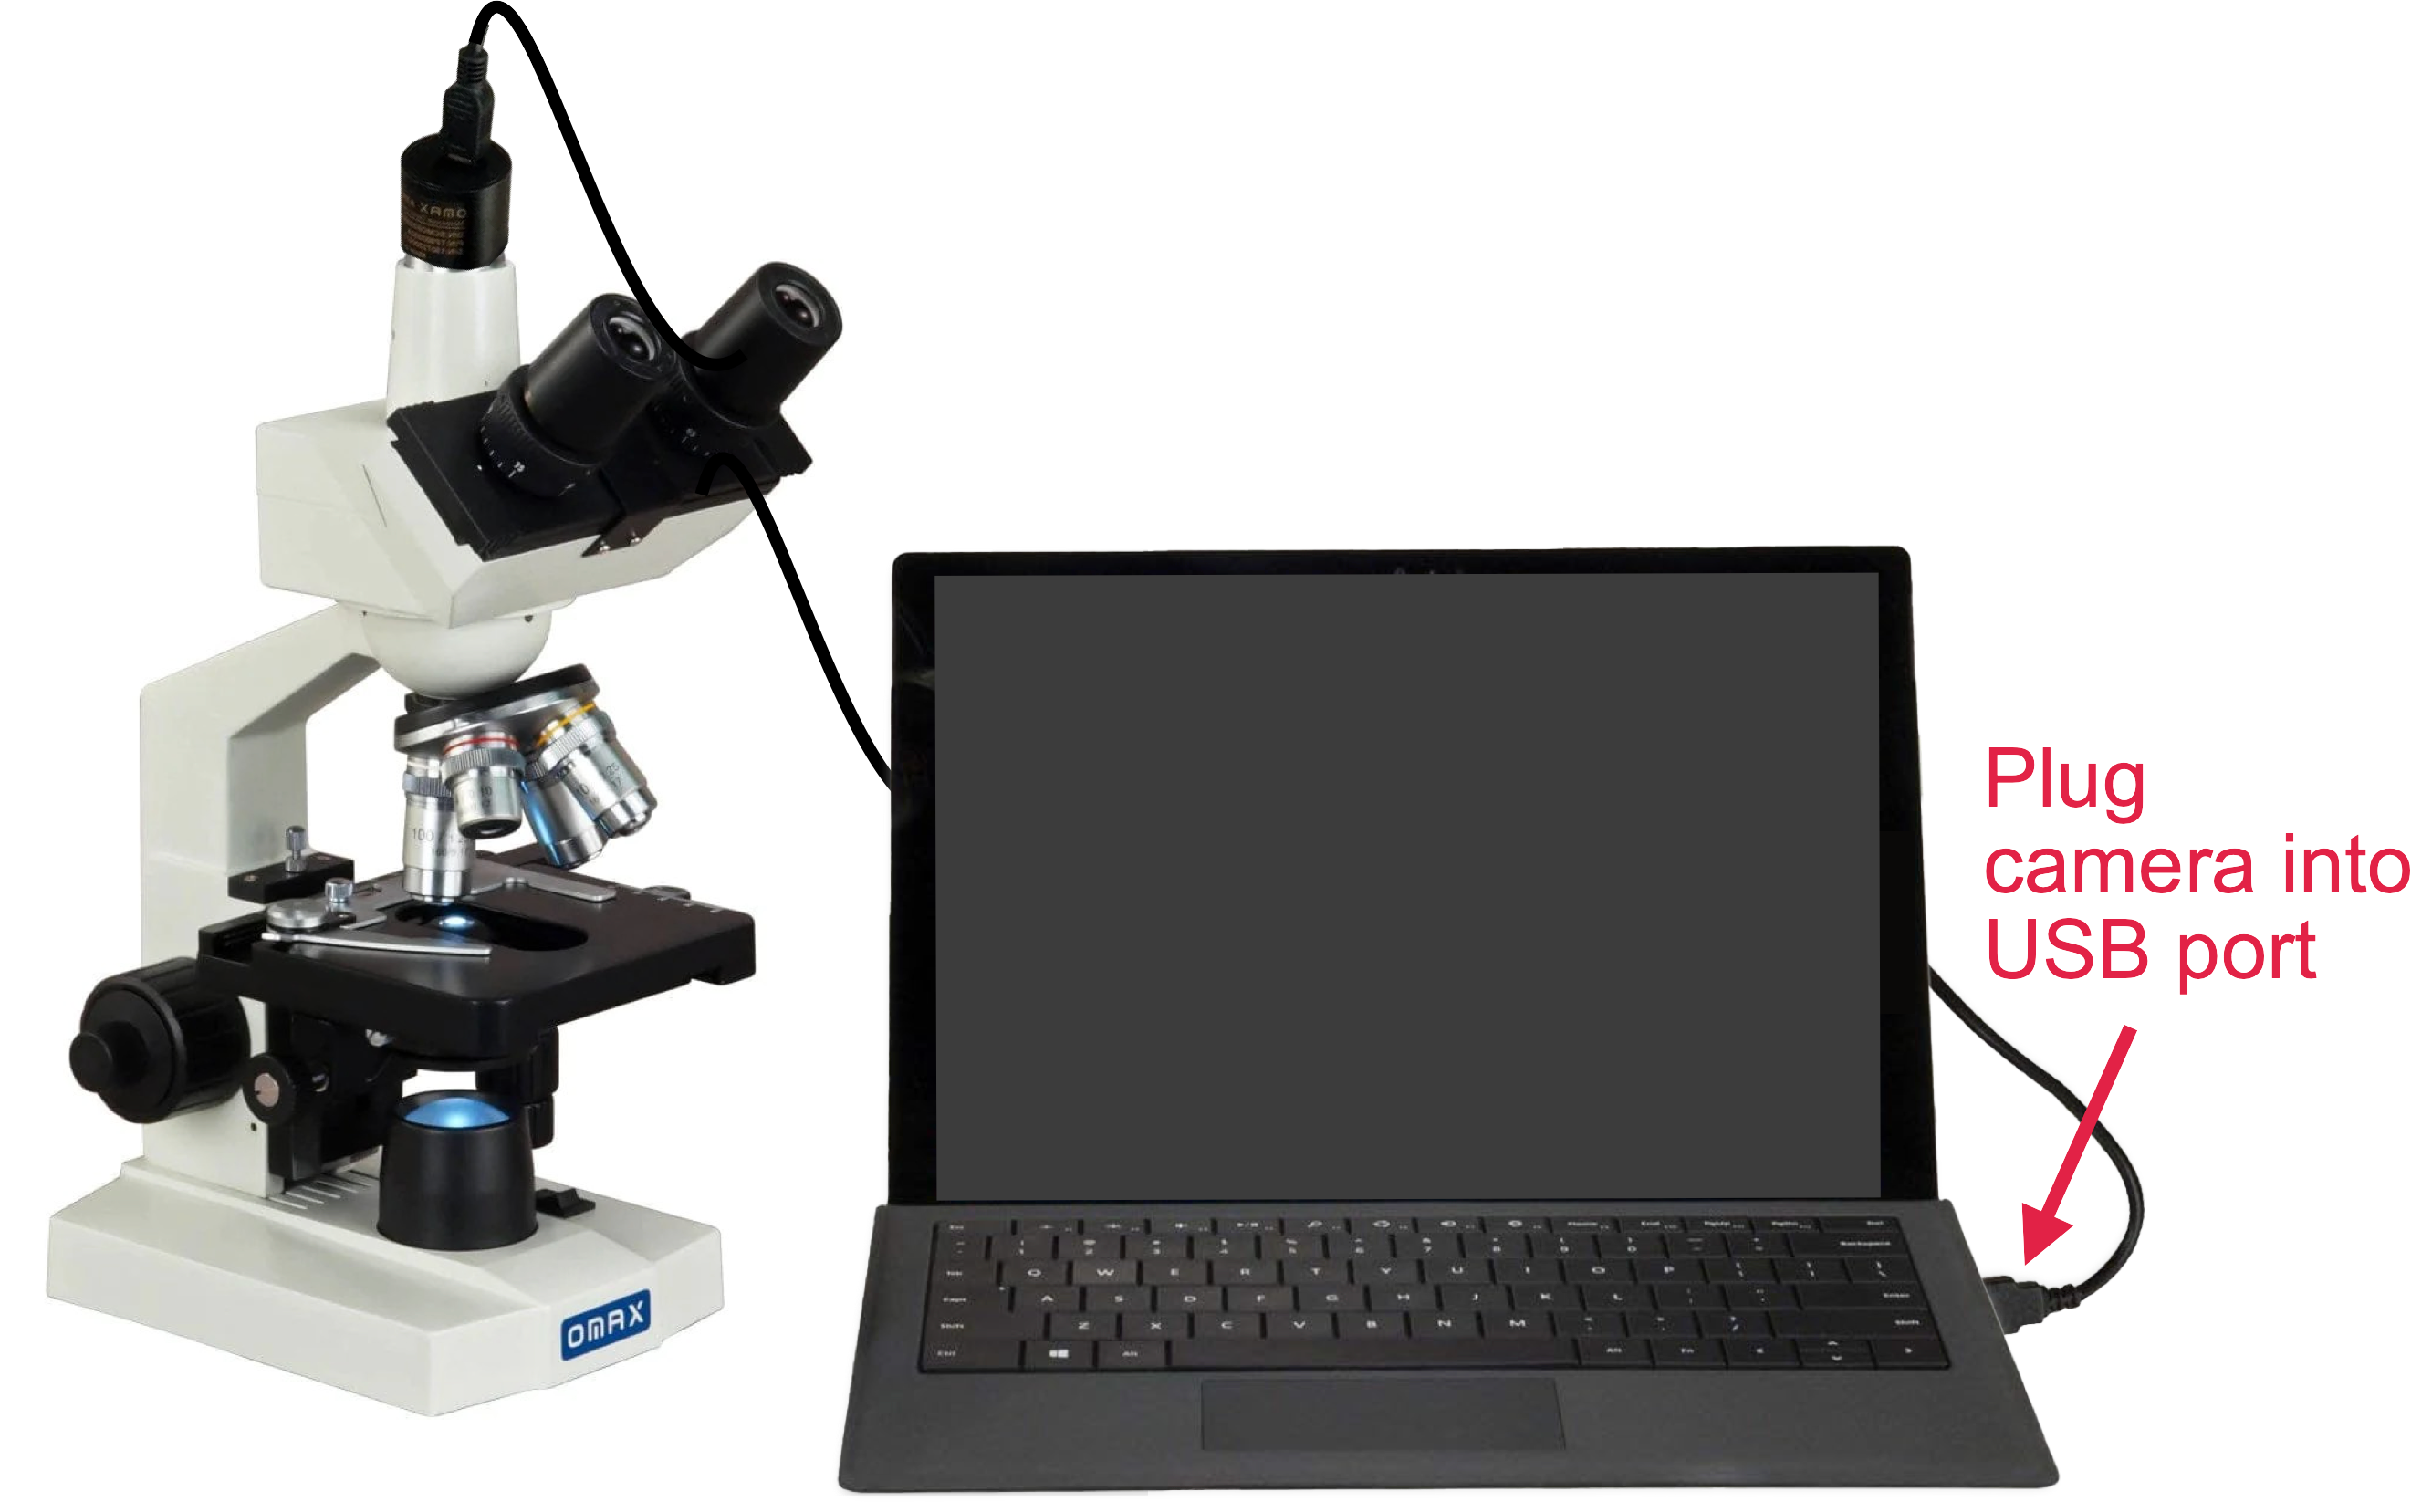
1. Connect the camera to the Chromebook via the USB portal on the Chromebook.
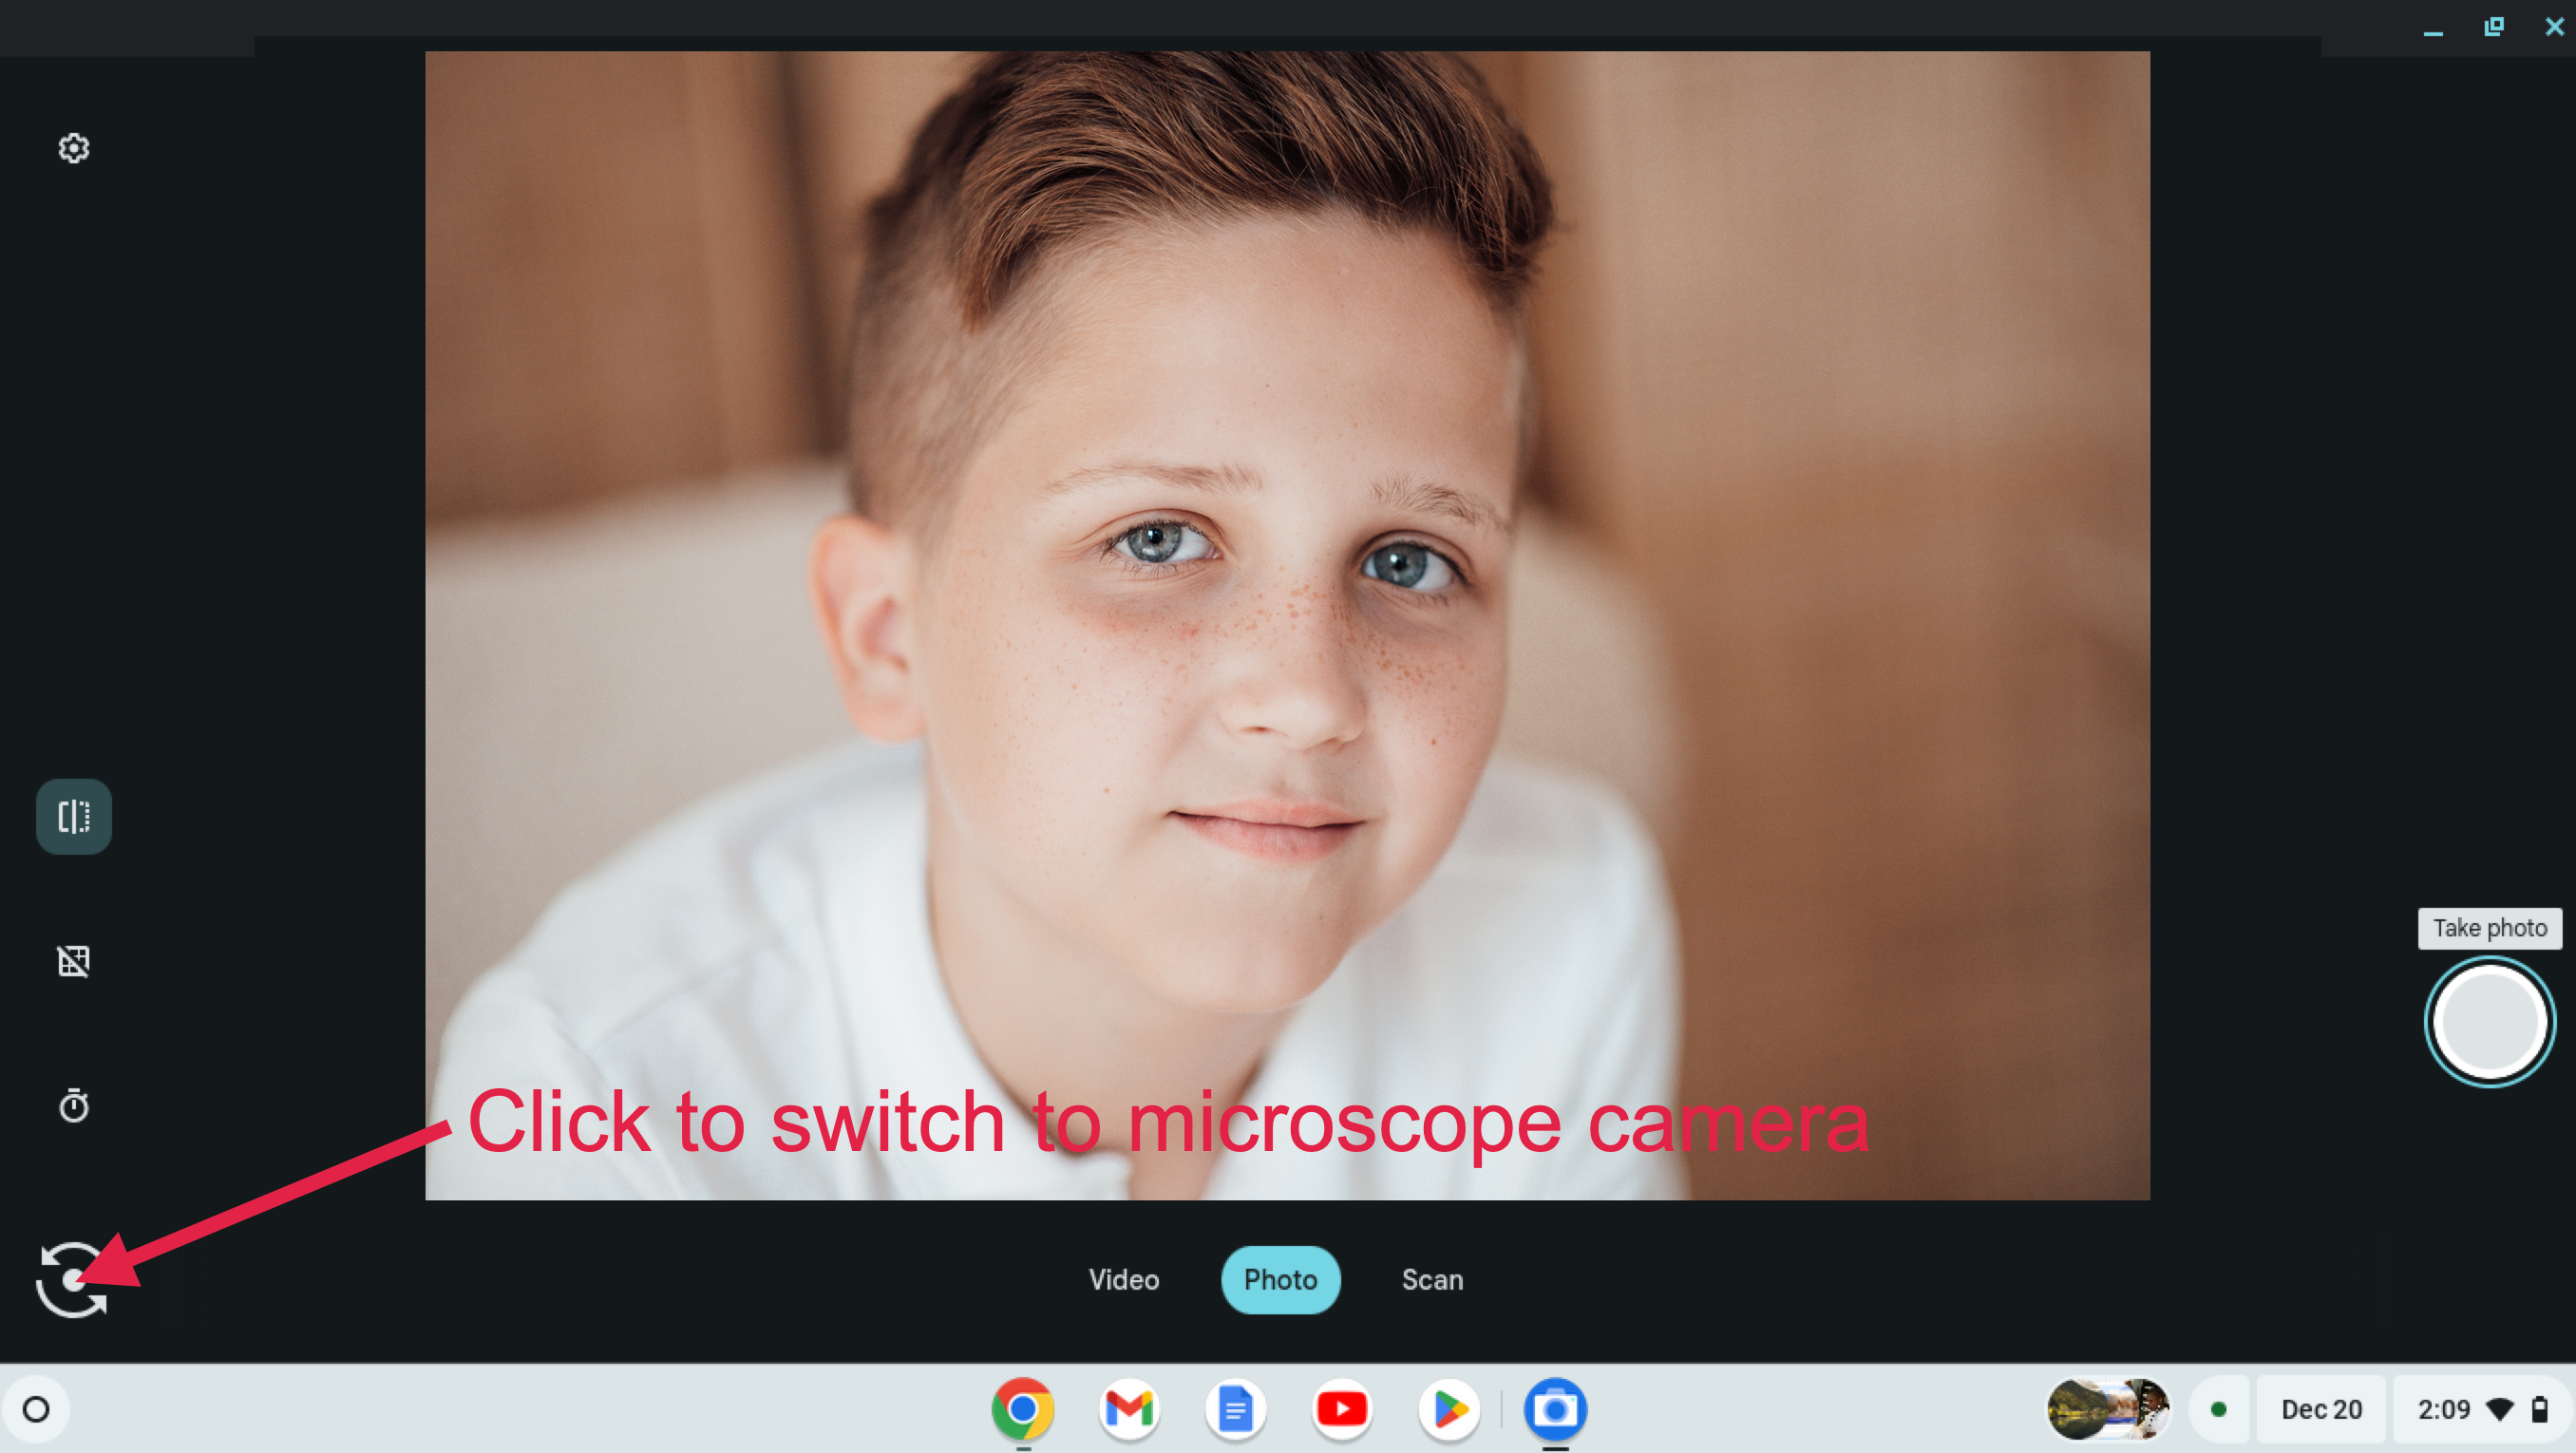
2. Open the menu at the lower left.
3. When the menu appears, click on the camera icon.
4. If you see yourself, click on the switch camera button at the lower left to switch to the microscope camera.
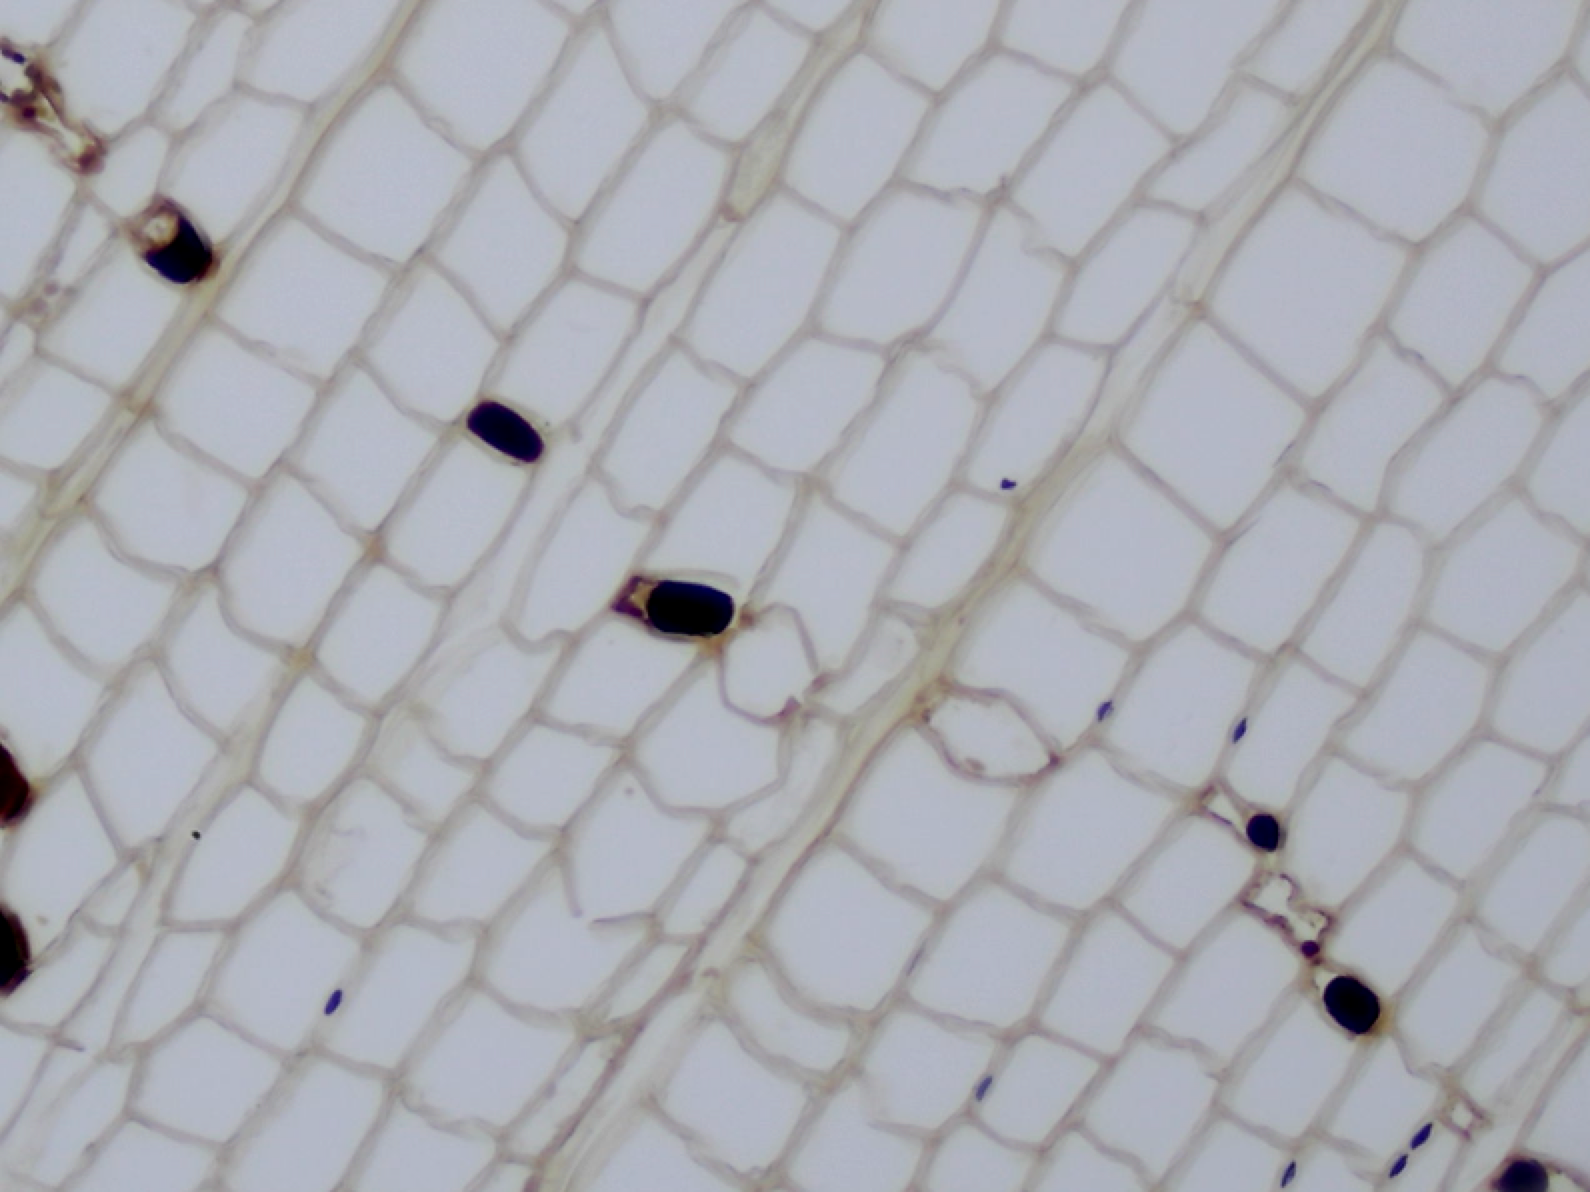
5. Examine your specimen.
After the microscope is turned on and you are ready to view the slide review the following steps.
a. Turn the large coarse adjustment knob (5) away from you and focus the slide.
b. Rotate the light intensity control knob (7) until the image can be seen clearly.
c. Use the smaller fine focus knob (6) to focus more sharply.
Note:After this point, use only the fine focus knob to make adjustments. Do not rotate the coarse adjustment knob.
d. Rotate the nosepiece so that you view the slide through the 10X objective, then the 40X objective. Focus using the fine focus knob.
e. From the 40X objective, rotate the nosepiece slightly toward the 100X objective. Neither the 40X nor the 100X objectives should be in place.
f. Place one small drop of immersion oil on the slide. Rotate the nosepiece so that the 100X objective is in place.
g. Focus on the slide, using only the fine focus knob.
Note:After the 100X objective is in place and oil is on the slide, you may not view the slide with other objectives. You must first clean the slide and the 100X objective.
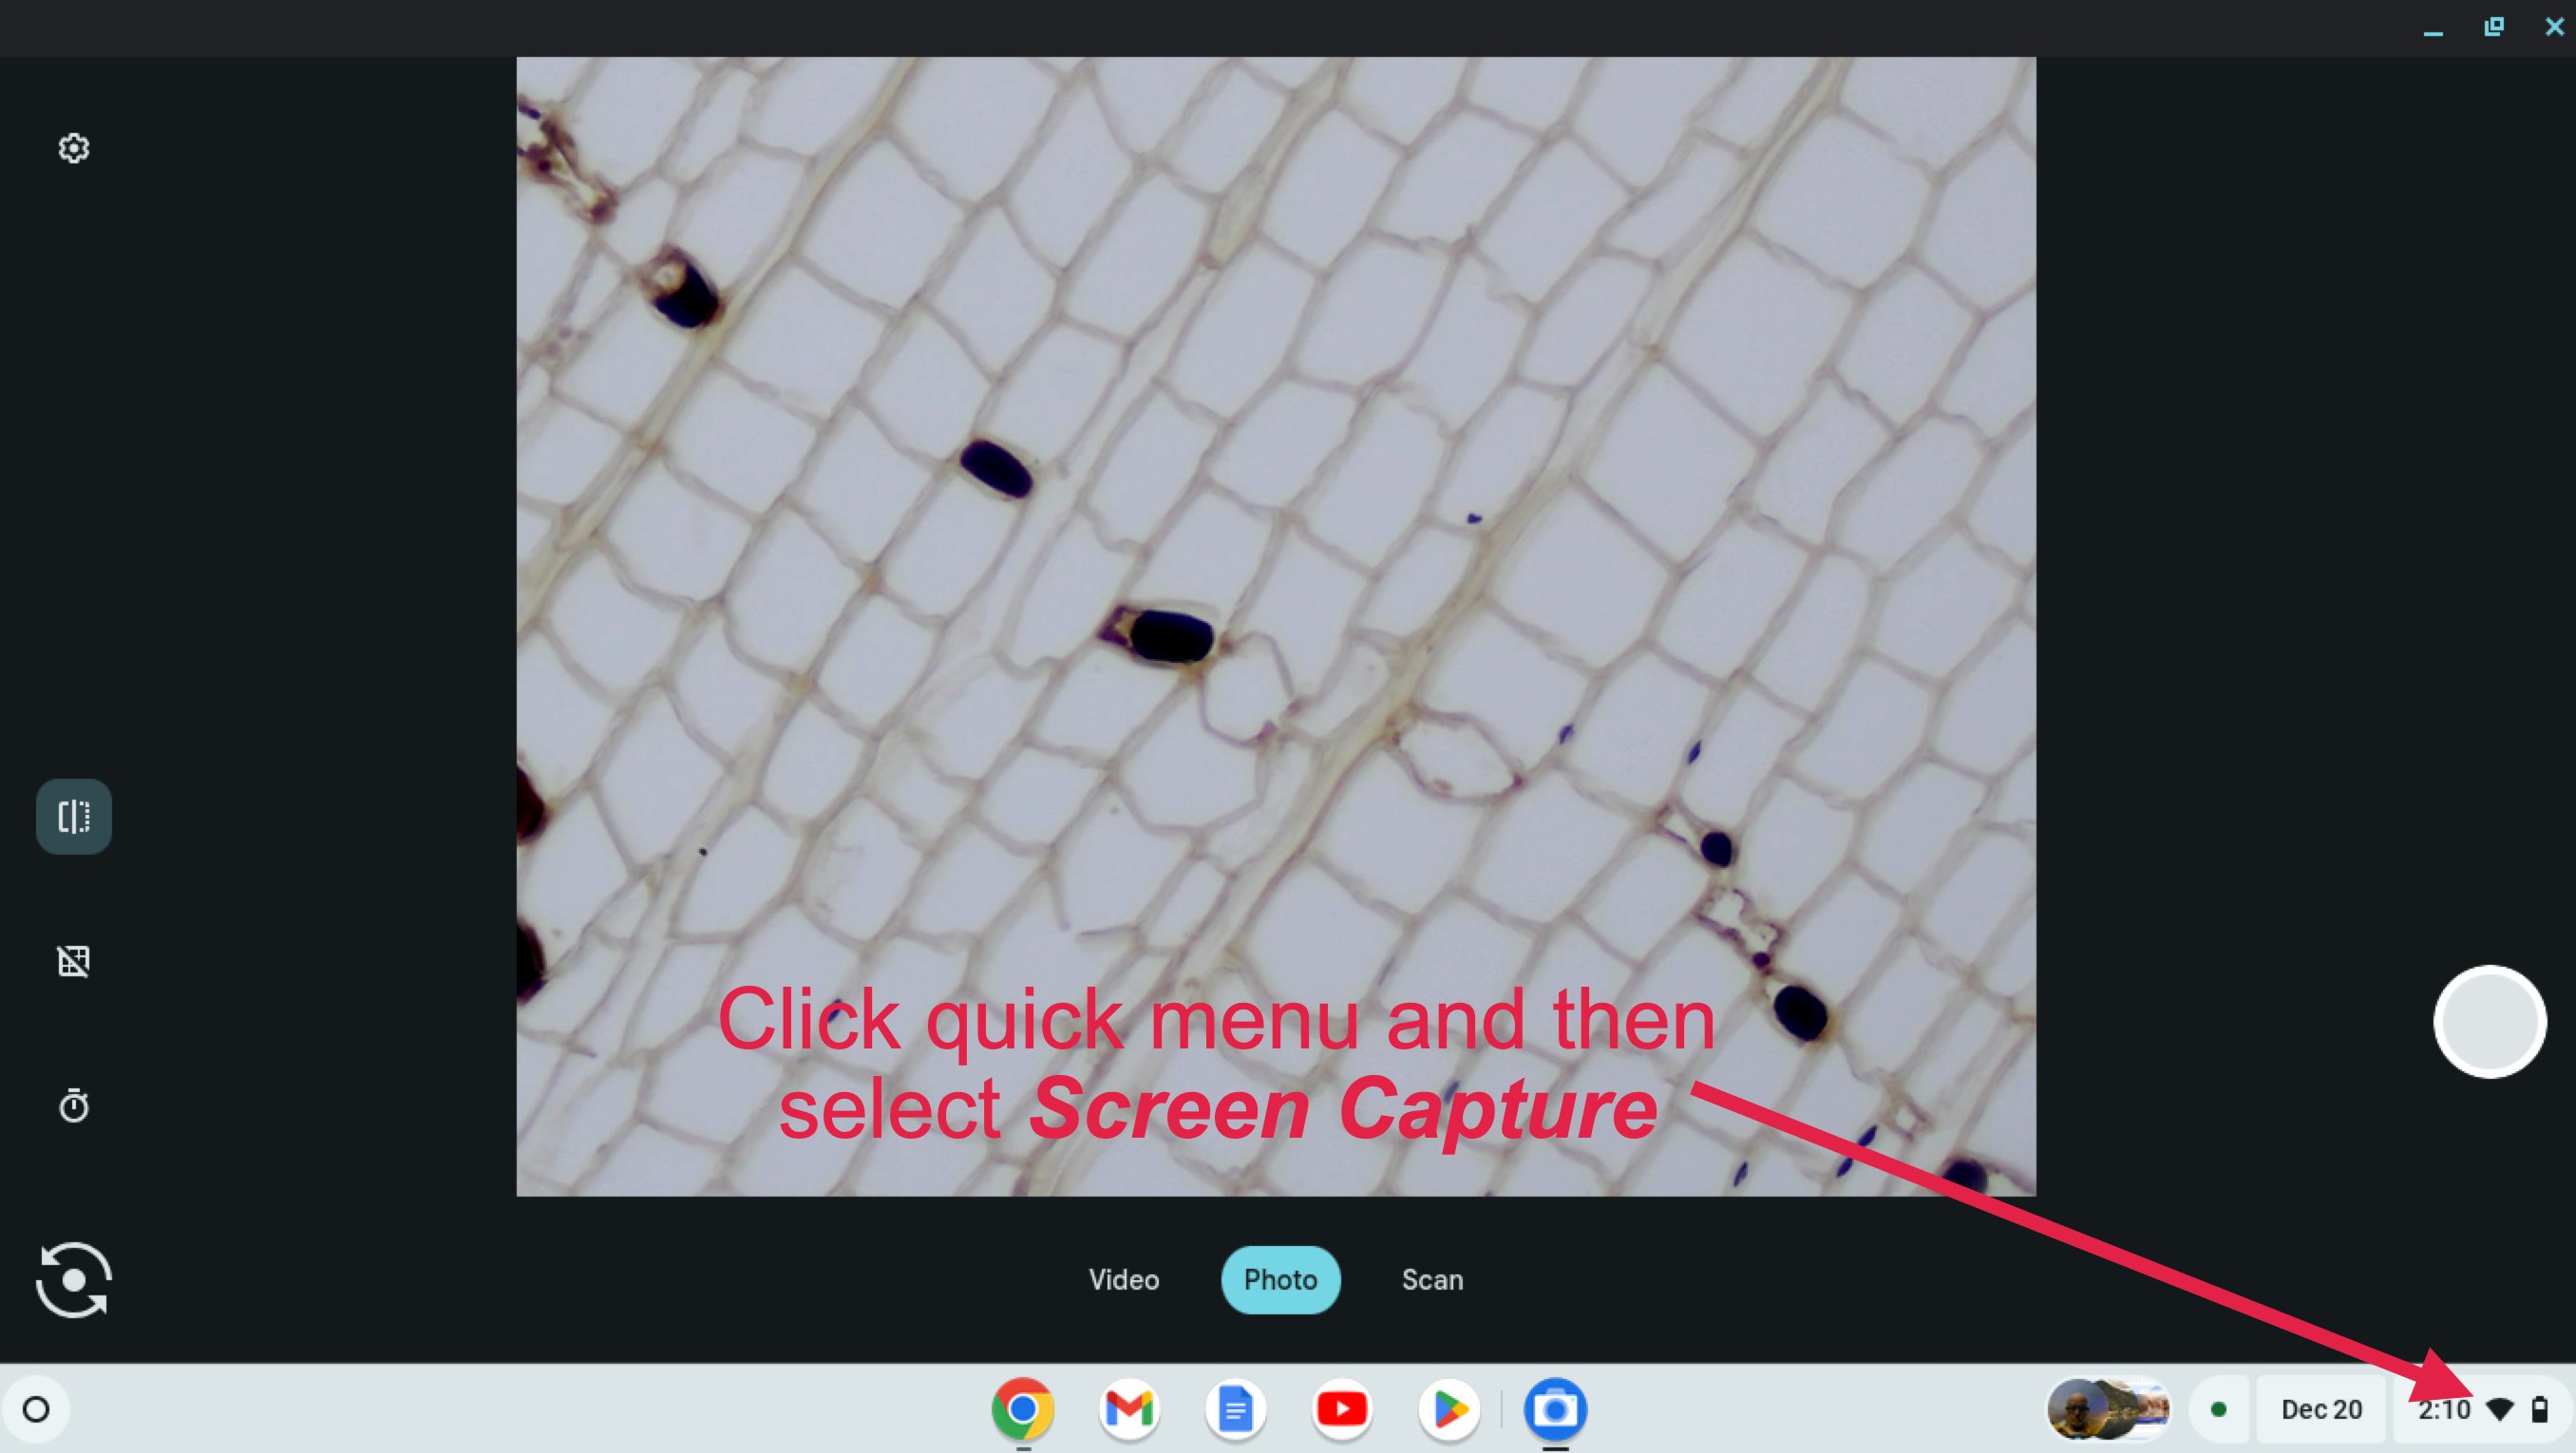
6. Microphotography
At any level of magnification, you may capture a digital image of the specimen. To do so, follow the steps below:
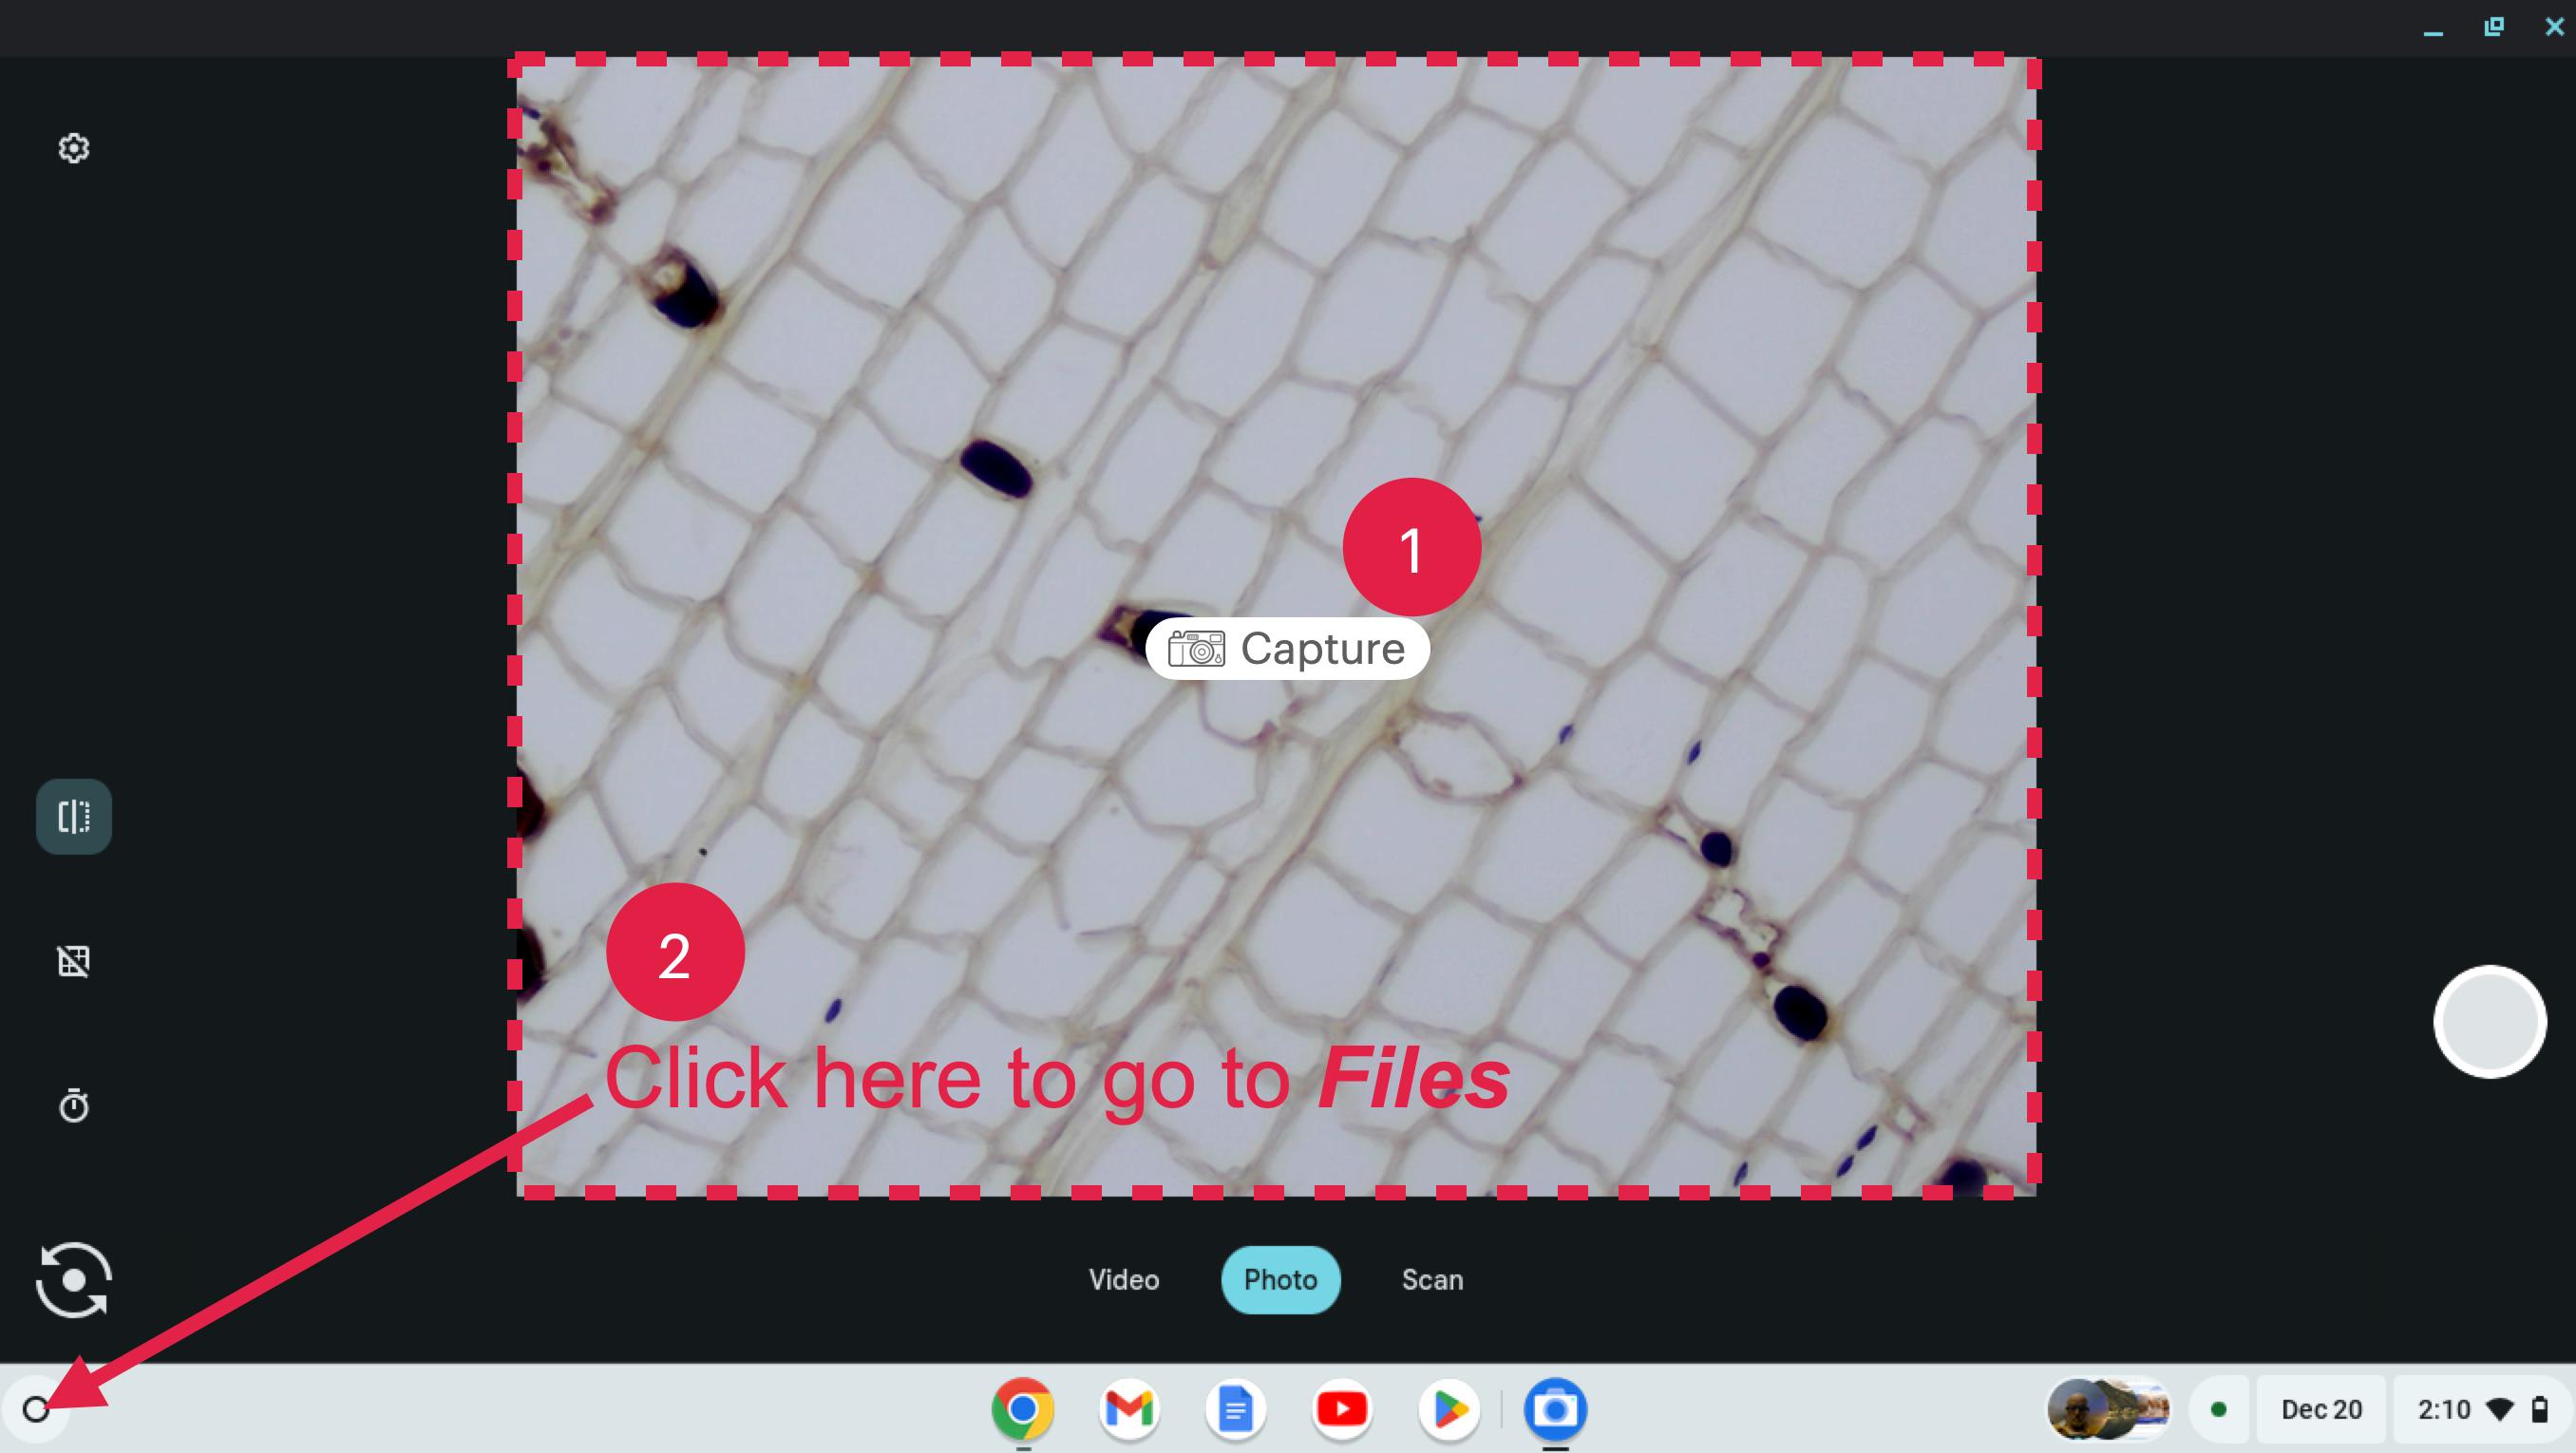
a. Click on the low right menu and then select Screen Capture.
b. Select the area you wish to capture (an expandable frame will appear. You can adjust the frame to fit your image.
c. Once you have set the window for the area you wish to photograph, click the Capture button in the center of the screen (1, photo above).
d. Next, click the button on the lower left (2, photo above) to take you to your Chromebook Files.
e. If you haven’t already, rename the image so that its name is descriptive so that both you and your teacher will know what the image is of. For example, you may name the photo Cellular1-sample#3-400X, indicating that it is from the first Investigation of the CELL Cellular Organization, sample 3, a photo taken at a total microscope magnification of 400X.
f. The captured photomicrograph can be used for further study and compared to other specimens you examined and photographed. You can also submit the micrographs to your teacher in your student guide.